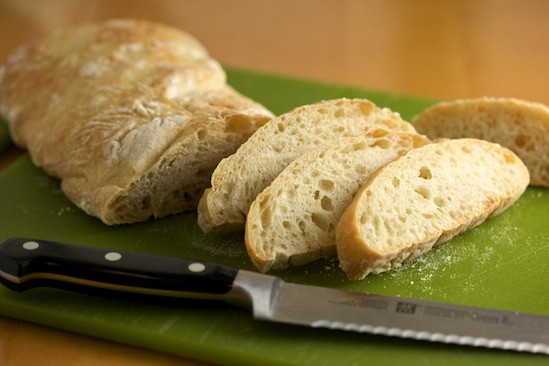
Last week I finished bread #7 in the Bread Baker’s Apprentice Challenge. The bread was ciabatta and while I was excited to try it, I admit that I was a bit nervous. Lots of BBA Challenge members finished their ciabatta before me, so I knew that the bread wasn’t turning out perfectly for many people. Everyone seemed to be saying the same thing: great flavor, but not enough holes!
In addition to its signature flat and rectangular shape, ciabatta is known for its open crumb with lots of big, shiny holes. And I’ve learned over the years while trying to perfect my own loaves of sourdough, the open crumb with big shiny holes is much harder to achieve than a great flavor!
Peter Reinhart offers many variations for his Ciabatta formula. We had the option of using either a Poolish or Biga for the pre-ferment — the main difference being the amount of water added to the flour and yeast during the pre-ferment stage. A note in the sidebar mentions the option of enriching the dough with olive oil, milk or buttermilk, for a softer, more tender loaf. And he also gives directions for Wild Mushroom Focaccia, Ciabatta with Cheese, and Caramelized Onion and Herb Ciabatta! But even with all those choices and variations available, I decided to stick to original formula using only flour, salt, yeast and water.
Although some people seemed to be having better luck using the stiffer biga starter, I decided to give the poolish a try. Like I mentioned earlier, the difference between a poolish and biga is simply the amount of water added to flour and yeast. A poolish will have the consistency of pancake batter, while a biga will be stiff and kneadable like bread dough. Both types of pre-ferments are made day before using a portion of the flour and yeast from the bread formula. The purpose of a pre-ferment is to improve the flavor and structure of the bread by extending fermentation time. Although these terms are probably new to many of you, there is nothing difficult about using a pre-ferment. You just need to plan ahead and allow some extra time to let the mixture sit around and do its thing.
My poolish started with 2 1/2 cups of bread flour, 1 1/2 cups of water and 1/4 teaspoon instant yeast. I just stirred it up with a wooden spoon, covered it with plastic wrap, and let it sit at room temperature.
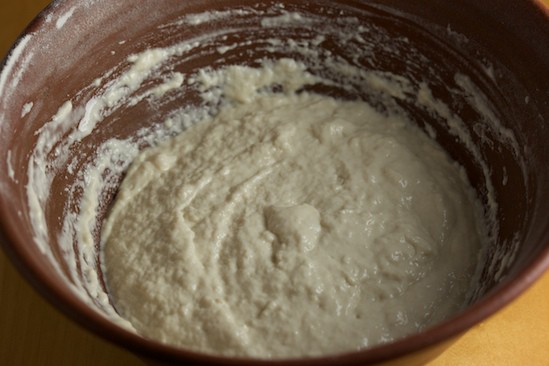
After a few hours, it had bubbled up and increased in size quite a bit. Now it was ready for an overnight rest in the refrigerator. See, nothing to it!
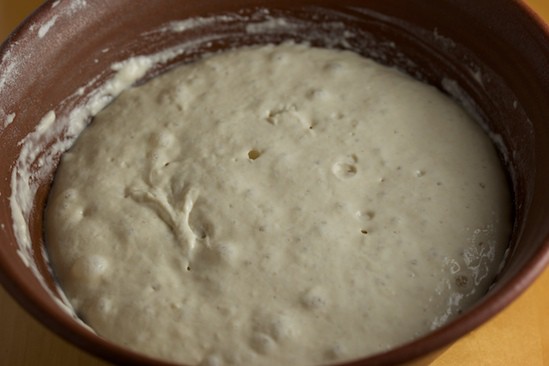
The next day, I removed the poolish from the fridge an hour before I was ready to start making my ciabatta dough, to take off the chill. When I was ready to begin, I measured out the rest of the flour, yeast and salt.
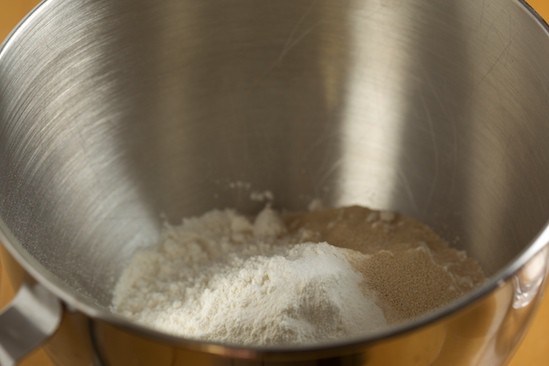
I whisked the dry ingredients together then added the poolish.
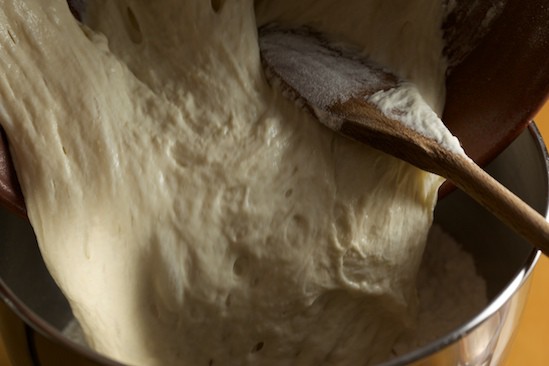
The amount of water in the recipe can vary by quite a bit. The instructions say to add 6 tablespoons of water at this point, but the final dough might use up to 3/4 cup. I knew I would end up using more than 6 tablespoons, so I started out by pouring in about 1/2 cup of water.
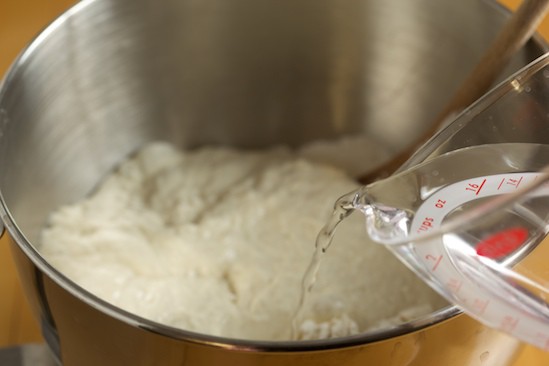
I then started stirring everything together to get an idea of how wet the dough would be with that amount of water. I ended up adding a bit more water until the dough looked to be the right consistency.
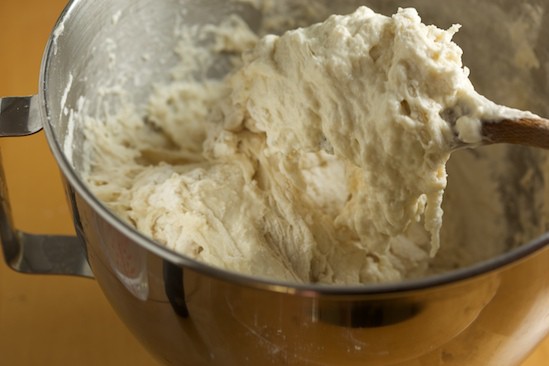
I used my stand mixer with the paddle attachment to mix the dough for a few minutes. I think I ended up adding close the full 3/4 cup of water by the time I was done mixing. I knew from making sourdough bread, that I needed a very wet dough if I wanted big holes in my ciabatta. After mixing with the paddle attachment for a while, I switched to the dough hook and kneaded for a final two minutes. The dough mostly cleared the sides of the bowl while it was being kneaded, but stuck to the bottom, as described in the book. but as you can see, it was a wet and sticky dough.
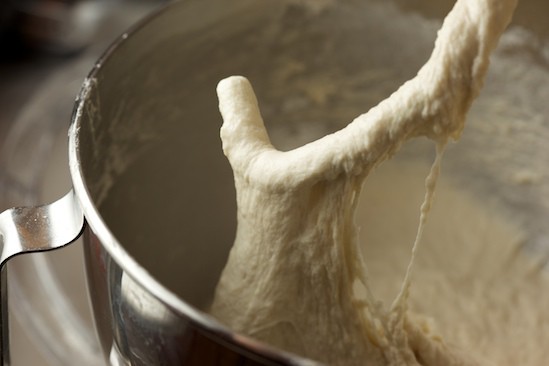
Next, I scraped the dough out onto a well-floured board. The book says to create a bed of flour, so I really used a lot!
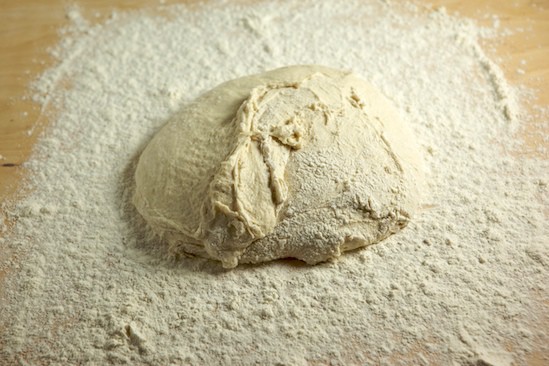
Now it was time for some stretching and folding. Since I’ve never made ciabatta before, this was a new technique for me. First, I sprinkled some flour on top of the dough and formed it into the shape of a triangle. Then I let it relax for a couple of minutes before grabbing the ends and stretching it out to twice it’s size.
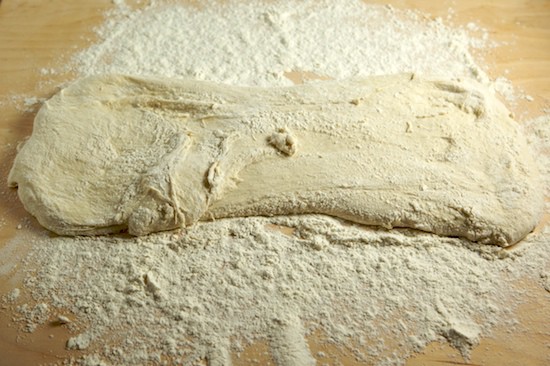
Then I folded it into thirds, like a letter.
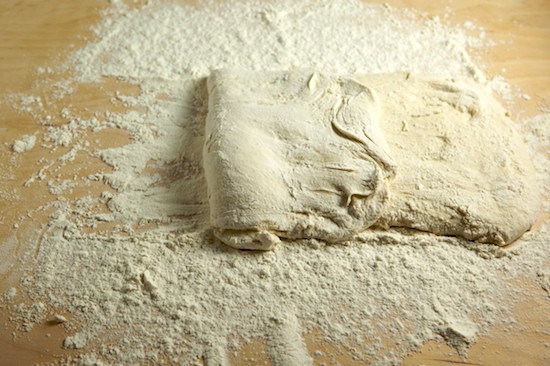
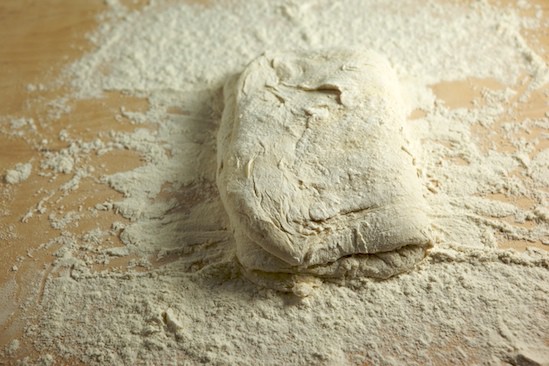
Then I covered it with plastic wrap and let it rest for 30 minutes. I was surprised at how much the dough grew in 30 minutes!
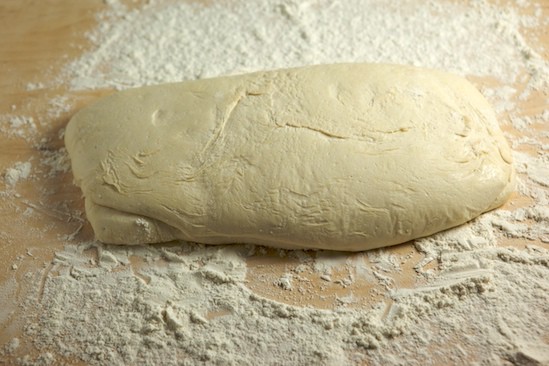
Next, I repeated the stretch and fold process one more time, covered it with plastic wrap and let it sit and ferment for an hour and a half.
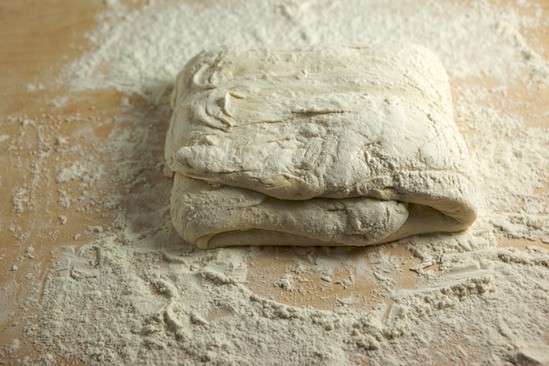
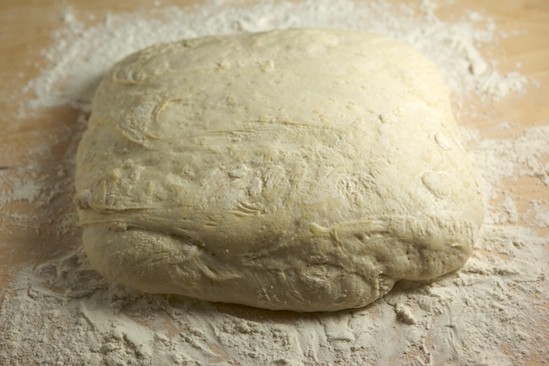
The book says the dough should swell, but not necessarily double in size. But I think mine doubled!
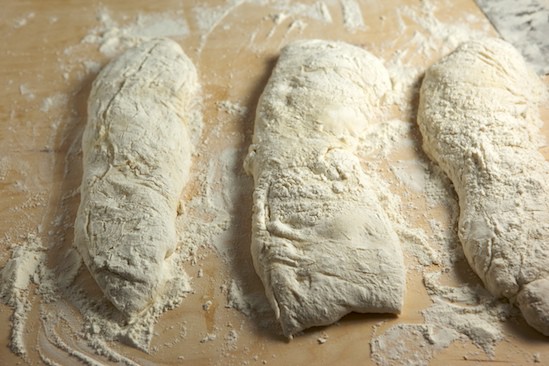
Next, the dough is divided. I decided to make three small loaves, so I cut the dough into three pieces. Since the dough is so sticky, I dipped my bench scraper in water before cutting through the dough. I didn’t weigh the pieces because I wanted to handle the sticky dough as little as possible. Consequently, I ended up with three different sizes!
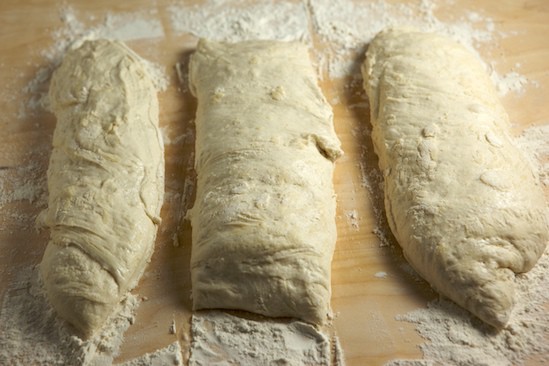
Next, I gently rolled the pieces in flour so they were well-coated on all sides.
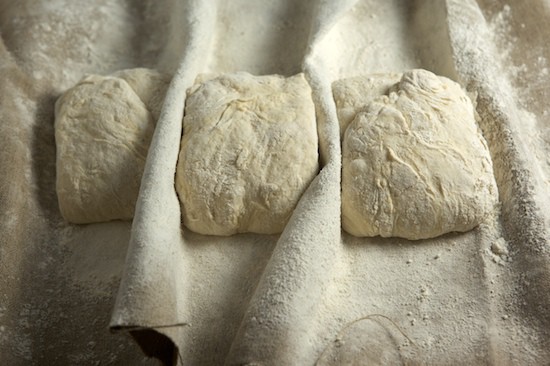
And then I transferred them to a prepared couche, and folded each one again. A couche is a heavy linen cloth that is used to support the loaves and help them keep their shape during proofing. After shaping the loaves, I covered them with plastic and allowed them to proof for close to an hour.
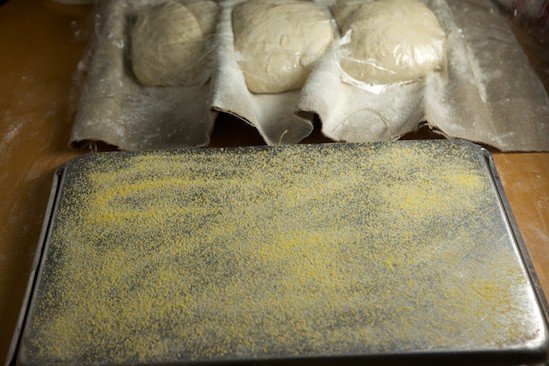
Since I didn’t think all three loaves would fit on my peel, I decided to use the back of a sheet pan to transfer the loaves to the oven. First I dusted the back of the sheet pan with corn meal.
Then I started transferring the loaves from the couche to the makeshift peel, gently stretching each loaf out to a length of about 9 inches.
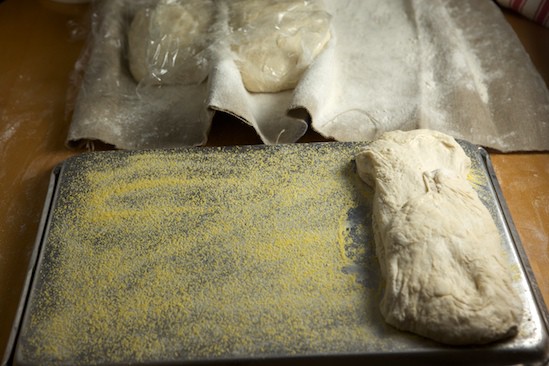
I was happy to see that the three loaves fit perfectly on the back of the pan!
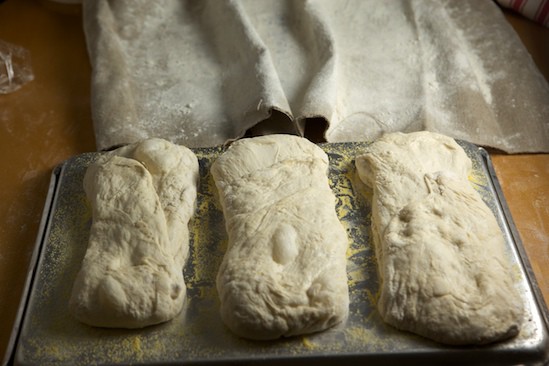
Now it was time to put them in the oven.
Earlier, when I placed the loaves in the couche to proof, I had prepared the oven. I placed a baking stone on the middle rack, and an empty pan on the bottom of the oven (this will be used to create steam later). I then preheated the oven to 500 degrees. When you are heating the oven with a baking stone, it takes longer for it to come to temperature. When I need the oven and baking stone to reach 500 degrees, I always allow it to preheat for 45 minutes. So by the time, the loaves were proofed and ready to go in, the oven was ready.
I also had a pot of simmering water on top of the stove, ready to help me create steam. Just before putting the loaves in, I measured out one cup of simmering water. Now I was ready to bake some ciabatta! I popped the loaves onto the baking stone, quickly draped a dish towel over the oven door glass (to prevent water from splattering and possibly shattering the glass) and carefully poured the cup of simmering water into the hot pan on the bottom of the oven (I used a long oven mitt for this). As the steam billowed up, I quickly shut the oven door (making sure to remove the towel) to trap as much of it inside as possible. After 30 seconds, I opened the oven door and used a spray bottle to mist the oven walls with water, creating even more steam. Again, I quickly shut the door to trap the steam. I repeated this two more times at 30 second intervals. After the final spray, I turned the oven temperature down to 450 degrees and baked the bread for somewhere between 15 and 20 minutes, rotating the loaves halfway through.
Perhaps all that steaming sounds like a lot of work, but it really does help to create a beautiful crust! Here are the finished loaves:
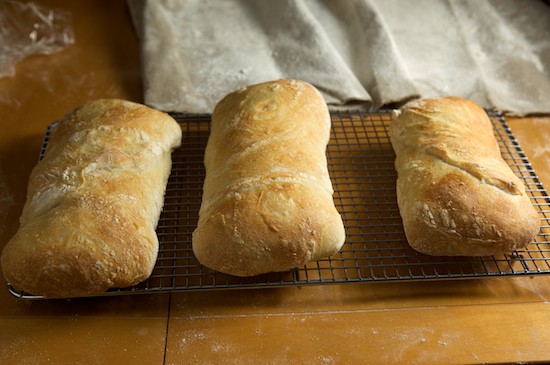
And what about the crumb? Perhaps the holes aren’t as large as the ciabatta featured in the photo in the book, but I was perfectly happy with the way mine turned out. Especially for a first try! The main problem I had with my loaves was the line of flour that was visible in the middle of the loaf. Next time I will try harder to brush the flour off the top of the dough before folding. But it didn’t affect the flavor or texture too much, so I’m still calling this one a success!
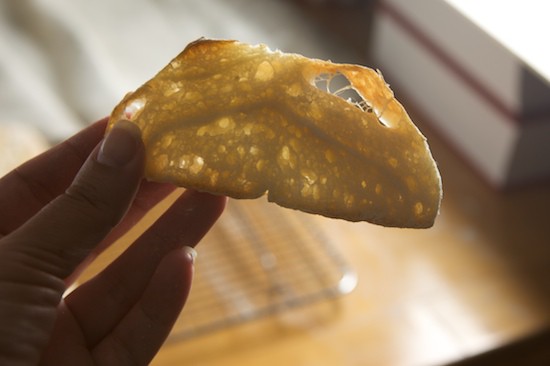
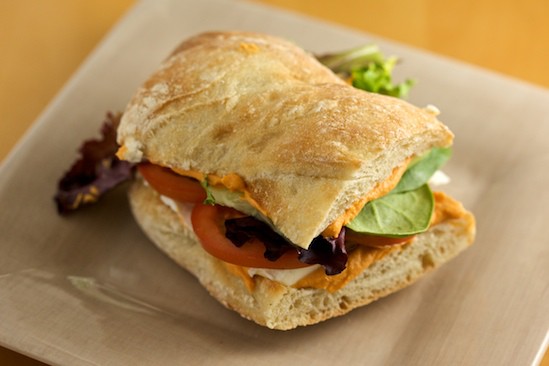
The ciabatta tasted great and I really enjoyed it as a sandwich bread, especially lightly toasted!
The Next Bread
This week we will be making Cinnamon Buns! The cinnamon bun instructions begin on page 143 of The Bread Baker’s Apprentice. You have the choice of making either cinnamon buns or sticky buns, depending on whether you use the white glaze or the caramel glaze. I’ve heard nothing but great things about this formula, so I can’t wait to get started! Good luck and happy baking!
Want to Bake Along With Us?
There are several ways for you to join in the fun! First of all, you need a copy of Peter Reinhart’s The Bread Baker’s Apprentice. Read the first section of the book carefully, as this will prepare you for the bread recipes in the second section of the book. Then just jump in and bake some Anadama Bread! But first, please visit The BBA Challenge Page for more details on how to participate in the group!
If you haven’t already, you might want to bookmark the BBA Challenge Page. From there you can see which breads are coming up soon, find answers to Frequently Asked Questions, visit and/or add yourself to our World Map, see the BBA Challenge Blogroll, and check out the continually updated slideshow of BBA Bread photos from our ever-expanding group of bakers!
For those of you who are participating in The BBA Challenge, here are some questions: How did you like the Ciabatta? Did you use the poolish or the biga for your pre-ferment? Did you stick to the original formula or did you try some of the variation? Did you learn anything new while using this formula?
And remember, if you wrote a blog post about Ciabatta, or have photos available online, please leave a comment and share your link!
Ciabatta from other BBA Challenge members:
- Wild Mushroom Ciabatta from Pink Stripes
- Ciabatta from Two Skinny Jenkins
- Ciabatta (poolish version) from Gourmet Hotdish and Other Culinary Disasters
- Ciabatta (biga version) from Anna on Flickr
- Ciabatta (poolish version) from The Other Side of Fifty
- Ciabatta (biga version) from Appoggiatura
- Ciabatta (poolish version) from Bewitching Kitchen
- Ciabatta (biga version) from You Eat Now
- Ciabatta (poolish version) from Flour Girl
- Ciabatta (poolish version) from Carried on the Wind
- Ciabatta (with wild yeast poolish) from Coffeegrounded’s Blog
MyKitchenInHalfCups says
Jon T. says
DishinandDishes says
Cindy says
pam says
Kathie says
Brandon says
Daniela Restrepo says
Jon T. says
Daniela Restrepo says
CateringPro says
Nicole says
Di says
kellypea says
Athanasius says
AP269 says
Abby says
Ravenlynne says
Anamaris says
Anamaris says