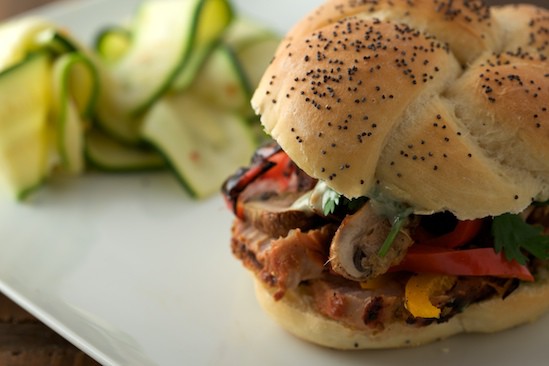
We’re back to the Bread Baker’s Apprentice Challenge! Today I’m sharing my experience with the 16th bread in the challenge: Kaiser Rolls. I enjoyed these rolls so much I’ve made them twice already! Like many of the breads in the book, these rolls do take two days to make, but they aren’t difficult and I found that they were both easy and a lot of fun to shape.
Kaiser rolls, also called New York hard rolls or Vienna rolls, are known for the distinctive star pattern on the top of the roll. The traditional method for achieving the classic kaiser roll shape requires a series of overlapping folds that intimidates me quite a bit. Luckily, the book offers a couple of other options for creating beautiful kaiser rolls.
The first of the easier shaping options is to use a special kaiser cutting tool that stamps a star pattern right into the top of the shaped rolls before they are proofed. While this method appears to be the easiest, it requires the purchase of the specialized tool and quite frankly seems a bit boring. The other option is to make a knotted roll. The knot method appeals to me because it looks easier than the folding method, but is more hands-on than the stamping method.
Most commercial bakeries make these rolls using the faster direct-dough method, but Mr. Reinhart’s version uses a pre-ferment to improve the flavor, texture, and color. The pâte fermentée, or old dough, is mixed up on day one and allowed to ferment slowly and develop flavor in the refrigerator overnight (or longer).
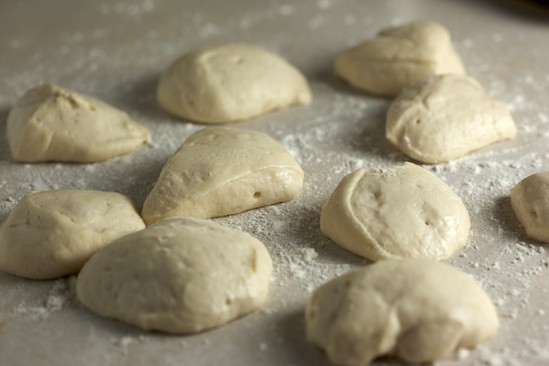
The following morning, or whenever you are ready to make the rolls, the old dough is taken from the fridge, chopped into pieces, and mixed into the new dough.
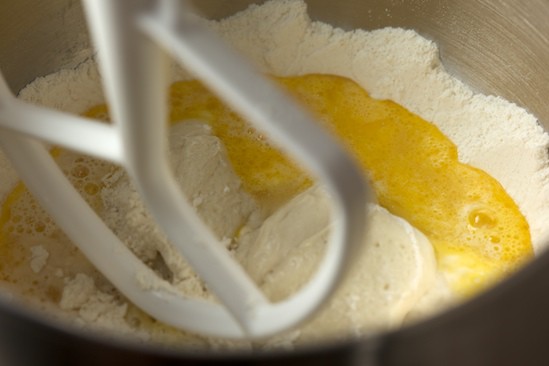
The dough ingredients should be quite familiar at this point in the challenge: bread flour, salt, diastatic malt powder (or barley malt syrup), instant yeast, egg, oil, and water.
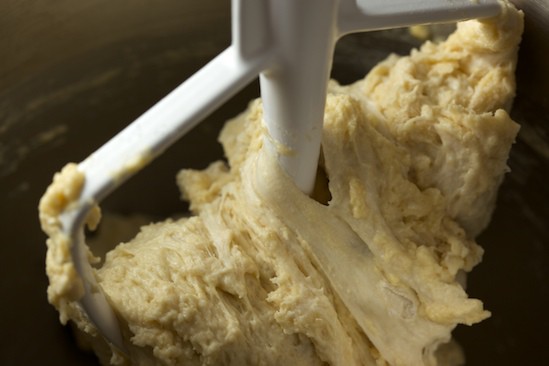
The ingredients can be stirred together by hand (I like to use a wooden spoon or dough whisk), or with the paddle attachment of a stand mixer. They should be mixed until the ingredients form a ball and there is no loose flour in the bottom of the bowl – a bit of extra water can be added if needed.
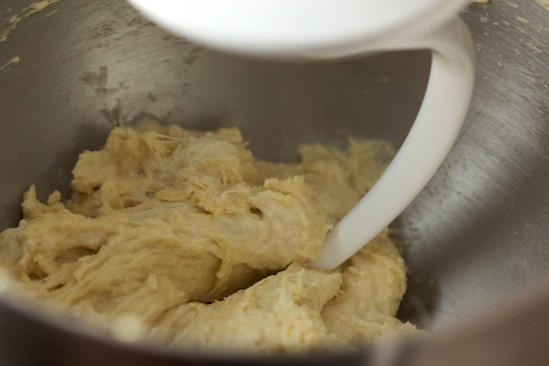
As I decided to knead the dough in the stand mixer, I switched to the dough hook once all the ingredients were well mixed. I might have accidentally added a bit too much water at the beginning because my dough was fairly wet and sticky, but I never mind starting with a sticky dough. It’s easier to knead extra flour into a dough if it’s too wet than to add extra water if the dough is too stiff.
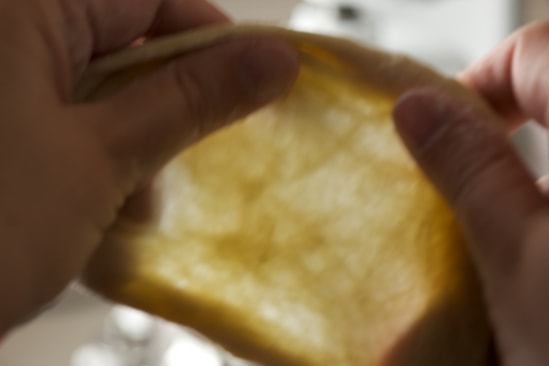
I kneaded the dough for about 7 minutes, adding small amounts of flour until the dough seemed right – soft and supple, tacky but not sticky. I checked the gluten development using the windowpane test, and it looked great.
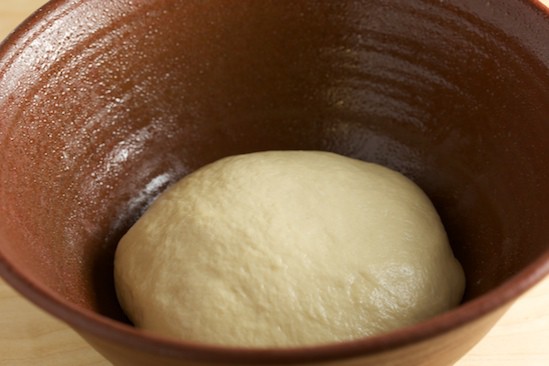
I placed the kneaded ball of dough into an oiled bowl, turning it once to coat both sides with oil in order to prevent the dough from drying out during the bulk fermentation stage.
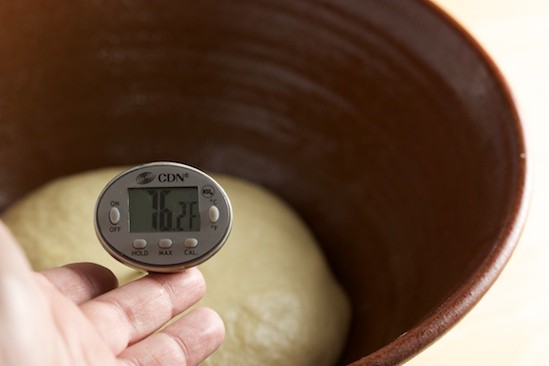
According to the book, the dough temperature after kneading should be between 77 and 81 degrees F. It was close, but a little on the cool side. My house was also fairly cool, so I knew there was a possibility that the two hour fermentation time might need to be extended a bit if the dough hadn’t doubled in that time.
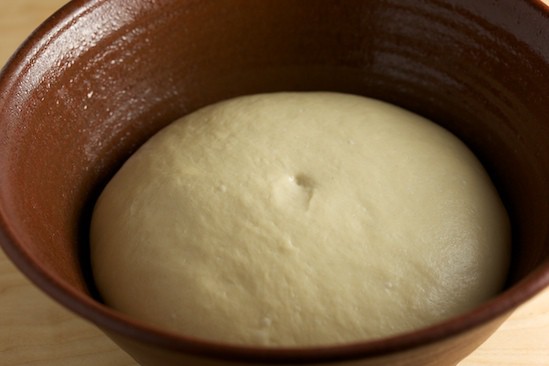
However, the dough appeared to have doubled after two hours, so I continued to the dividing and shaping phase.
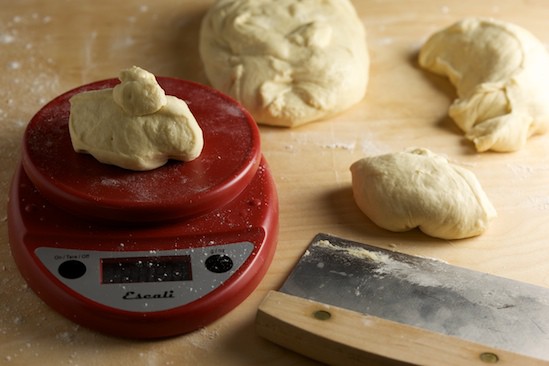
The dough can be divided into 6 pieces for larger rolls, or 9 pieces for smaller rolls. I decided to divide it into 8 pieces – it just seemed easier to divide the pieces into an even number. I used my scale to make sure they were all close to the same weight so the rolls would be uniform in size.
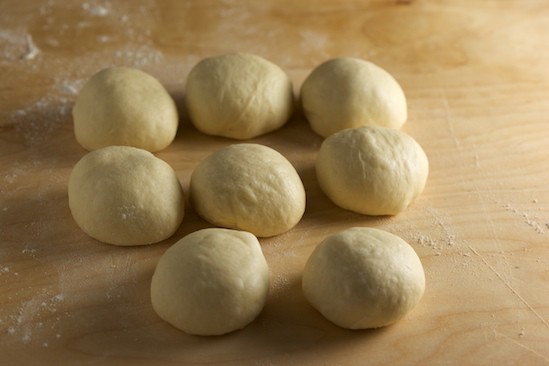
As the dough was divided and measured, I pre-shaped the pieces into rounds and let them rest for ten minutes. The resting period is important because it lets the gluten relax, allowing for easier stretching and shaping.
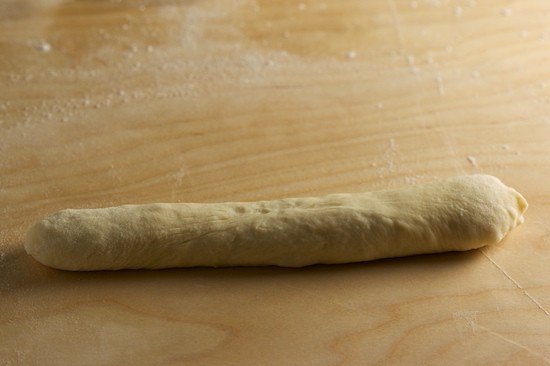
Next it was time to shape the rolls into knots. Using my hands, I rolled a ball of dough into a rope.
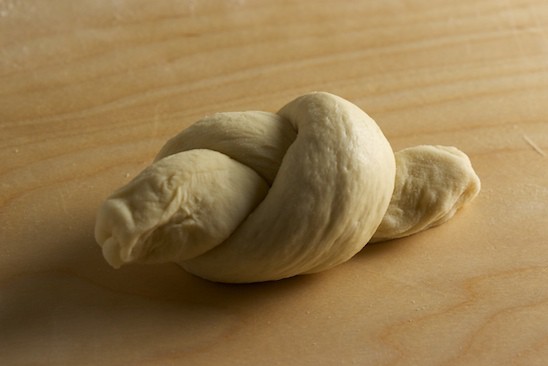
I tied the rope into a simple knot, leaving a bit of length at each end. As you can see, the rope shrunk as I tied the knot. Luckily, the dough is elastic and it was easy enough to stretch it and complete the shaping. To finish the knot, I pulled the right end of the rope up and over, and tucked it into the center. Next, I took the left end of the rope and pulled it down and under, pushing it through the bottom of the knot and up into the center.
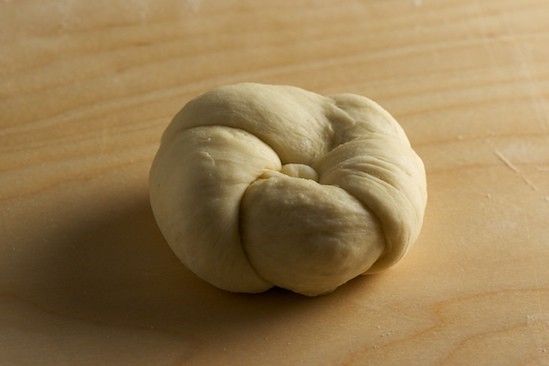
It’s hard to show the process using photos, but this is what a knotted kaiser roll will look like. The little nub in the center is from the left strand that was wrapped under and pushed up through the center of the knot. Some of mine ended up with the little nub in the center, some didn’t. The process was simple to learn using the photos and instructions in the book, and once I completed the first one, I breezed through the rest without any problems.
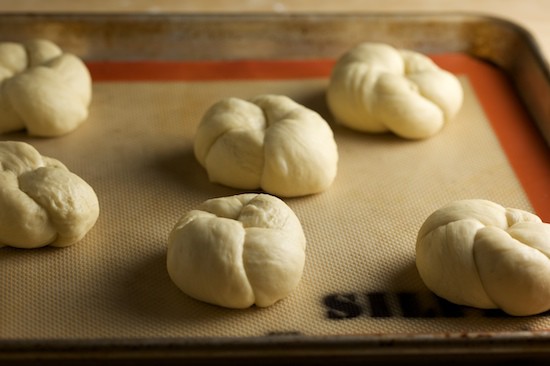
The shaped rolls were placed on a baking sheet, covered with plastic and allowed to proof at room temperature for about an hour and 15 minutes.
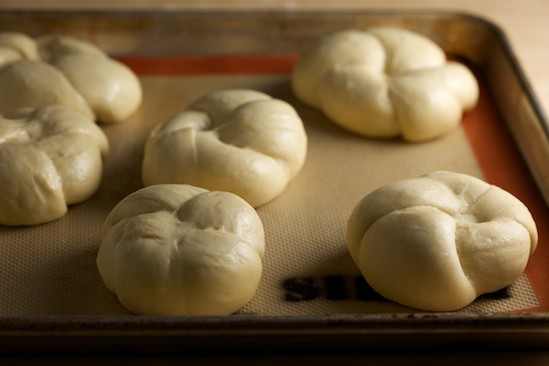
They were supposed to double in size, but I’m not sure if mine quite made it. I was tired of waiting and my oven was pre-heated and ready to go, so I decided to bake them anyway.
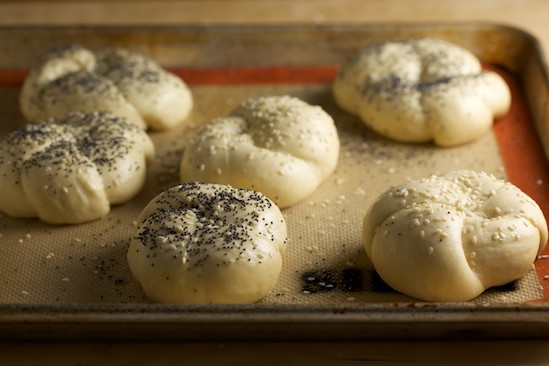
Right before placing the tray in the oven, I sprayed the rolls lightly with water and sprinkled seeds on top. The first time I made the rolls, I used only poppy seeds, but this time I topped some with poppy seeds, some with sesame seeds, and a few with both.
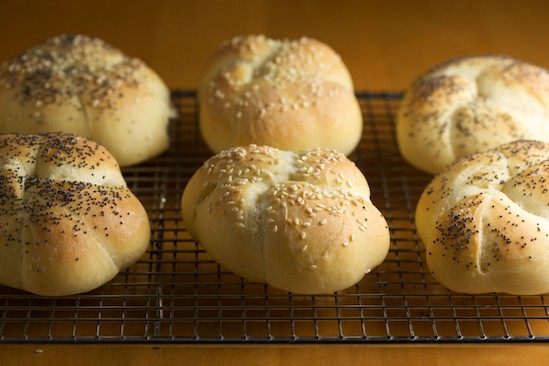
The rolls were baked for about 25 minutes, until the internal temperature reached 200 degrees. The crusts were thin and crisp, and the insides were soft – perfect for a sandwich roll!
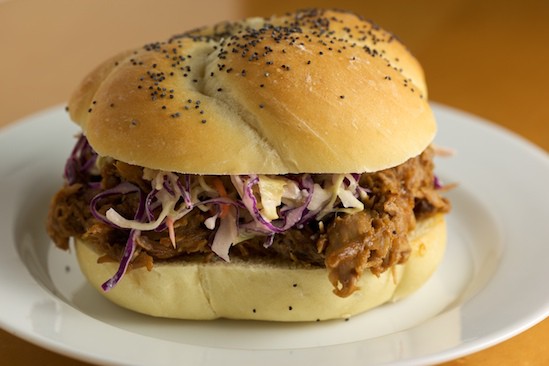
We used the kaiser rolls for these delicious pulled pork sandwiches made by my friend Amanda. If you’d like the recipe, head over to What We’re Eating – you won’t be disappointed!
Are you ready to give homemade Kaiser Rolls a try? The recipe can be found on page 175 of The Bread Baker’s Apprentice. The next bread in the challenge is Lavash Crackers…something a little different!
Want to Join The Bread Baker’s Apprentice Challenge?
There are several ways for you to join in the fun! First of all, you need a copy of Peter Reinhart’s The Bread Baker’s Apprentice. Read the first section of the book carefully, as this will prepare you for the bread recipes in the second section of the book. Then just jump in and bake some Anadama Bread, which is the first bread formula in the book. You may also visit The BBA Challenge Page for more details on how to participate in the group.
If you haven’t already, you might want to bookmark the BBA Challenge Page. From there you can see which breads are coming up soon, find answers to Frequently Asked Questions, visit and/or add yourself to our World Map, see the BBA Challenge Blogroll, and check out the continually updated slideshow of BBA Bread photos from our ever-expanding group of bakers!
Kaiser Rolls from other BBA Members:
- Kaiser Rolls from Two Skinny Jenkins
- Kaiser Rolls from Italian Food Forever
- Kaiser Rolls from The Other Side of Fifty
- Kaiser Rolls from My Hawaiian Home
- Kaiser Rolls from I Can Do That
- Kaiser Rolls from Bewitching Kitchen
- Kaiser Rolls from The Yumarama Artisan Bread Blog
- Kaiser Rolls from Something Shiny
- Kaiser Rolls from Texas Farmer’s Hot Stove
- Kaiser Rolls from 3Sheik
- Kaiser Rolls from Salt and Serenity
- Kaiser Rolls from Butter ‘n Thyme
- Kaiser Rolls from Goth Panda
- Kaiser Rolls from Round The Table
- Kaiser Rolls from Gourmet Hotdish and Other Culinary Disasters
Kathy - Panini Happy says
Di says
Nancy (n.o.e.) says
Charles says
Avanika (Yumsilicious Bakes) says
Trina says
Dan says
Angel Chodie says
Carolyn G says
Viola Stuteville says
thepilatesbiz.com says
Gail says
Heather says
Heather says
Theresa says