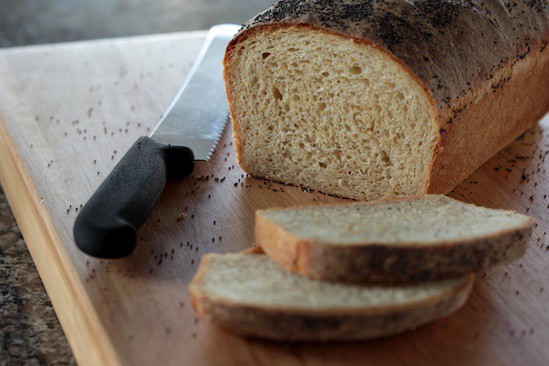
Continuing on with the Bread Baker’s Apprentice Challenge, I have reached the 20th bread in the book – Multigrain Bread Extraordinaire. The name makes me laugh, but this bread truly is extraordinary. It has a moist and chewy crumb that will stand up to just about any sandwich filling you can dream up, but it’s by no means dense or heavy. And it makes some of the best toast I’ve ever had.
This one is a two-day process because the grains need to be soaked overnight, but the bread is quite simple to make and it’s definitely one of my favorites so far. My only regret is that I didn’t make a double batch.
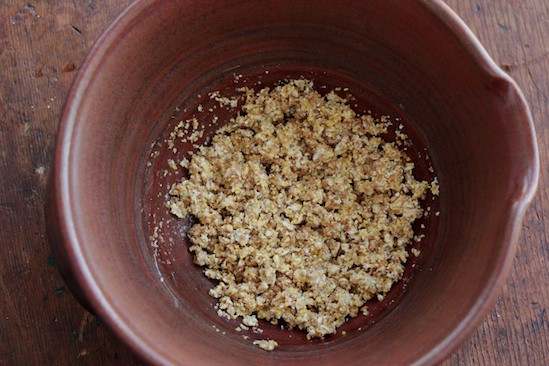
As you might have guessed, the formula includes multiple grains. The bowl pictured above contains coarse cornmeal, rolled oats, and wheat bran mixed with just enough water to moisten it all. These grains were soaked overnight to activate enzymes and break out the natural sugars. All that science stuff is still a bit over my head, but the soaker method always seems to work great. You may also use other types of grains – millet, quinoa, amaranth, wheat, buckwheat, and triticale flakes were all listed as options. I used what I had on hand.
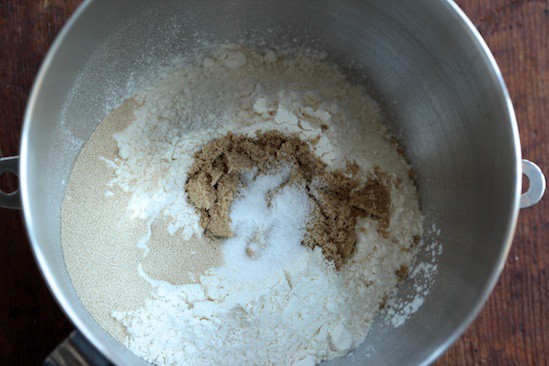
After soaking the grains, it’s time to make the dough. First, stir together the dry ingredients: bread flour, brown sugar, salt, and instant yeast.
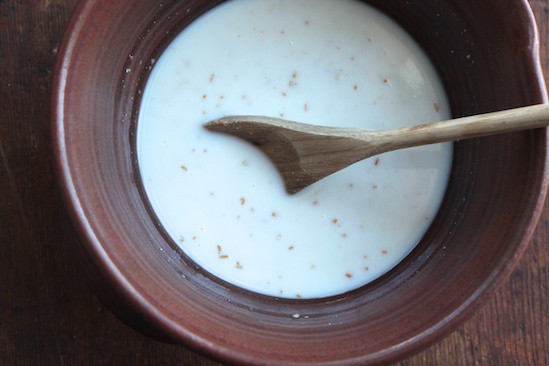
Next, combine the wet ingredients in a separate bowl: buttermilk, water, honey, and a few tablespoons of cooked brown rice.
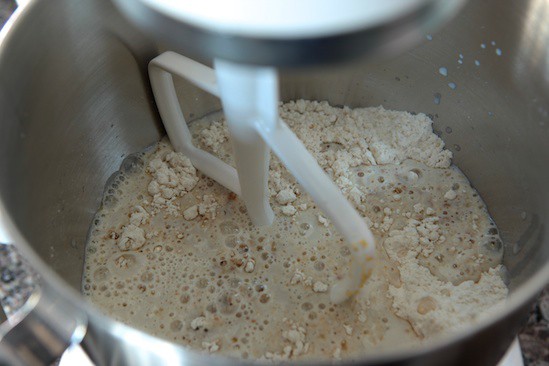
The wet ingredients are then added to the dry ingredients and everything gets mixed together. As usual, I relied on my trusty KitchenAid mixer, but this step can easily be done with a wooden spoon.
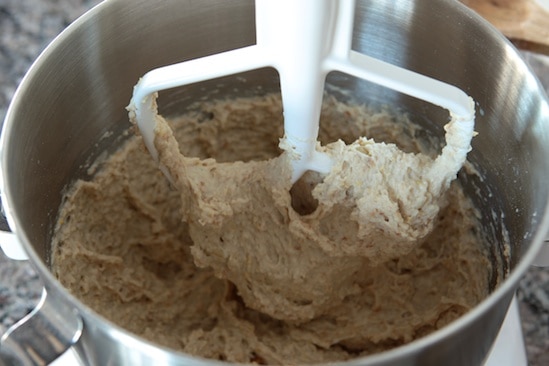
Mix on low speed until everything is combined and the dough forms a ball. My dough was obviously a little too wet, so it didn’t form a ball. But remember, if it’s too wet, just add flour a little at a time until the dough feels right. And if the dough feels too dry and there is still loose flour left in the bottom of the bowl, add a few drops of water.
Once the ingredients have been mixed together, it’s time to knead. If you’re using a stand mixer, switch to the dough hook. If kneading by hand, dump the dough out onto a floured surface and get to work!
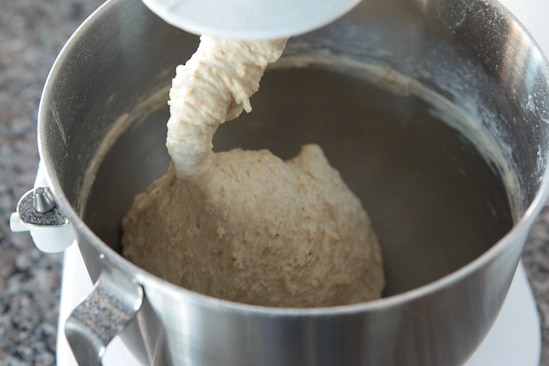
I kneaded the dough in the mixer for about 8 minutes. Mr. Reinhart suggests that you finish the last couple of minutes kneading by hand, so I purposely left the dough a bit wet knowing I would be kneading in extra flour by hand.
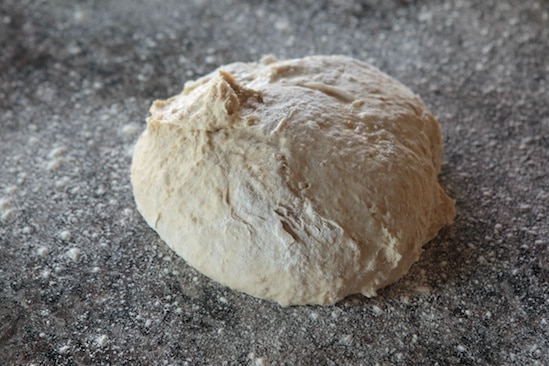
I dumped the sticky ball of dough out onto my floured counter and dusted my hands with flour.
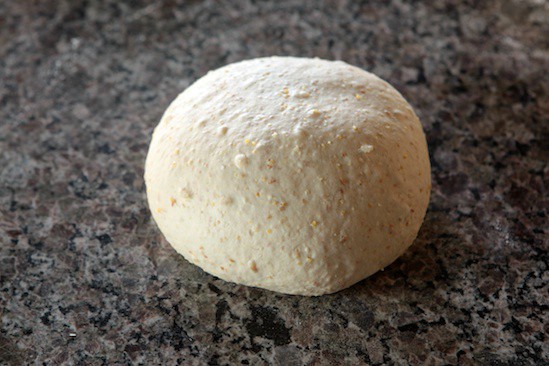
I kneaded it for about two extra minutes, until the dough was smooth and shiny, tacky but no longer sticky. At this point, you can check for gluten development using the windowpane test. I forgot to do it this time.
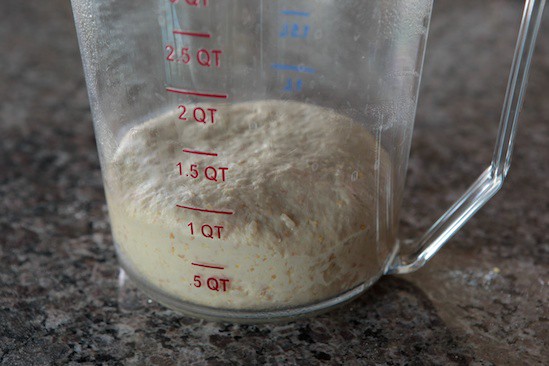
Next, I placed the ball of dough into a greased container. I used to let the dough rise in a regular bowl, but I recently bought this big clear pitcher with markings on the side that allow me to more accurately judge when the dough has doubled in size. Check your local restaurant supply store – they have all kinds of fun toys like this.
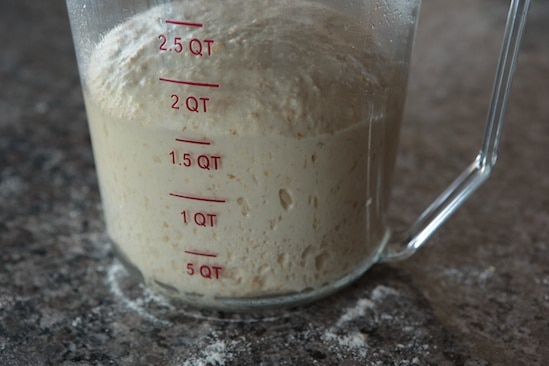
I didn’t realize how cool it was in my kitchen when I left the dough on the counter to rise. Mine took about 2 1/2 hours to double in size, but if you let it rise in a warm place it should double within 90 minutes.
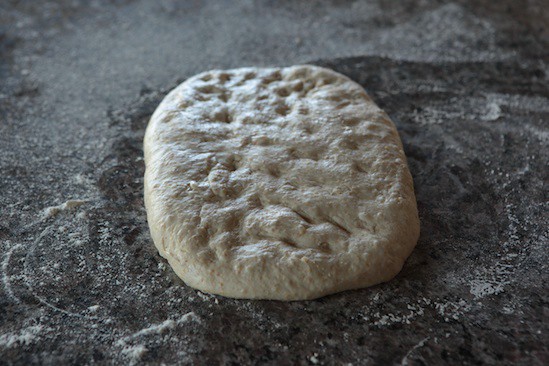
After it doubled, I took the dough out of the rising container and patted it out into a rectangle about 6 inches wide and 10 inches long. I gently pressed out all the big bubbles because this is a sandwich loaf and I didn’t want to end up with holes in it.

To form a loaf, start with a short end and roll the dough up into a cylinder.
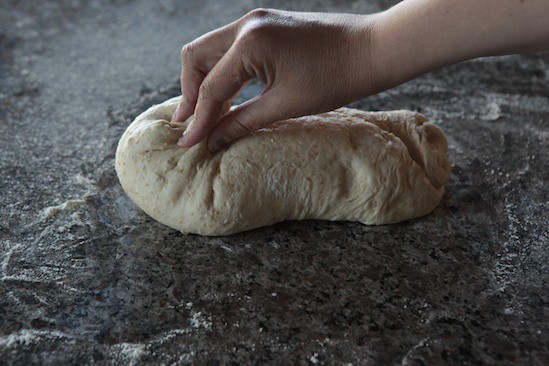
Because my cylinder always ends up too long for the pan, I usually fold the ends up and pinch the dough together to seal it. Seal the seam along the top of the loaf, also.
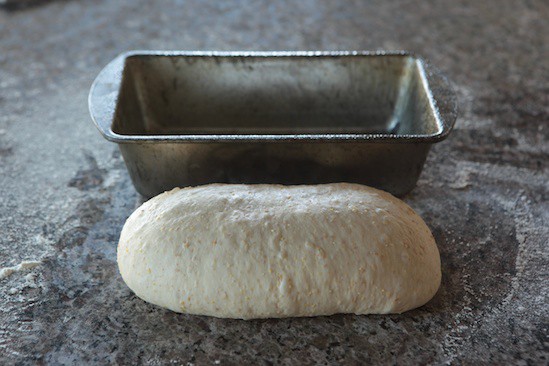
Flip the loaf over so the seam is on the bottom. The loaf should be about the same size as the pan you’re using – this one is a 9″x5″ loaf pan.
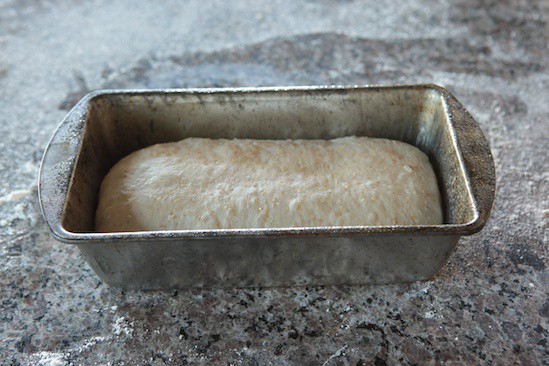
Place the loaf into the pan, seam-side down. I like to gently press it into the pan, so it fills the space evenly. According to the book, you should mist the loaf with water at this point and sprinkle on poppy seeds, but I completely missed that part. Oooops!
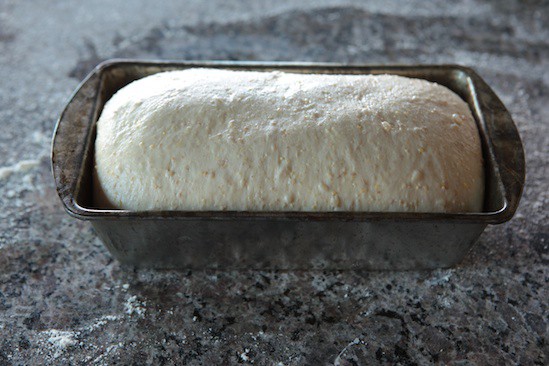
Instead, I misted it with spray oil, covered it with plastic wrap and let it rise for another 90 minutes until the loaf had crested the pan by a little over an inch. This is when I noticed the part in the book about the poppy seeds!

I went ahead and misted the fully-proofed loaf with water and sprinkled it with poppy seeds. The problem was that I had misted it with spray oil earlier – I probably should have used an egg wash instead of water to glue the seeds to the loaf.
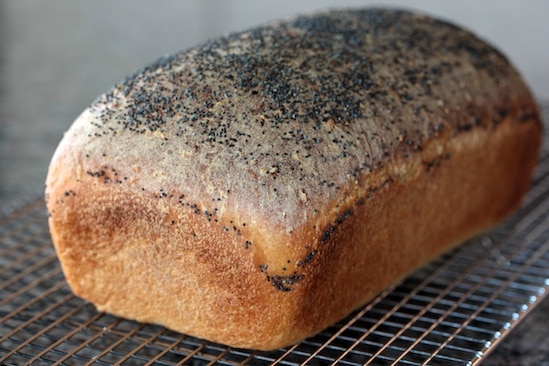
The loaf took about 45 minutes to bake and emerged from the pan a beautiful golden color. As I suspected, the poppy seeds were rolling off left and right!
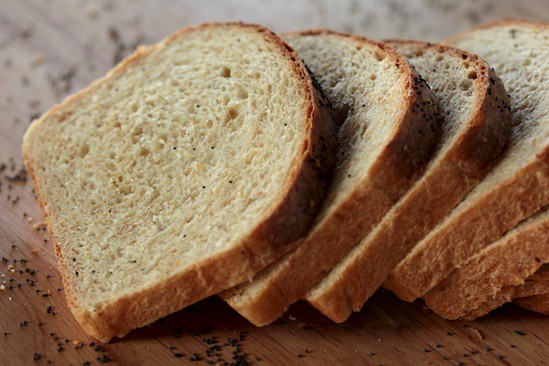
After allowing it cool completely (always the hardest part), I sliced it and saw that the inside looked even better than the outside. I ate the first slice with softened butter and it was absolutely delicious. The crumb is moist and chewy, the flavor complex and slightly sweet. It’s a great sandwich bread and also toasts beautifully. It was a wonderful complement to my homemade strawberry jam this morning at breakfast.
If you’re following along in the challenge, the formula can be found on page 187 of The Bread Baker’s Apprentice. The next bread I’ll be baking is Pain à l’Ancienne and I’m hoping to make some beautiful rustic baguettes similar to those pictured in the book. I’ve been excited about this one since the beginning of the challenge!
Want to Join The Bread Baker’s Apprentice Challenge?
There are several ways for you to join in the fun! First of all, you need a copy of Peter Reinhart’s The Bread Baker’s Apprentice. Read the first section of the book carefully, as this will prepare you for the bread recipes in the second section of the book. Then just jump in and bake some Anadama Bread, which is the first bread formula in the book. You may also visit The BBA Challenge Page for more details on how to participate in the group.
If you haven’t already, you might want to bookmark the BBA Challenge Page. From there you can see which breads are coming up soon, find answers to Frequently Asked Questions, visit and/or add yourself to our World Map, see the BBA Challenge Blogroll, and check out the continually updated slideshow of BBA Bread photos from our ever-expanding group of bakers!
Multigrain Bread Extraordinaire from other BBA Bakers
Samantha Angela @ Bikini Birthday says
SallyBR says
Anne Marie says
Di says
Calantha says
Margaret says
Nancy (n.o.e.) says
Nicole says
Cate says
Abby says
John DePaula says
Jenn (Jenn's Menu and Lifestyle Blog) says
sara says
The Teacher Cooks says
Dustin says
Srivalli says
nags says
Helen Gedney says
Renee says
Alelunetta says