
Ok, let me come right out and say this. This focaccia was the best I’ve ever tasted in my life. Period. Like many of the formulas in the book, this one takes two days to make. And although it’s more labor and time-intensive than other focaccia recipes I’ve tried, I’m pretty sure it’s the only one I will ever make again.
This is the 13th bread I’ve made for The Bread Baker’s Apprentice Challenge (with 31 more to come) and it has moved up to the top of my favorites list. Honestly, I didn’t think I could love any bread more than the salami and cheese-filled Casatiello. But I was wrong. Foccacia, I love you.
There are two different formulas for focaccia in The Bread Baker’s Apprentice, both of which take two days to make. So why does it take so much time to make a great focaccia? As many of you have learned from following along with my bread baking, long, slow fermentation of the dough is key to developing maximum flavor. This can be achieved by using a pre-ferment such as a poolish (like I used for the ciabatta), or by refrigerating the dough overnight (the bagels were a good example of overnight fermentation).
I chose to make the Poolish Focaccia, for no other reason than I just like to watch the bubbles form in the poolish. Also, I like to say the word ‘poolish.’ A poolish is simply a combination of flour, water, and a small amount of yeast. It gets mixed together to form a batter-like dough and is allowed to ferment at room temperature until it gets nice and bubbly.
Here is my poolish after mixing:
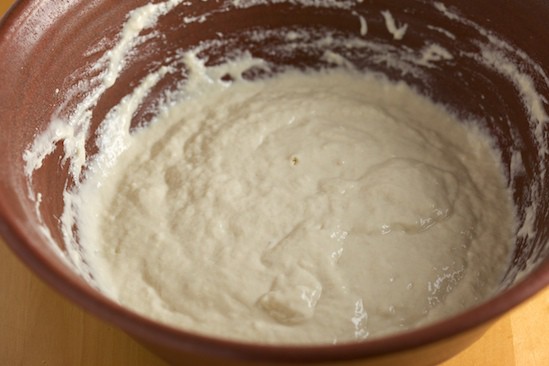
and then a few hours later:
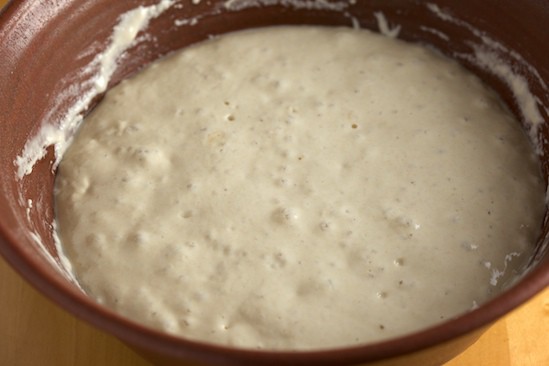
As you can see, the poolish increases in size and starts bubbling away. If you stand and watch for a minute, you can actually see bubbles form, grow, and burst. It’s alive! Now once it’s nice and bubbly you want to put the poolish in the refrigerator for a long, slow, overnight ferment. You can let it hang out in the fridge for up to 3 days and continue with the focaccia whenever you are ready.
Ready? Ok, take the poolish out of the fridge one hour before you want to make the dough so it can warm up a bit. For the focaccia dough, you will be adding more flour, yeast, water, olive oil and salt to the poolish.
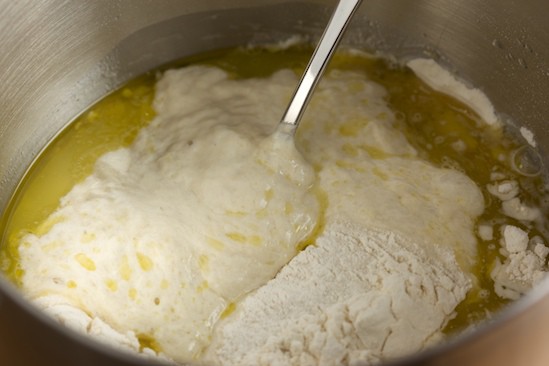
I stirred the dough up with a spoon until it formed a wet, sticky dough.
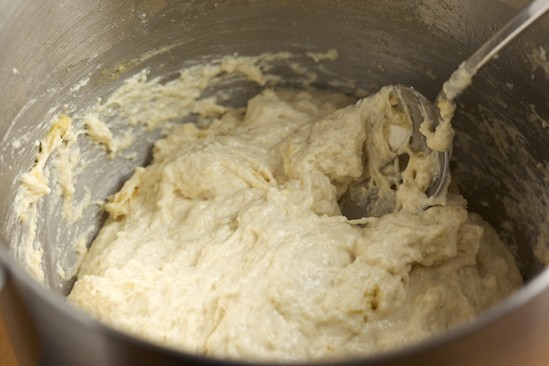
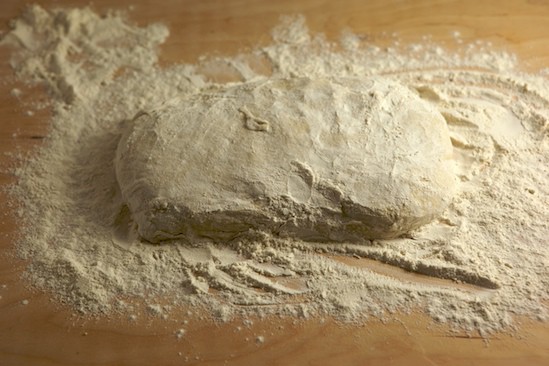
Then I kneaded it for 7 or 8 minutes using the dough hook on my Kitchen Aid mixer. Once I had a smooth, sticky dough, I stopped kneading and dumped it out onto a bed of flour. Doesn’t this remind you of my ciabatta? It should, because I used too much flour on the board for the ciabatta and for some reason didn’t learn from my mistake!

So the next step is to dust the dough liberally with flour and then pat it into a rectangle. This was as close as I managed to get. It’s almost a rectangle!
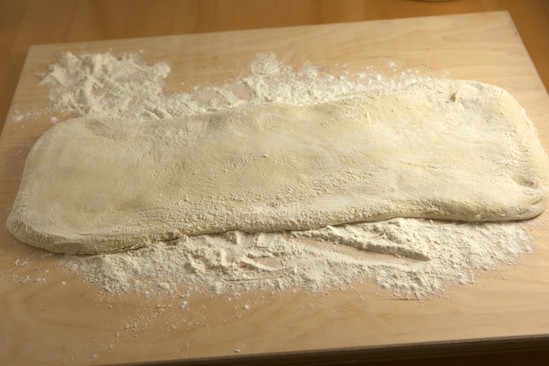
Now for the stretching and folding. Again, this should seem familiar if you saw my ciabatta post. After letting the dough relax for a few minutes, I coated my hands with flour and stretched the rectangle out. It’s supposed to be twice its original size. This time I brushed most of the flour off the top of the dough before folding.
Next, fold one side of the dough in towards the middle then brush the flour off again.
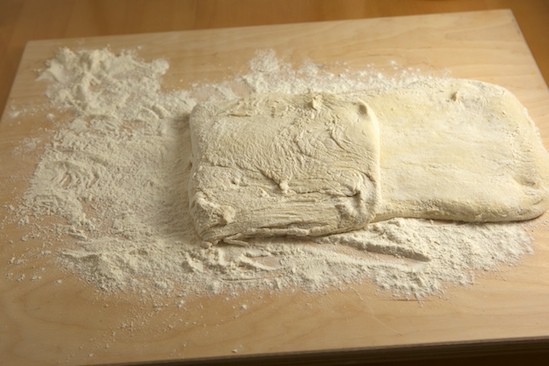
Then fold the other side over, letter style. Now I’ve completed one “stretch and fold.”
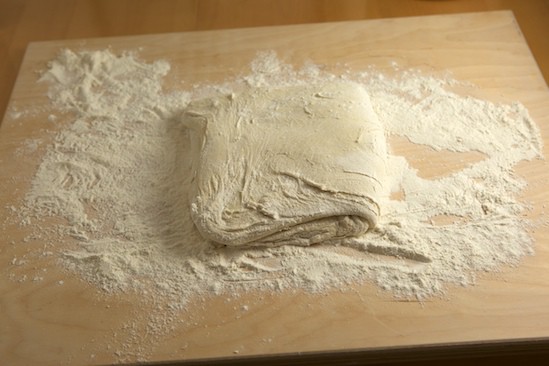
I covered my dough and let it rest for 30 minutes and then repeated the stretch and fold process two more times, allowing the 30 minute rest each time. As you can see, the dough grew during the process! But now it’s time to let it grow even more. I covered it and let it ferment at room temperature for one hour.
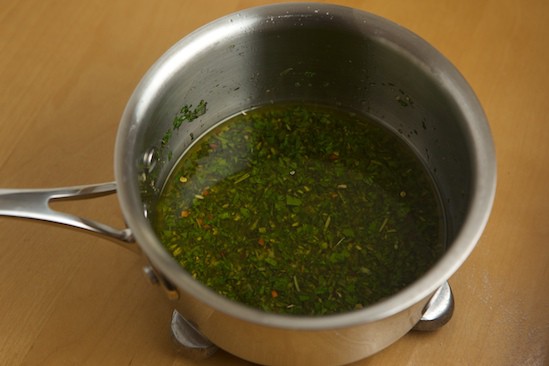
While the dough was fermenting, I made a garlic herb oil using fresh garlic, basil, rosemary and parsley. I also added a bit of crushed red pepper. Hold on, you’ll see what I do with the oil in a minute.
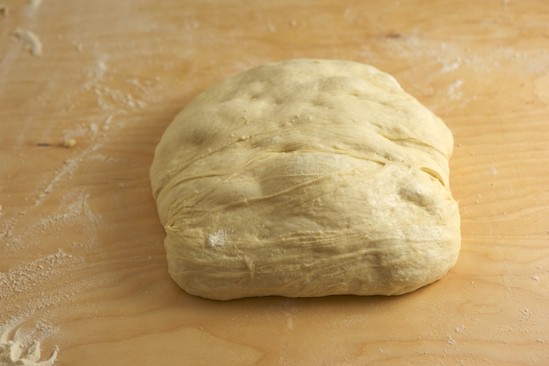
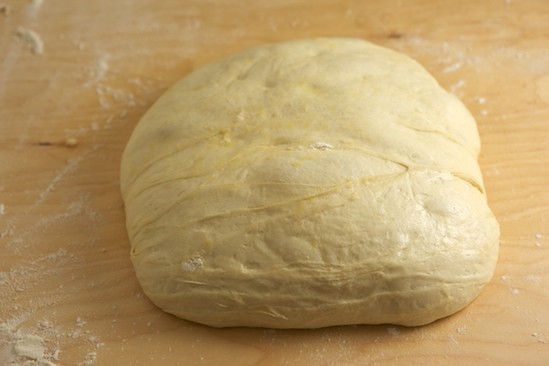
After an hour, the dough had doubled in size and was ready to go in the pan.
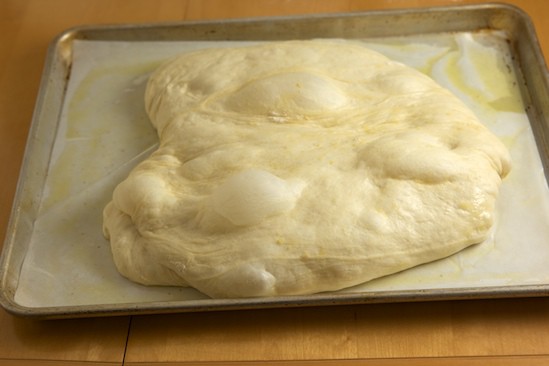
I lined my rimmed half sheet pan with parchment and spread olive oil (not the herb oil) all over the bottom. I gently lifted the dough off the counter and spread it out on the parchment. Not as easy as it sounds! As you can see, the dough didn’t hold it’s rectangular shape very well.
I drizzled some of the herb oil over the top of the dough and started dimpling it with my fingers, gently spreading the dough out in the pan.
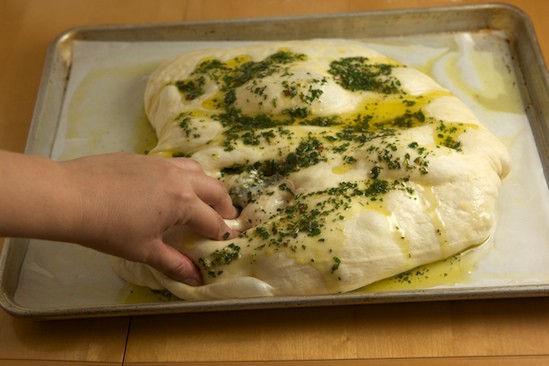
The dough didn’t quite reach the edges of the pan, but I wasn’t worried because it still had some growing to do!
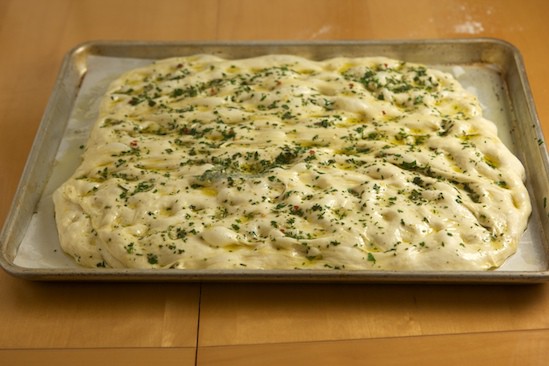
I covered the pan and let it proof for about an hour and a half. As you can see, the dough definitely filled the pan!
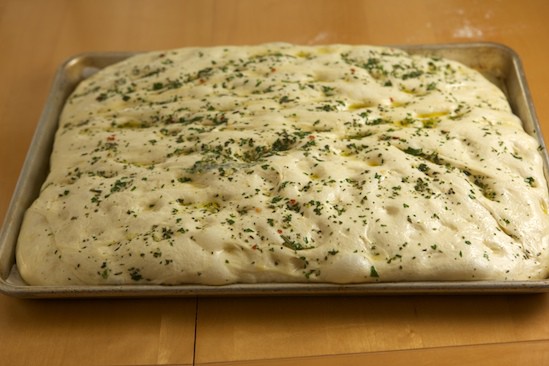
Next, I drizzled even more herb oil over the top.
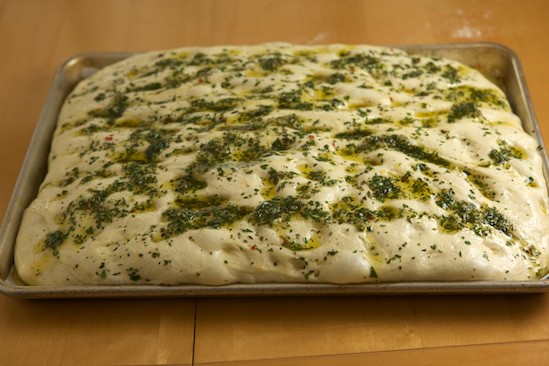
Then I dimpled the dough all over with my fingertips again.
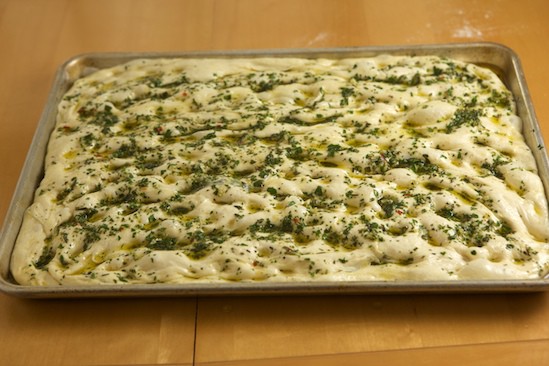
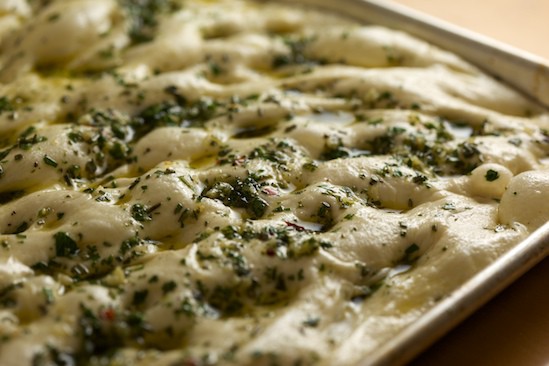
Before putting the focaccia in the 5oo degree oven, I sprinkled the whole thing lightly with coarse salt. The focaccia baked for about 20 minutes, and I rotated the pan halfway through baking. Although the oven is preheated to 500 degrees, it gets turned down to 450 after putting the bread in the oven.
Here is the resulting bread:
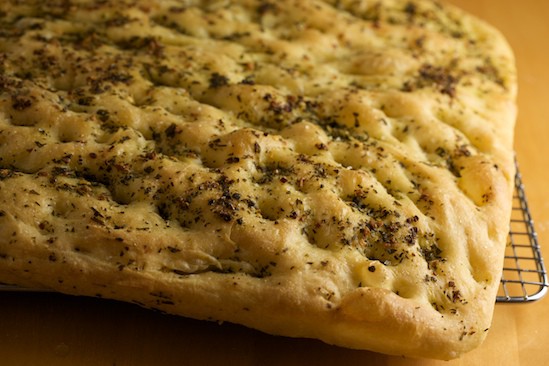
The crumb was beautiful!
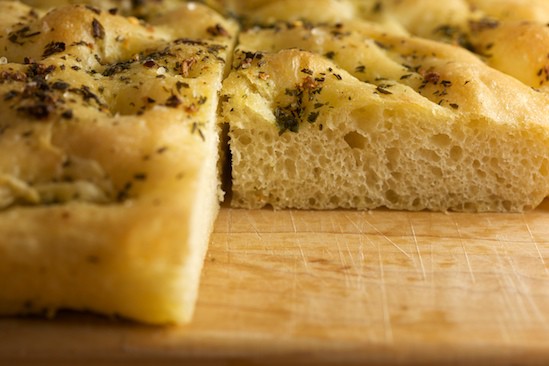
And the flavor and texture were out of this world!
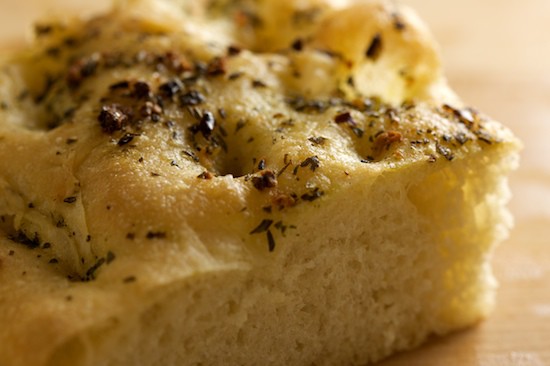
I can’t wait to make this focaccia again and try some different toppings. I loved the herb oil, but can’t wait to try it with cheese and olives, among other things. I might even make a thick crust pizza using this dough. It is absolutely amazing!
The recipe for Poolish Focaccia can be found on page 164 of The Bread Baker’s Apprentice.
The next bread in the challenge is French Bread! I can’t wait to tell you about the beautiful crusty baguettes that came out of my oven last weekend. Yes, I have been baking bread faster than I’ve been able to write about it, but my blog posts will soon be caught up to my baking.
Want to Join The Bread Baker’s Apprentice Challenge?
There are several ways for you to join in the fun! First of all, you need a copy of Peter Reinhart’s The Bread Baker’s Apprentice. Read the first section of the book carefully, as this will prepare you for the bread recipes in the second section of the book. Then just jump in and bake some Anadama Bread, which is the first recipe in the book. But first, please visit The BBA Challenge Page for more details on how to participate in the group!
If you haven’t already, you might want to bookmark the BBA Challenge Page. From there you can see which breads are coming up soon, find answers to Frequently Asked Questions, visit and/or add yourself to our World Map, see the BBA Challenge Blogroll, and check out the continually updated slideshow of BBA Bread photos from our ever-expanding group of bakers!
Focaccia from other BBA Challenge Members:
- Tomato Parmesan Focaccia from Lovin’ from the Oven
- Herbed Focaccia from The Yumarama Bread Blog
- Caramelized Onion and Cherry Tomato Focaccia from I Can Do that
- Focaccia with Feta, Tomatoes and Pine Nuts from MustangTerri
- Herbed Mushroom and Cheese Focaccia from Texas Farmer’s Hot Stove
- Herbed Focaccia from Bewitching Kitchen
- Herbed Focaccia with Tomatoes and Blue Cheese from Nico’s Blog
- Sun Dried Tomato Focaccia from Goth Panda
- Herbed Focaccia from Something Shiny
- Focaccia with Caramelized Onions and Parmesan Cheese from Culinary Disasters
- Herbed Focaccia from The Other Side of Fifty
- Focaccia with Peppers, Olives and Feta from Pete Eatemall
- Caramelized Shallot and Golden Raisin Focaccia from Pink Stripes
- Grape and Walnut Focaccia from Eating Out Loud
- Raisin Focaccia from Eating is the Hard Part
- Blue Cheese, Pepper, Steak and Mushroom Focaccia from Joelen’s Culinary Adventures
Health Food Monster says
Tanis P says
Christine says
Diane says
Madam Chow says
Ricardo says
Katie says
Dianne says
Sylvia says
Abby says
Abby says
Miss Rachel says
AP269 says
Ravenlynne says
Marker says
blogfifty says