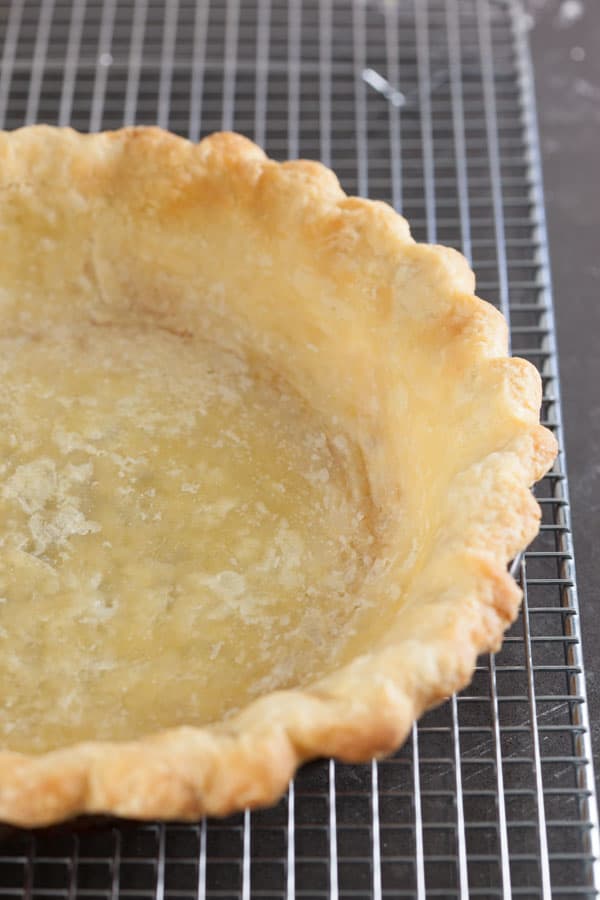
This method of rolling out pie dough, fitting it to the pie plate, crimping the edges, and blind baking the crust is one you can use with any pie dough recipe and for any pie recipe that requires a pre-baked or blind-baked pie crust.
This is a continuation of my sourdough pie crust tutorial, so the pie dough in the photos below is an all-butter pastry dough made with the addition of sourdough starter. But it behaves pretty much like any all-butter pie dough.
I have tried many different methods of blind baking pie crusts over the years and I’ve never run across one that is foolproof. I’ve dealt with so many slumped, shrunken, misshapen pie crusts!
But this year is different. Thanks to this amazing post by Stella Parks at Serious Eats, I feel like I finally have a go-to method that I can rely on.
So let’s get started.
First of all, when blind baking a pie crust, you want to start with the right pie plate. The best pie plate for a single crust pie is one with a flat lip around the outside. That lip is important in helping to build up a crust edge that keeps the pie crust from slumping or becoming misshapen.
Glass and metal pie plates will give you the best results when blind baking a pie crust because they conduct heat better than ceramic. I like to use these basic 9-inch Pyrex pie plates.
You want to start with pie dough that is well chilled, because it is important to keep the butter from softening too much while rolling it out. The problem is that cold butter is very firm so it’s really not that easy to roll out.
But follow along and I’ll show you a little trick to help you get rolling.
To get started, you want to make sure you flour your rolling surface and have extra flour nearby because you’ll be adding extra flour as you go.
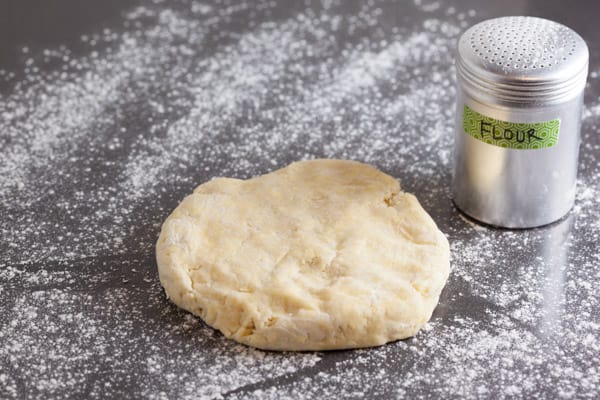
I like to keep flour in a little shaker canister because it’s easy to add just a bit of flour when I need it. But keeping a bowl full of flour nearby to sprinkle with your fingers works well, too.
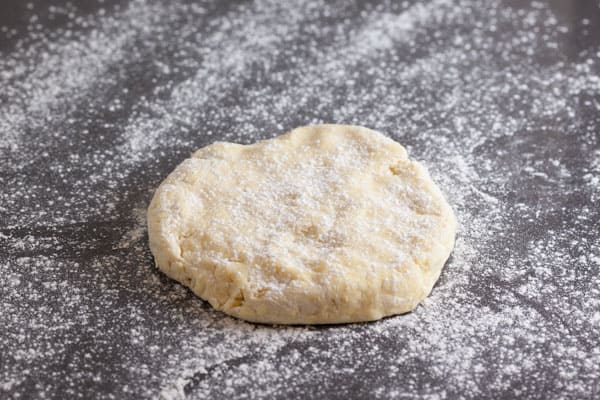
Make sure to flour the top of the dough as well.
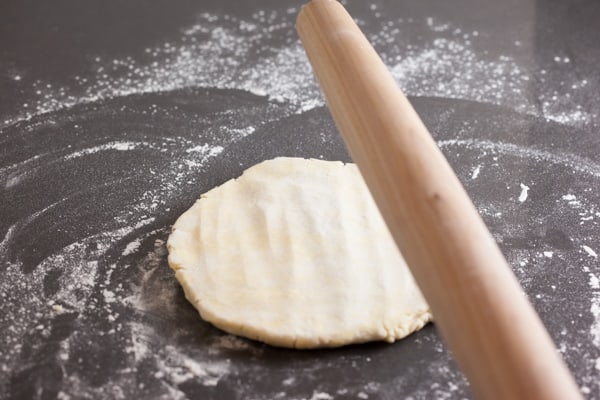
Now here’s the little trick. To soften the dough quickly, without letting it warm up, I like to pound it a bit with my rolling pin. I can’t remember where I saw this, but I have a feeling that it came from Julia Child. It seems like something she would do! Anyway, it works great.
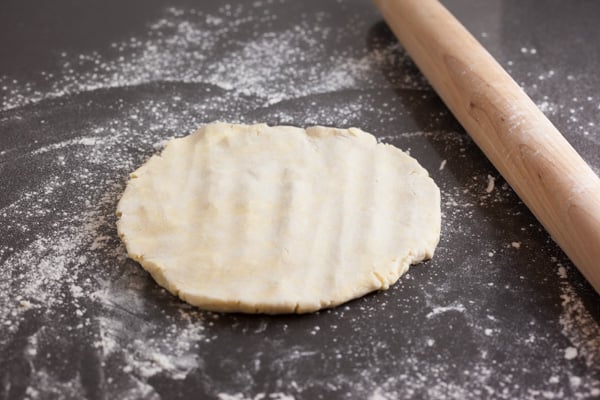
As you whack it a few times, you’ll see it expand a bit in one direction. Next, turn it 90 degrees, and hit it a few more times. The dough will then be a bit more pliable and easier to roll. And by turning the dough as you hit it, it should keep a somewhat circular shape.
Now, check to see if it’s sticking underneath and add some more flour on the top and bottom before you start rolling.
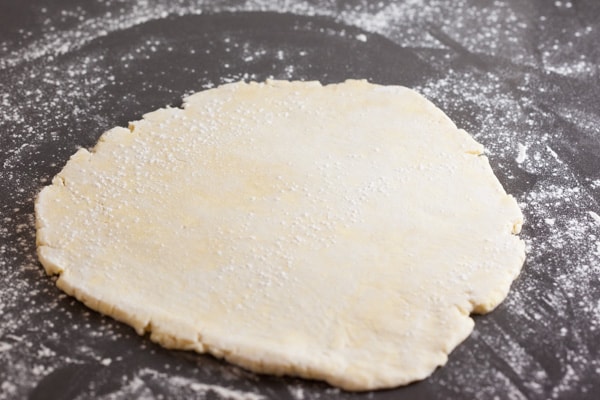
I like to start rolling from the center and up, and then roll back down to the bottom. Then I give the dough a quarter turn and repeat. As you’re rolling and turning, check for sticking and just sprinkle a bit more flour as you go. It’s also useful to flip the dough over a few times.
I’m going to share a video at the bottom of this post demonstrating how to roll out pie dough, because it’s not easy to show in pictures.
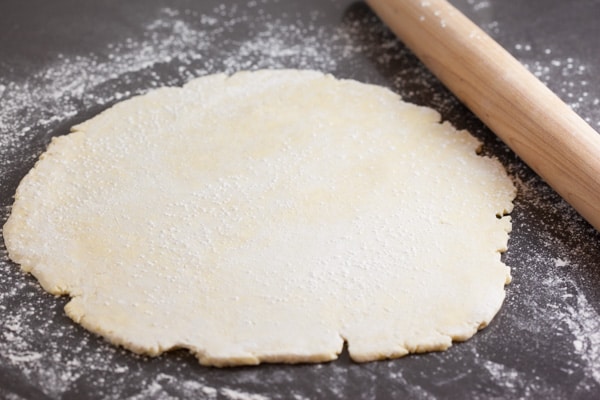
Depending on your pie crust recipe and how dry your dough is, you may end up with some cracking. I usually do, because I tend to err on the side of a dryer dough. If this happens, just kind of pinch the cracks together with your fingertips and continue on.
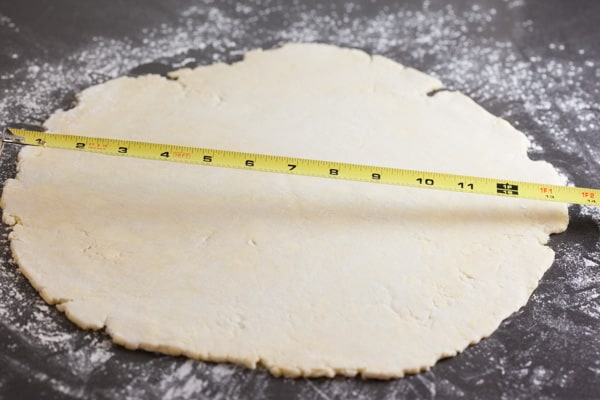
I try to roll my dough out to between a 13- and 14-inch diameter. This gives me enough overhang to account for cracks or a not-quite-round circle. And yes, I do measure.
I actually keep a small tape measure or roll of measuring tape in a kitchen drawer with my baking stuff, because I’m not very good at estimating measurements.
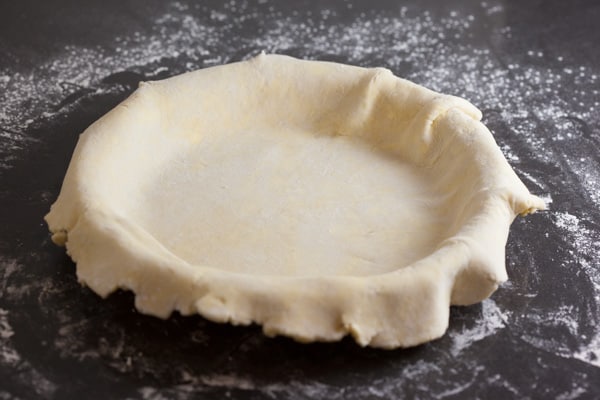
To move the dough to the pie plate, I think it’s easiest to carefully fold it in half before lifting it, then lay it over half the pie plate and carefully unfold it. Some people wrap it around the rolling pin and then unroll it over the plate, but the folding method works best for me.
Once you get the dough into the pie plate, try not to stretch it. Just gently ease it in, as centered as you can.
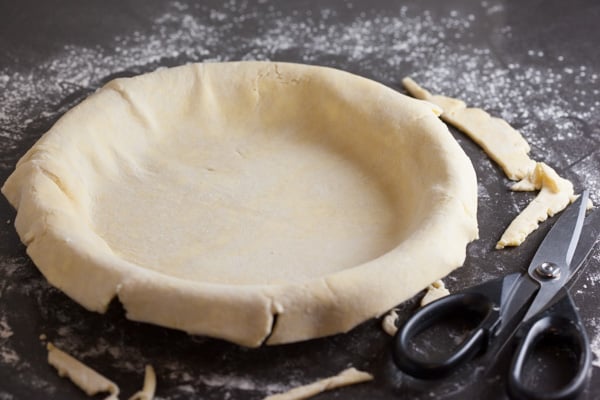
In order to have an even crimped edge, it’s good to start with an even overhang, which will be folded under to create the crimped edge. It’s easiest to use scissors to trim the dough, and I like to trim it to about an inch all around. Yes, I measured it again. It doesn’t have to be perfect, but just try to keep it fairly even.
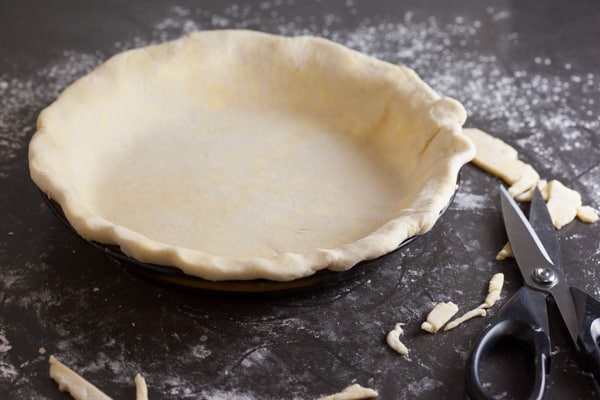
Next, fold that overhang underneath so that the edge of the folded dough is about even with the edge of the pie plate. That pie crust edge will hang on to the pie plate while it is baking and help prevent it from slumping down. This is why a plain pie plate with a lip around the outside works best for single crust pies.
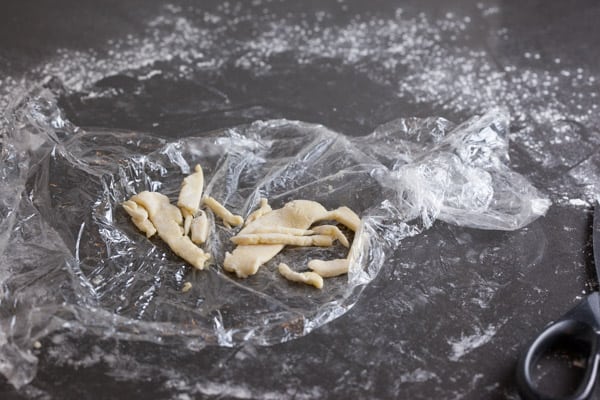
You can wrap your extra dough scraps in the leftover plastic wrap and pop them in the fridge in case you want to turn them into pie decorations or make little pie crust cookies.
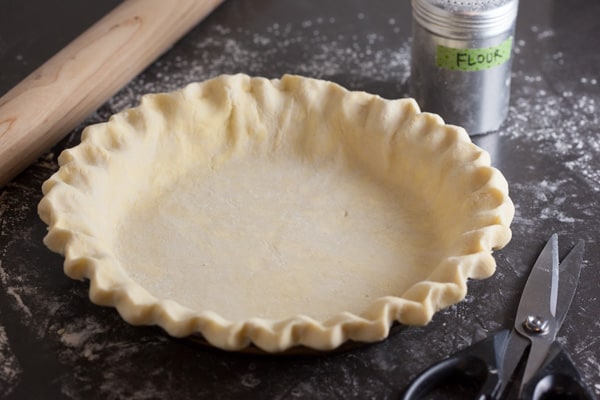
Next, you can make a decorative edge by crimping the dough with your fingers or using the tines of a fork to press it down against the pie plate edge. Again, I’ll share a video down below to demonstrate how to make a fluted edge.
Crimping the pie crust edge with your fingers or a fork not only makes your pie look nice, but it also helps to keep the crust in place while baking.
Once your crust is formed, you’ll need to chill it again before baking it. In my experience, the minimum is one hour, but the Serious Eats article on blind baking a pie crust suggests a minimum of two hours. This last time, I split the difference and chilled it for an hour and a half, because that’s what my schedule allowed.
Now here are some more of the tricks I learned from the Serious Eats article.
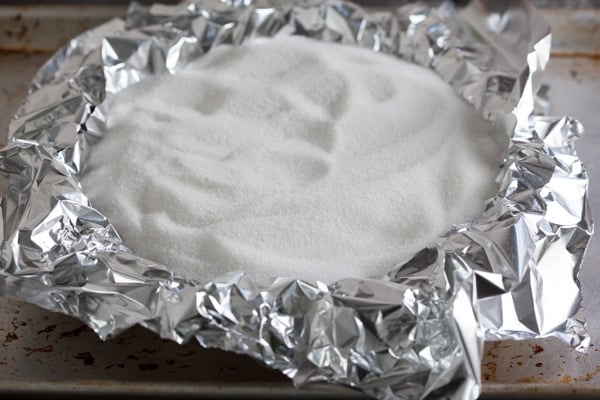
Instead of standard pie weights, beans, or rice, you can use sugar to weigh down the crust while baking it. The sugar is heavy and spreads to evenly fill the pie plate. Line the crust with foil, then fill it to the brim!
When you’re done with it, the sugar can be stored and used as normal. It will eventually turn a light brown if you bake it more than once, but the flavor of the lightly toasted sugar is wonderful and would enhance pretty much any dessert.
The second trick is to bake the crust at 350 degrees for a full hour, with the foil and sugar (or pie weights) in place the entire time. I have to admit I was a little skeptical of this idea, but it worked so well!
The foil protected the crust from over-browning, the crust didn’t shrink or slump or puff up. This is by far the best result I’ve ever had blind baking a pie crust!
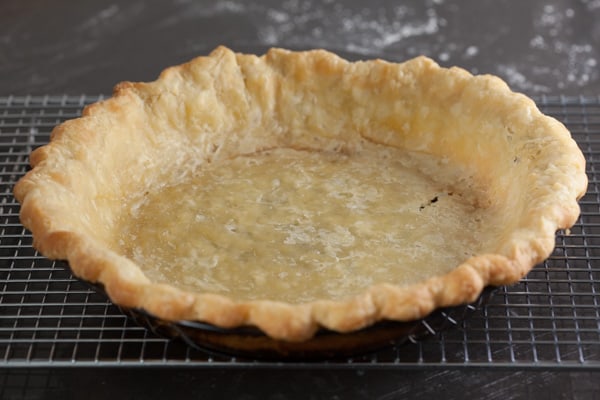
To read more about the details of this method, read the full post on Serious Eats. It’s full of great information!
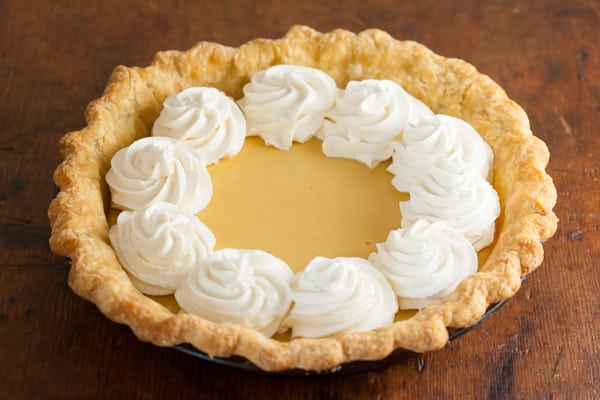
Even though I baked this lemon cream pie for an additional 20 minutes at 325 degrees, you can see that the pre-baked crust did not brown too much. This will definitely be my method of choice for blind baking pie crusts in the future.
Now here are those videos I promised!
This one from Real Simple shows you how to roll out a pie crust. If you can’t see the embedded video below, you can watch it here on YouTube.
And here’s a video from Fine Cooking that shows you one way to crimp the edges of your pie crust. If you can’t see the embedded video below, you can watch it here on YouTube.
Related Recipes:
- Sourdough Pie Crust
- Lemon Cream Pie
- Apple Galette
- Pumpkin Praline Cake with Whipped Cream Frosting
- Sour Cream Pear Cake with Pecan Streusel Topping
Pie Crust Recipes Around the Web:
- Old-Fashioned Flaky Pie Dough from Serious Eats <–all butter
- Cook’s Illustrated Foolproof Pie Dough Recipe from Serious Eats <– the one with vodka
- Sour Cream Pie Crust from Simply Recipes <–butter and sour cream
- Alton Brown’s Pie Crust from Food Network <–butter and lard
- Perfect Pie Crust from Pioneer Woman <–all shortening
- Ina Garten’s Perfect Pie Crust from Food Network <–butter and shortening
Glenda says
shelly Rathore says
Jamey Pendergrass says
couponmoto says
Nicole says
Galaxy IT says
Jeff the Chef says
Robert says
Marg says
doris stuart says