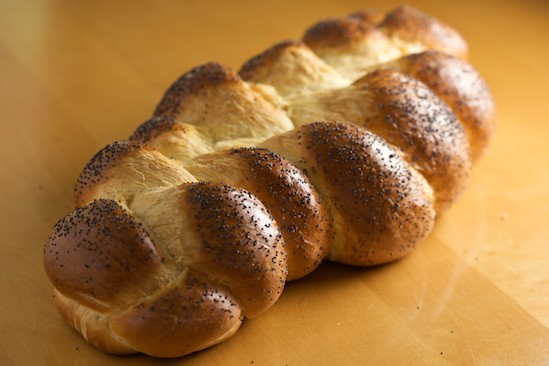
Bread #6 for the Bread Baker’s Apprentice Challenge is Challah. This was my very first time making Challah and also the very first time braiding any type of bread dough! Luckily, both the bread and the braid turned out pretty darn good.
Challah (listen to the pronunciaton) is a traditional Jewish bread that is eaten on the Sabbath and holidays. The dough is enriched with eggs and lightly sweetened. The bread itself is delicious, but the shaping is what makes it so spectacular. The bread dough is divided, rolled into ropes and braided. The braids can be really fancy, but I stuck to a standard three-strand braid since it was my first time. After braiding, the loaf is brushed twice with an egg wash and sprinkled with seeds. The resulting loaf is shiny, golden and absolutely beautiful!
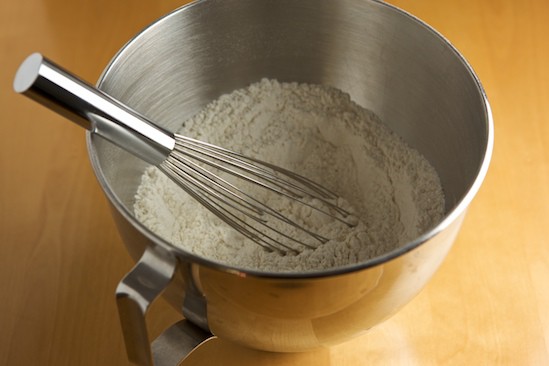
The process for this bread is very straightforward. First, you blend the dry ingredients: flour, sugar, salt and yeast.
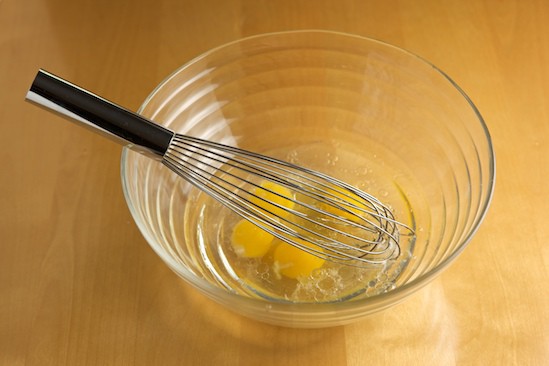
In a separate bowl, you whisk together the wet ingredients: eggs, egg yolks, water, and oil.
Stir together the wet and dry ingredients either with a spoon or in a stand mixer and decide whether the dough needs more water or more flour.
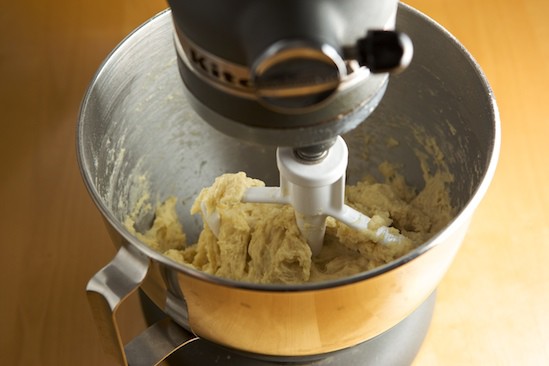
As you can see, mine was a pretty wet dough so I didn’t add any more water. I switched to the dough hook and started kneading, adding little bits of flour until the dough reached the ‘tacky but not sticky’ point.
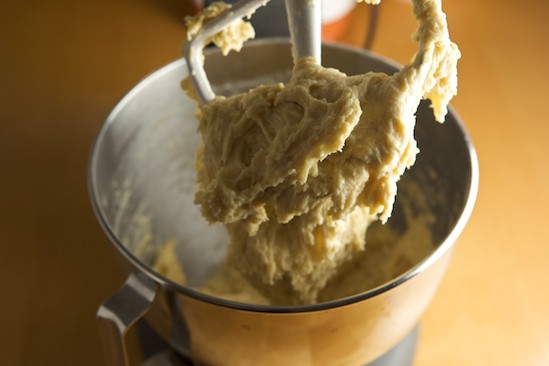
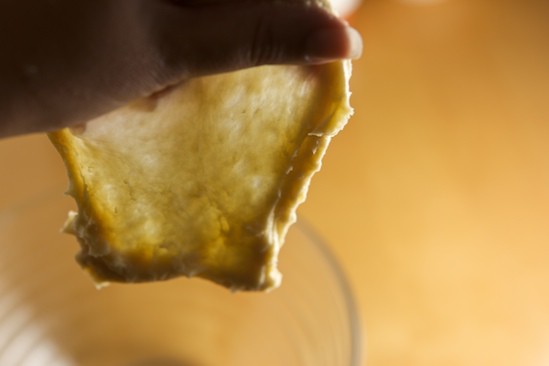
After kneading for 6 or 7 minutes in my stand mixer, I gave the dough the windowpane test. Although it was hard to photograph, this was the best windowpane I’ve ever achieved! Hooray for Challah!
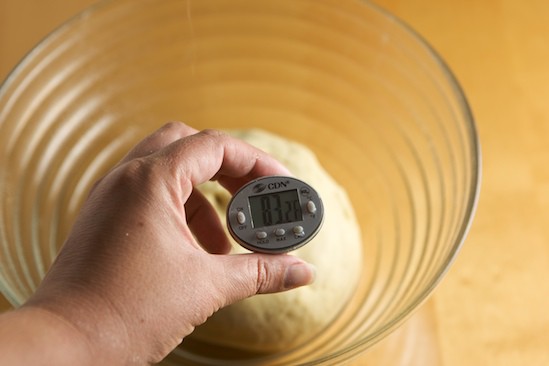
According to the book, the dough temperature should be about 80 degrees after kneading. I checked and it was about 3 degrees warmer. Works for me!
I lightly coated the ball of dough and let it ferment (rise) at room temperature for an hour.
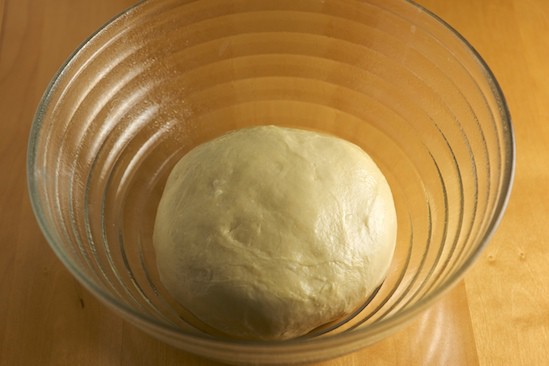
Mr. Reinhart says the dough should be at least 1 1/2 times it’s original size after an hour and it looked pretty close to me.
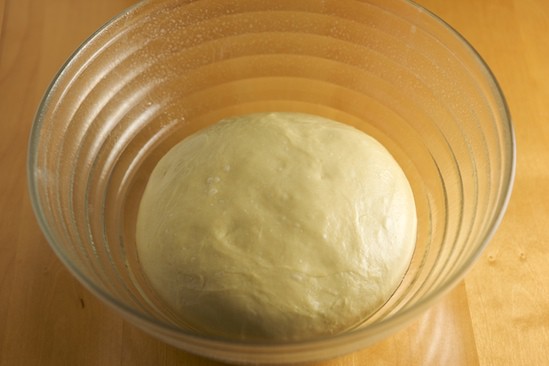
I dumped it out on my board and started kneading it to remove the bubbles. The book says to knead it for a couple of minutes to degas. But as I started kneading, I realized that my dough was really really stiff.
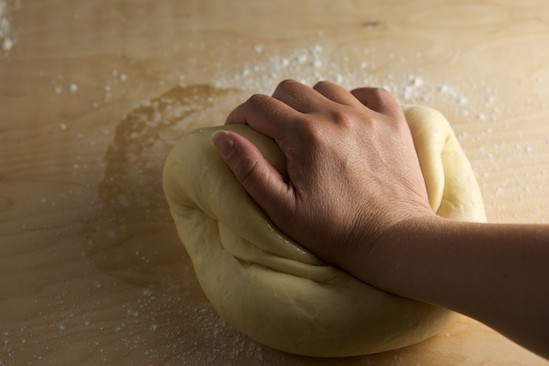
It was almost impossible to knead it for two minutes. The dough started tearing as I tried to wrestle the bubbles out of it. I really started to wonder what I had done wrong. This is how it looked after kneading (I gave up after about a minute and a half). So much for my smooth and supple dough…
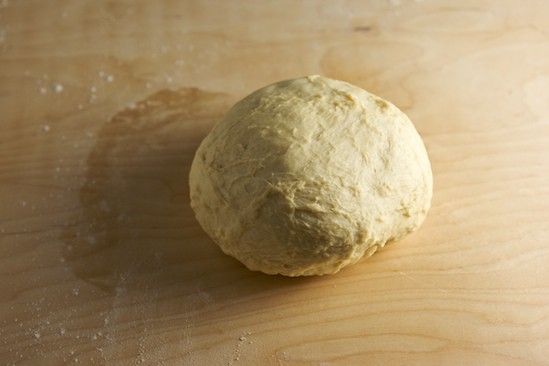
But I returned it to the bowl and greased it up again for it’s second fermentation.
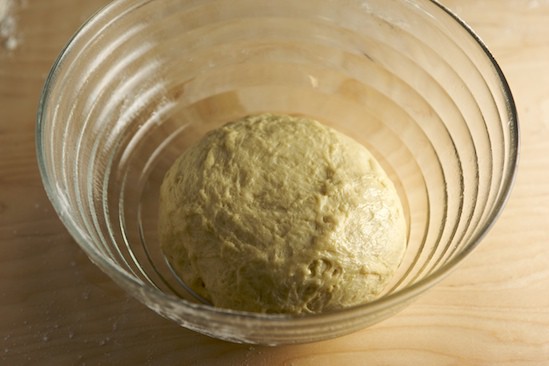
After another hour, the dough had risen nicely again.
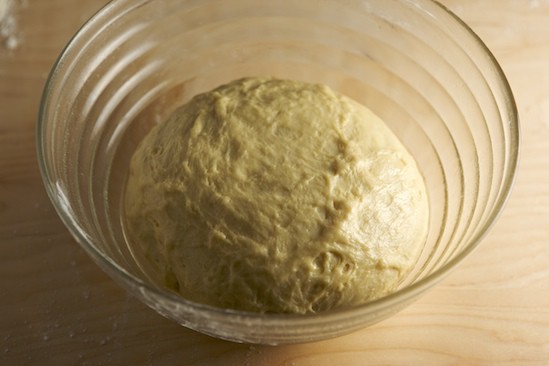
Now it was time to divide it into three pieces. Luckily the dough had loosened up a bit and was much easier to deal with. I measured out three equal pieces using my trusty digital scale.
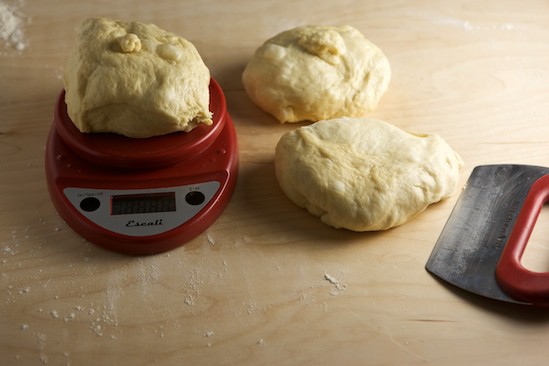
I then formed the three pieces into nice smooth boules and let them rest for ten minutes.
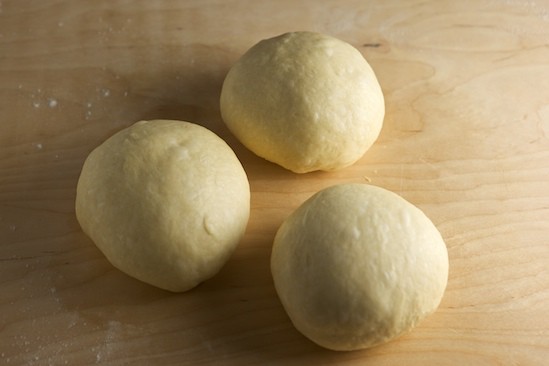
It’s important to let the dough rest before shaping, because the gluten will relax and the dough will be much easier to work with. Even after ten minutes, it was a little difficult to roll the balls out into long ropes. If you find that the dough keeps springing back while you’re trying to form the ropes, just let it sit for a few minutes and then try again. It will eventually work.
I made three ropes of equal length, making sure to leave them thicker in the middle and slightly tapered at the ends per Mr. Reinhart’s instructions.
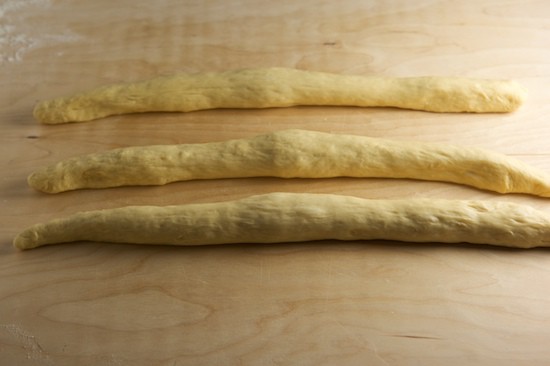
Next, I started the braid. The only thing that was slightly confusing about the braiding process was that the book told me to start in the middle. But it was easy enough to figure out.
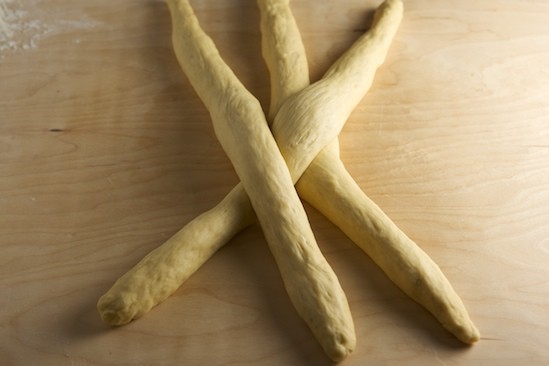
Starting from the middle, I braided down one side. It really is just like braiding hair!
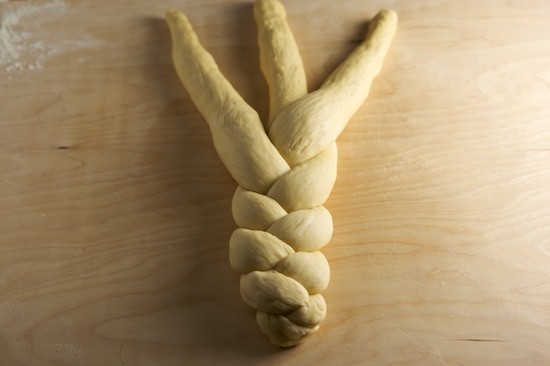
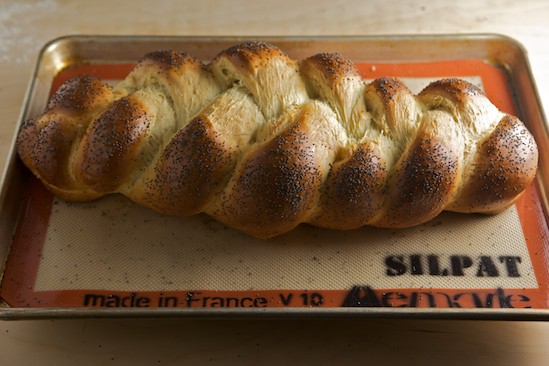
And then I finished the other side. The ends were just pinched together and tucked under slightly. Behold a succesfully braided loaf!
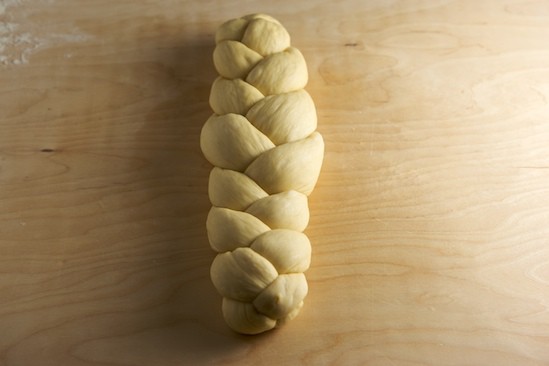
I transferred the loaf to a silpat-lined baking sheet (parchment paper would be fine, too) and brushed it with an egg wash.
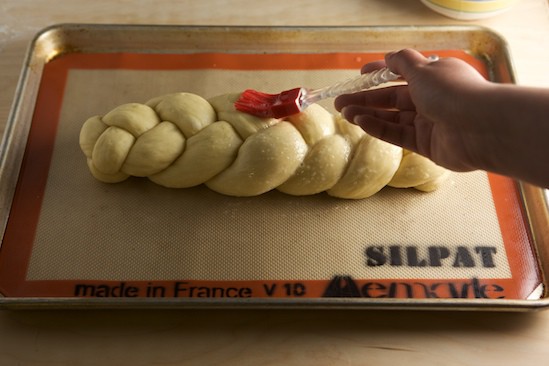
Next it was covered with plastic wrap and allowed to proof for another hour or so.
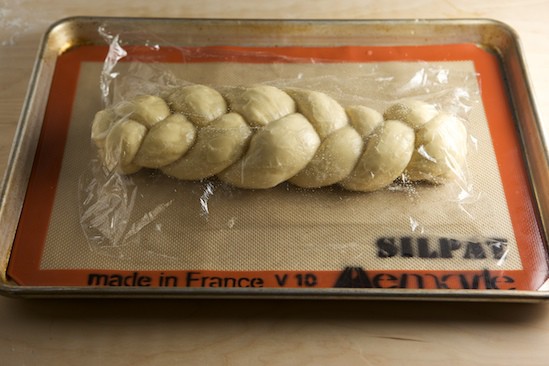
It really grew!
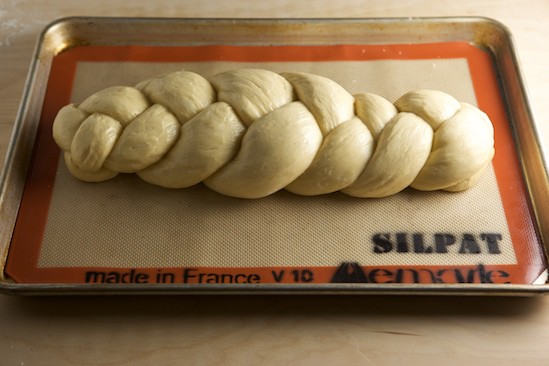
After proofing, it got brushed down with the egg wash once more and then I sprinkled it with poppy seeds. Sesame seeds may also be used.
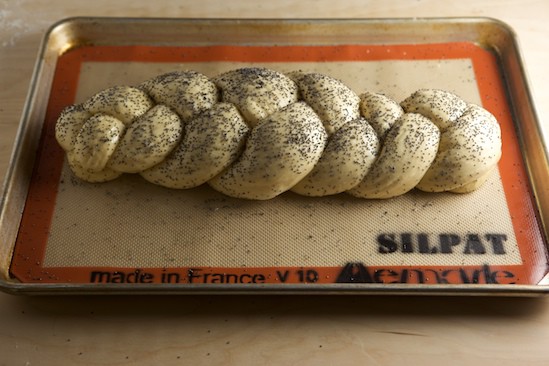
The challah was put into a preheated 350 degree oven and baked for about 40 minutes. It had lots of oven spring and turned into a big and beautiful loaf!
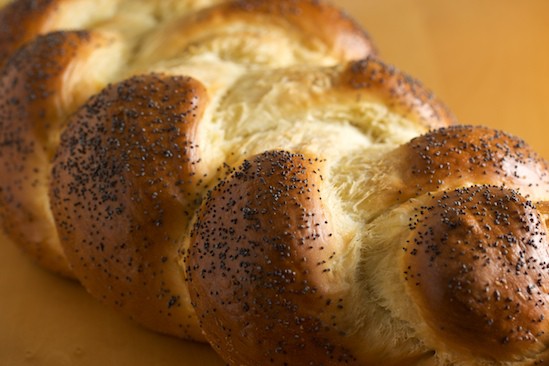
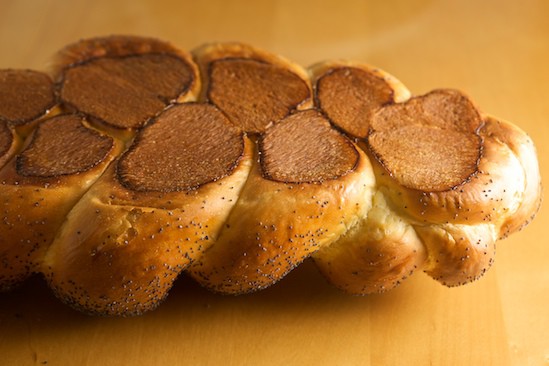
I thought the bottom of the bread was almost as pretty as the top, so I had to photograph it, too.
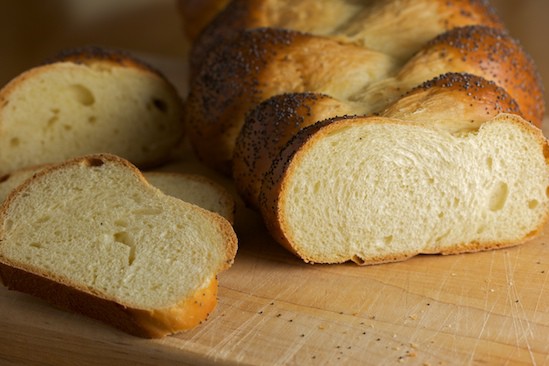
And of course, you have to see the crumb.
I really enjoyed the challah toasted with butter and raspberry jam for breakfast this morning. And tomorrow, I’m going to make some french toast. But this is definitely not the type of bread to be hoarded and eaten alone (like I did with the Casatiello) so I will be taking a large portion of the loaf to my sister and brother-in-law today.
I’m now six loaves into the BBA Challenge, and I’ve enjoyed every single bread I’ve made. I would definitely call this another success and am proud that I finally braided a loaf of bread. Since I have never made Challah before, I can’t compare this to other recipes, but I thought the flavor and texture of this bread was really nice and I would definitely make it again.
The Next Bread
This week we will be making Ciabatta. This is another one I’m excited about, because I love to eat it, but have never made it at home before. The ingredients are very simple: bread flour, yeast, salt and water, but this bread requires two days to make. The bread instructions begin on page 135 of The Bread Baker’s Apprentice. There are five different versions of Ciabatta in the book and you can choose any version you would like. You can try as many as you like, but you’ll only need to make one of them for the purposes of this challenge. Good luck and happy baking!
Want to Bake Along With Us?
There are several ways for you to join in the fun! First of all, you need a copy of Peter Reinhart’s The Bread Baker’s Apprentice. Read the first section of the book carefully, as this will prepare you for the bread recipes in the second section of the book. Then just jump in and bake some Anadama Bread! But first, please visit The BBA Challenge Page for more details on how to participate in the group!
If you haven’t already, you might want to bookmark the BBA Challenge Page. From there you can see which breads are coming up soon, find answers to Frequently Asked Questions, visit and/or add yourself to our World Map, see the BBA Challenge Blogroll, and check out the continually updated slideshow of BBA Bread photos from our ever-expanding group of bakers!
For those of you who are participating in The BBA Challenge, here are some questions: How did you like the Challah? Did you make one large braid or two smaller ones? What type of braid did you choose? Did you learn anything new while using this formula?
And remember, if you wrote a blog post about Challah, or have photos available online, please leave a comment and share your link!
Challah from other BBA Challenge members:
- Challah from Tiramisu’
- Challah from Confessions of a Penguin Chef
- Challah from Claudine on Flickr
- Challah from Something Shiny
- Challah from In Good Taste
- Challah from The Missing Piece
- Challah from My Hawaiian Home
- Challah from Round the Table
- Challah from Second Dinner
- Challah from Susie’s Home and Hobbies
- Challah from Of Cabbages and King Cakes
- Challah from That Certain Age
- Challah from A Tiger in the Kitchen
- Challah from Crispy Waffle
- Challah from Way More Homemade
- Challah from Italian Food Forever
pam says
ATigerintheKitchen says
Wendy says
cheffresco says
Paula - bell'alimento says
Rebeca says
Katie says
Daniel says
justine says
SallyBR says
Cindy says
nico says
JanH says
Avanika (Yumsilicious Bakes) says
Jon T. says
Nicole says
Kathie says
Barbara says
Jon T. says
Kathie says