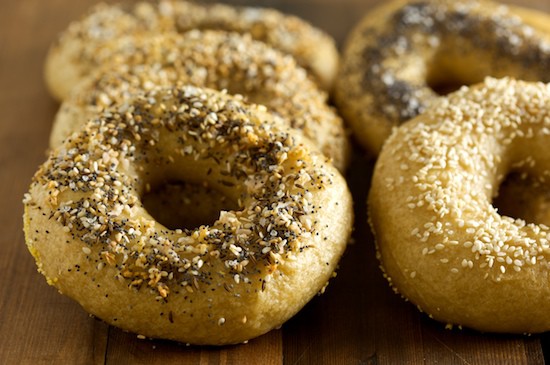
Week three of The Bread Baker’s Apprentice Challenge has ended and I have to say that I am sad to say goodbye to these bagels! I would happily make these once a week for the next year if there weren’t so many other tempting breads coming up.
Bagels are one of those things that I always assumed you had to buy from a bagel shop if you wanted the ‘real thing.’ I’m certainly not a connoisseur, but I’ve had wonderful, chewy bagels in both New York and Los Angeles that put every other bagel I’ve tasted to shame. It’s certainly seems to be true that the real deal can’t be found just anywhere. I’ve had decent bagels in San Diego, but nothing to get overly excited about. However, I can now tell you that it is possible to make a great bagel at home, even in San Diego, because these babies rivaled anything I’ve eaten before.
In the book, Peter Reinhart tells us that his wife Susan, who grew up in Philadelphia, and some of his friends from New York all agree that this formula produces, “…a bagel for the ages.” And though I grew up in Central California eating donuts rather than bagels on the weekends, and therefore have no real frame of reference, I’m going to have to agree. This is a bagel for the ages.
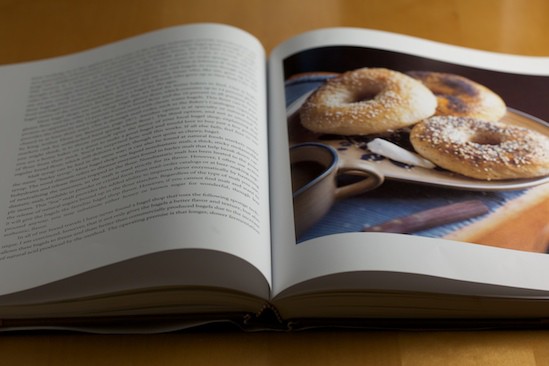
So how does one go about making these wonderful bagels at home? Well first, you need to buy Peter Reinhart’s book. Trust me, I’m only three recipes in and I already feel that this is one of the best cookbook purchases I’ve ever made. But after that, your next step might be to weigh out your ingredients.
Since many American home bakers still prefer volume measurements to weight, the book helpfully gives both options. But I’m finding myself reaching for my digital scale more and more often these days. Pouring 18 ounces of flour into a bowl that’s sitting on a scale is so much faster and simpler than measuring out four cups of flour. With the helpful ‘tare’ function on my cute red digital scale, I can cancel out the weight of the bowl and just add flour until I reach the correct weight. It took about five seconds. And I also found it easier to weigh the water, since the scale was already out. Yes, I weighed it in the measuring cup. I just wanted to see if the weight and volume of the water both equaled what was listed in the book. It did.
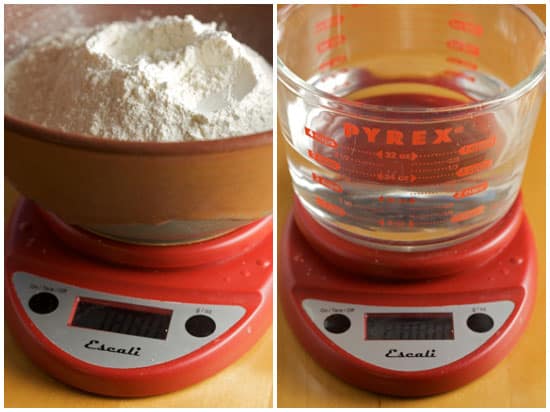
The flour and water I weighed were for the sponge. Just like the other two bread recipes I’ve tried so far, these bagels start with a sponge made of flour, water, and yeast. I measured the yeast using a teaspoon rather than the scale, since it was such a small amount.
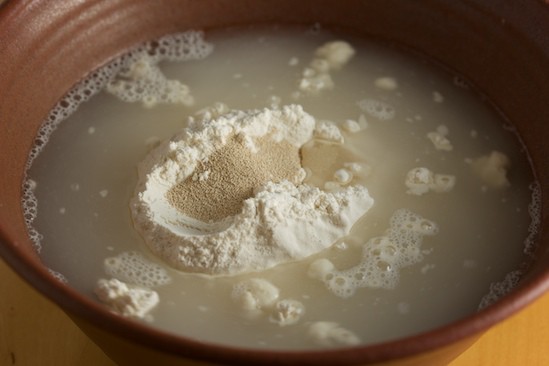
The flour, yeast and water were mixed up until it resembled a thick pancake batter.
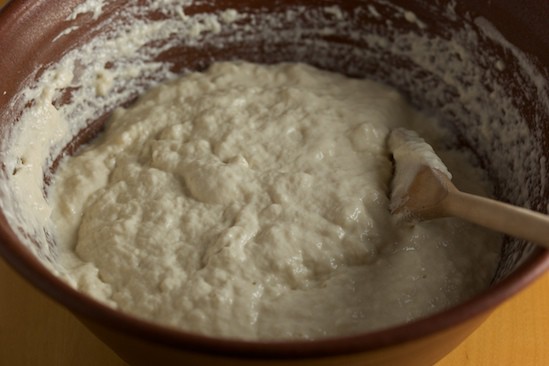
I covered it and let it sit at room temperature for a couple of hours. Apparently, the sponge has fermented enough when it bubbles and swells to nearly twice it’s original size. After two hours, mine had started bubbling but it definitely needed some more time. Unfortunately, I had a conference call coming up and needed to get my bagel dough finished by a certain time. So (as I often do), I cheated and continued with the recipe.
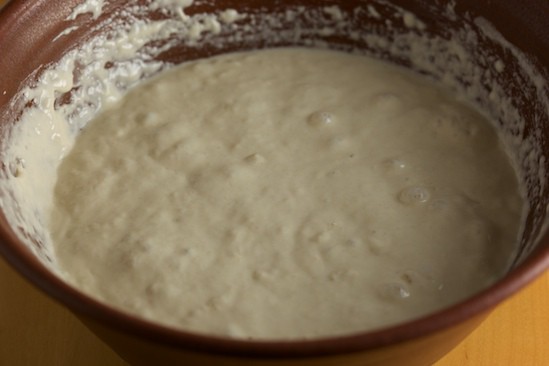
The next step is to stir in some additional yeast before adding the rest of the flour. I added the yeast…
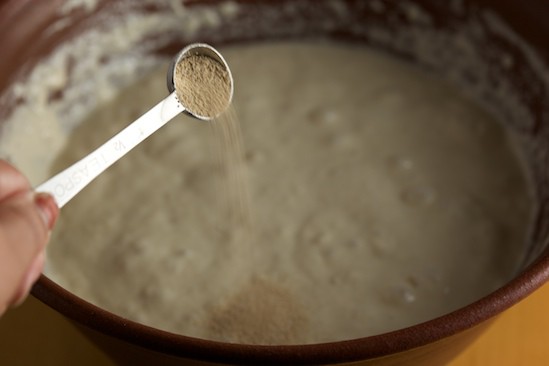
Stirred it all in…
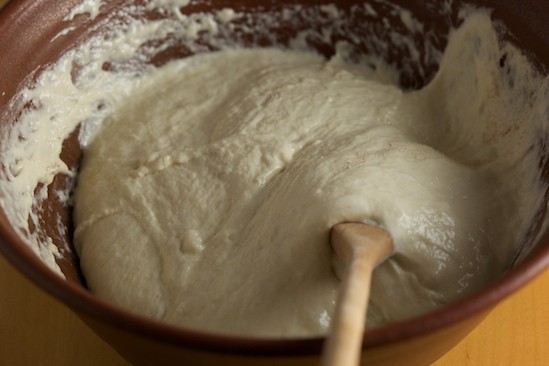
And then realized that I was going to need a bigger bowl if I planned on adding almost four more cups of flour. Let me introduce you to my bread bowl. I like to call her Big Bertha.
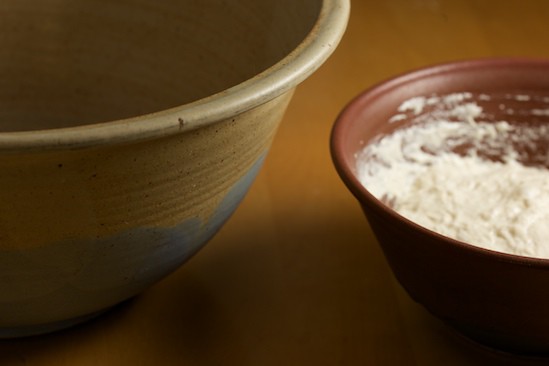
So I scraped the sponge into Big Bertha and added the rest of the bagel dough ingredients: lots more flour, some salt, and a spoonful of barley malt syrup.
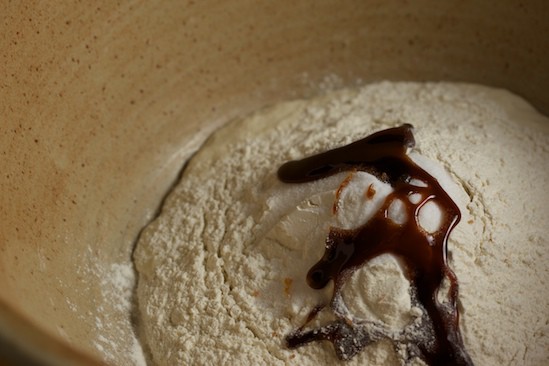
Of course I had my trusty dough whisk nearby, but I quickly found that it was pretty much useless when confronted with the beginnings of a bagel dough. I could tell immediately that this dough was going to be very stiff.
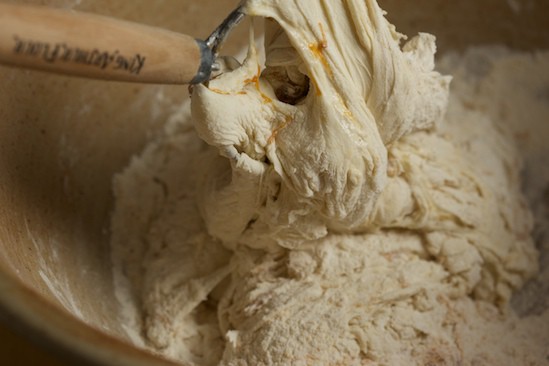
There was really only one thing to do. I tossed that silly whisk aside and dug in with both hands!
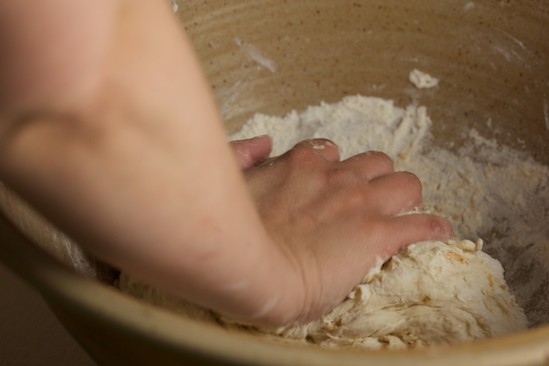
It took quite a bit of muscle to get it to to this point, but the flour still wasn’t completely incorporated (and I still had more waiting outside the bowl to be kneaded in).
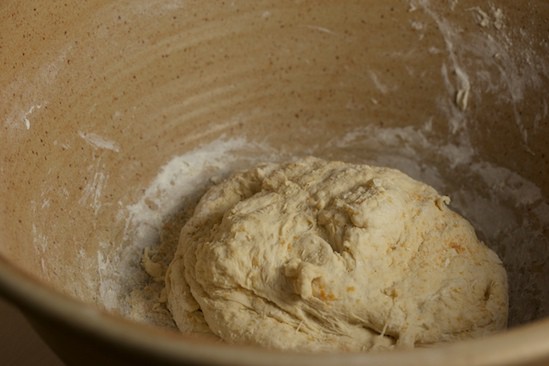
So I worked harder.
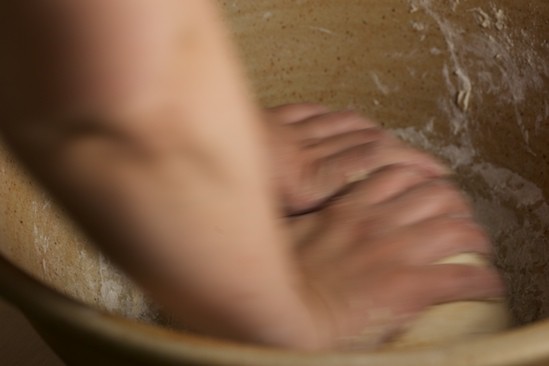
Eventually, I ended up with a shaggy mass of dough that was ready for some serious kneading.
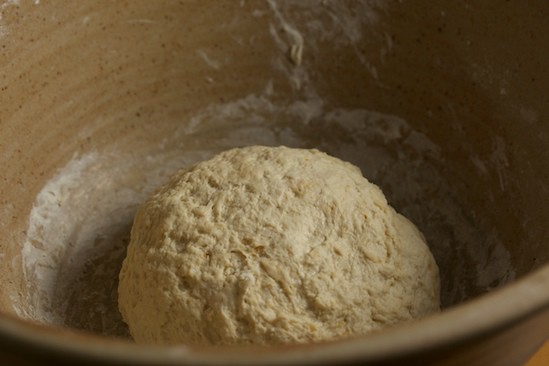
I dumped the dough out onto my floured board, and got to work. I had quite a bit of flour that still needed to be worked into this dough, which was already feeling stiffer than any bread dough I’ve made in the past.
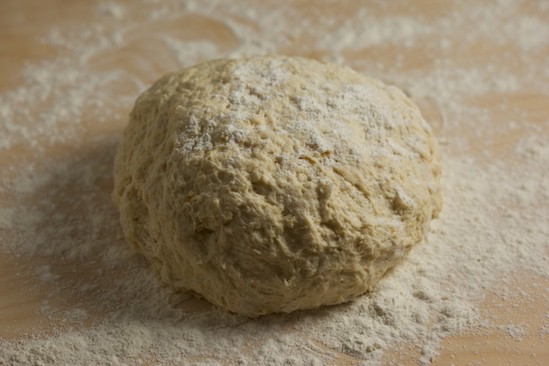
I kneaded and kneaded and kneaded. After ten minutes, I had managed to incorporate about half of the extra flour. The dough was getting somewhere, but the gluten hadn’t developed enough to pass the windowpane test.
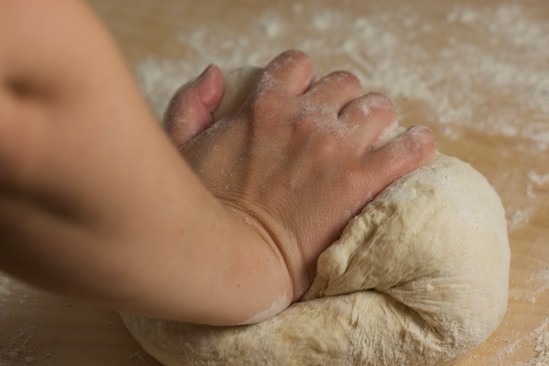
I kept kneading and kneading. Finally, after about 20 minutes (longer than I’ve ever kneaded any bread dough), it seemed to be ready. And this time, it did pass the windowpane test. What a relief!
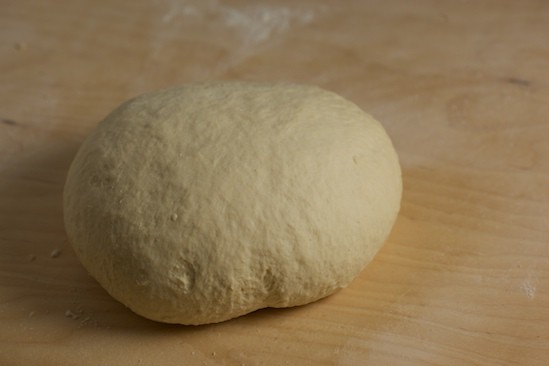
Now it was time to shape the bagels. I knew the dough should yield approximately 12 standard-sized bagels, so I started dividing the dough. First, I cut it in half.
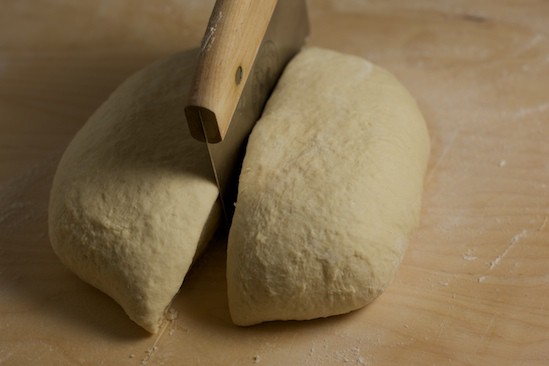
Then I cut each half into two pieces. I weighed each of the four pieces to make sure that they were divided equally.
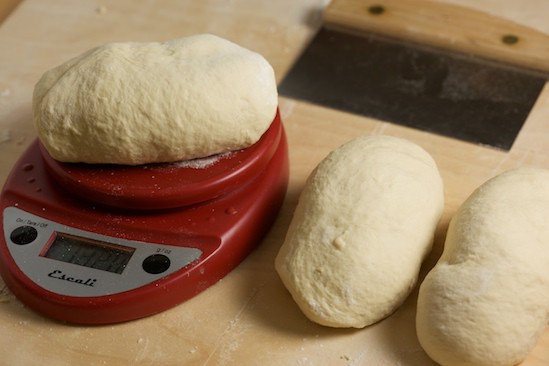
Next, I dived each of those pieces into three pieces, weighing them to make sure they were equal. I wasn’t too picky about it, but wanted them to be close to the same weight so that my bagels would be of similar size and bake evenly.
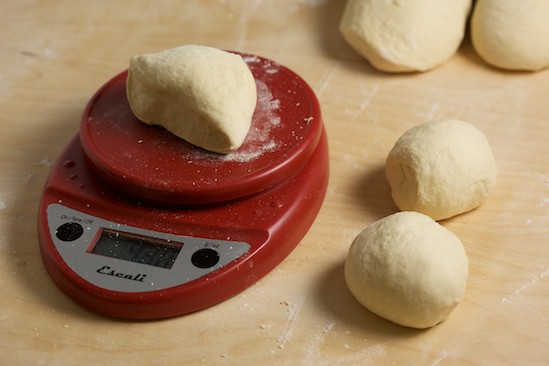
Once I ended up with twelve fairly equal pieces, I quickly rounded them (I shaped them just like I shape dinner rolls), and lined them up on a baking sheet lined with silpat (can also use parchment that has been lightly misted with oil).
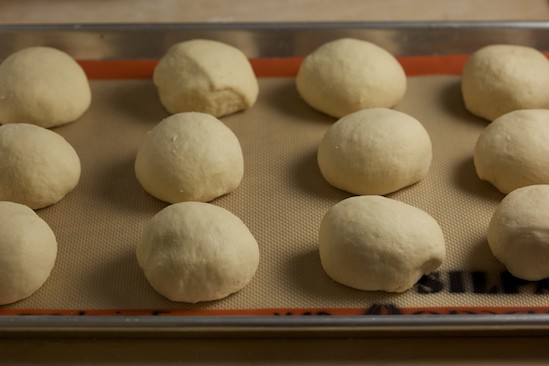
Next, I was supposed to cover them with a damp towel, and leave them alone for 20 minutes. But I was still in a hurry, so they only rested for ten minutes.
Now for the fun part! Unfortunately, it was really hard for me to take photos while I shaped the bagels. But it’s very easy to do. I simply flattened one of the dough balls, and punched my thumb right through the very center.
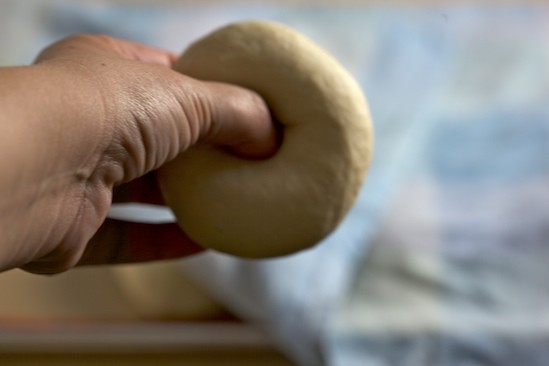
Once you have a hole in the middle, just gently stretch it out, using both hands, until the diameter is approximately 2 1/2 inches. The holes should be bigger than you think they need to be, they will shrink back up a bit later on.
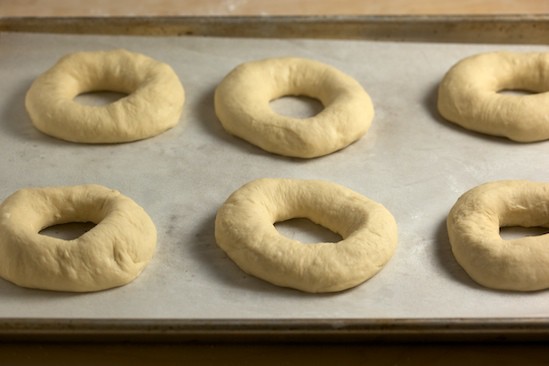
I used two sheet pans (one lined with lightly greased parchment and one lined with Silpat), and was able to fit six bagels on each pan. I covered each pan with lightly greased plastic wrap.
And then I made a mistake.
At this point, we are supposed to let the bagels rest for another 20 minutes and then check to see if one of them floats in a bowl of water. Once they pass the ‘float test,’ the trays can be put in the refrigerator and left overnight. But I completely skipped the resting period AND the float test. It was an accident, but I wouldn’t have had time to do it anyway. I finished shaping the bagels only five minutes before my conference call was supposed to happen!
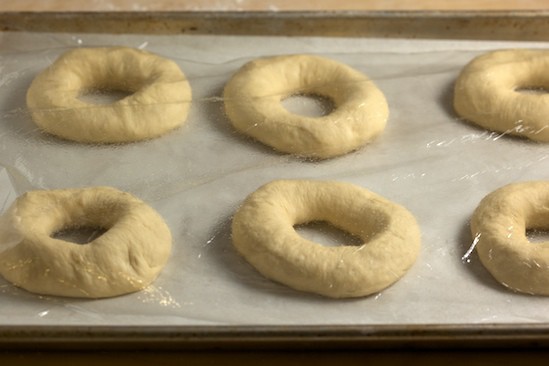
So, they went into the fridge and there they stayed for about a day and a half. The bagels need to be refrigerated for at least 8 hours, but like most bread dough, they can hang out in there for 2-3 days if necessary. When I finally found the time to bake them, this is what they looked like:
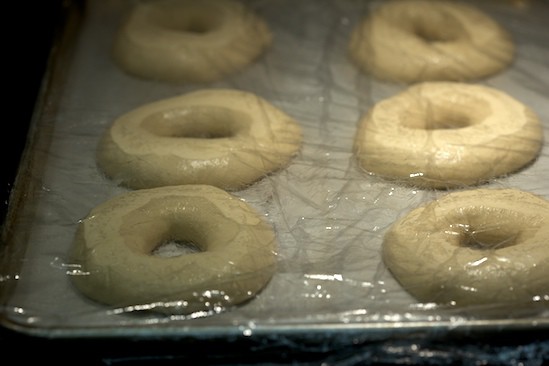
They had risen a bit, the holes were slightly smaller, and they looked great to me! So now for the test. Would they float in the boiling water? I was a little worried, since they never got a chance to prove their ‘floatability’ earlier on. But I forged ahead. The bagels were to be boiled in a big pot of water that had been laced with a tablespoon of baking soda.
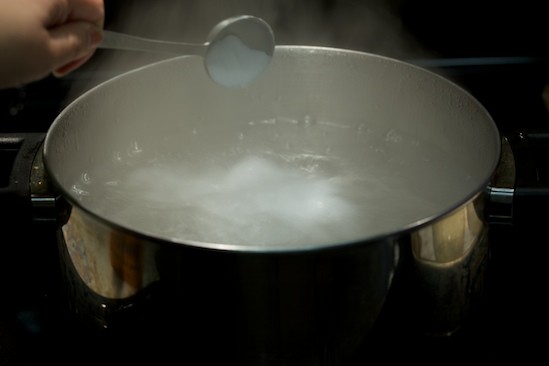
Guess what? They floated! I was able to fit three bagels in the pot at a time. They needed to be boiled for one minute per side, so it didn’t take long to get through the entire batch.
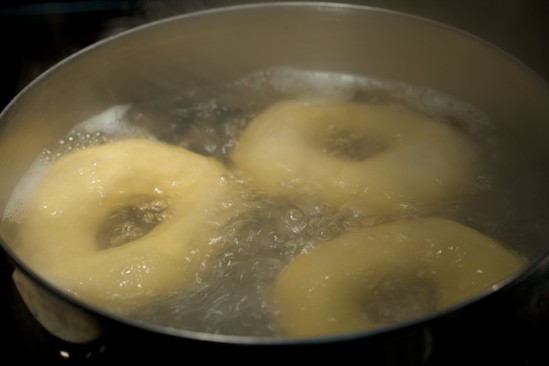
After adding the bagels to the water, I sprinkled some cornmeal on the baking sheet.
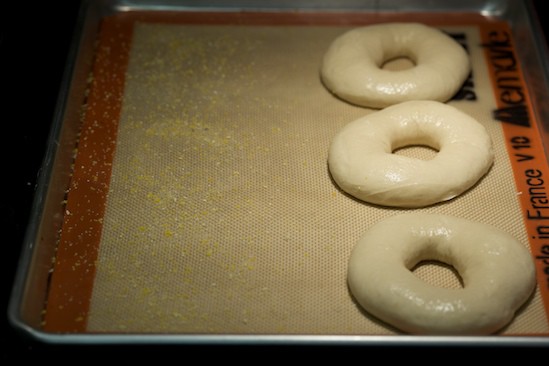
After boiling, I removed the bagels with a slotted spoon, and placed them right back on the baking sheet, on top of the corn meal.
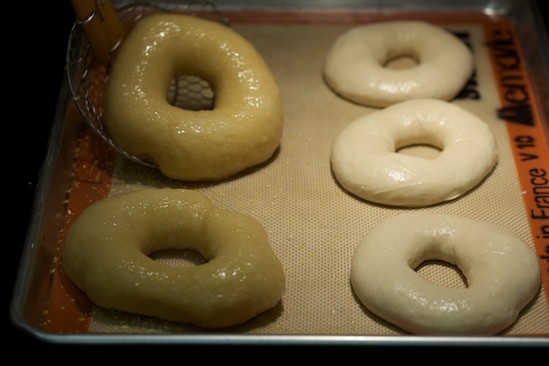
The toppings need to be added right after boiling, while the bagels are still wet. These were my ‘everything bagels.’ I topped them with a combination of dried minced onions (re-hydrated), dried minced garlic (re-hydrated), sesame seeds, poppy seeds, caraway seeds, and sea salt.
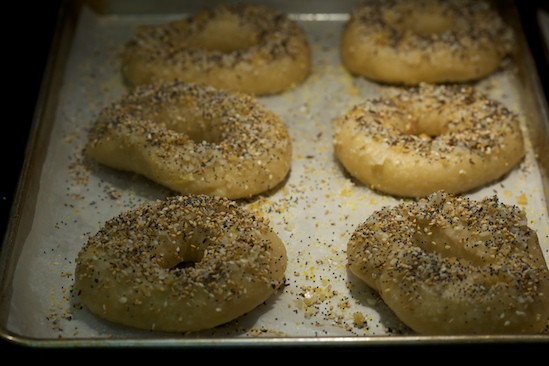
After adding all the toppings, the bagels are ready to be baked! The oven should be preheated to 500 degrees and the sheets should go on two oven racks placed close to the center of the oven. Unfortunately, this was the day that my oven decided it didn’t want to heat to 500 degrees. Not even close, actually. So instead of baking them for ten minutes as suggested, my bagels stayed in the oven for close to twenty minutes. I just kept rotating the pans and checking on them. They didn’t brown as much as I would have liked, but they still looked beautiful to me!
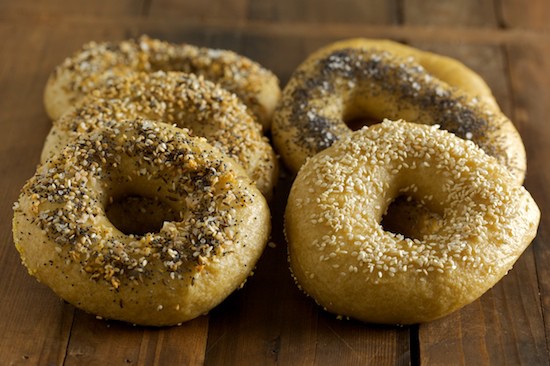
Even with all of my mistakes and cheats, these bagels were absolutely wonderful. I took them fresh from the oven over to my sister’s house where we ate them with cream cheese as a Sunday brunch. I don’t know if there’s any better way to eat a bagel.
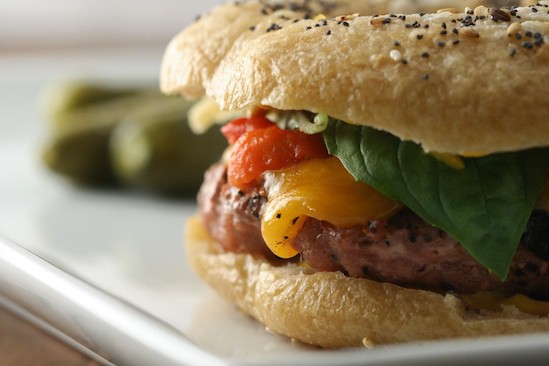
Later that night, I took some other bagels over to Amanda and Tyler’s house, where we used them as buns for these delicious grilled turkey burgers with cheddar, basil, and roasted red pepper. That was a close second.
The Next Bread
This week we will be making Brioche! The instructions begin on page 123 of The Bread Baker’s Apprentice. You will need to allow two days (or one very long day) to complete the brioche as the dough requires a four-hour (or longer) fermentation in the refrigerator. You will be using bread flour for this recipe, and all the other ingredients are easily attainable. There are three different versions of Brioche to choose from: Rich Man’s Brioche (tons of butter), Middle-Class Brioche (moderate amount of butter), and Poor-Man’s Brioche (least amount of butter, although still a lot!). You only need to bake one of them to participate in the challenge, but are welcome to bake all three if you wish. Due the high butter content and delicate nature of the dough, you will probably want to use a stand mixer for the Rich Man’s Brioche or the Middle-Class Brioche, otherwise you’ll be stirring everything in with a spoon rather than kneading by hand. But if you have a strong arm, go for it! The Poor-Man’s Brioche can be mixed and kneaded by hand. Good luck and happy baking!
Want to Bake Along With Us?
There are several ways for you to join in the fun! First of all, you need a copy of Peter Reinhart’s The Bread Baker’s Apprentice. Read the first section of the book carefully, as this will prepare you for the bread recipes in the second section of the book. Then just jump in and bake some Anadama Bread! But first, please visit The BBA Challenge Page for more details on how to participate in the group!
If you haven’t already, you might want to bookmark the BBA Challenge Page. From there you can see which breads are coming up soon, find answers to Frequently Asked Questions, visit and/or add yourself to our World Map, see the BBA Challenge Blogroll, and check out the continually updated slideshow of BBA Bread photos from our ever-expanding group of bakers!
Want to Win a Free Book?
Deborah from Italian Food Forever is giving away a copy of The Bread Baker’s Apprentice! To enter, visit Italian Food Forever and leave a comment that relates to bread (talk about your favorite bread, a story about bread baking, etc). That’s it! You can enter as many times as you want until June 15. A winner will be chosen randomly. Good luck!
Bagels from other BBA Bakers:
- Seeded Bagels at Salt and Serenity
- Assorted Bagels at Baking Mad Dad
- Cinnamon Raisin Bagels at Two Skinny Jenkins
- Assorted Bagels at Something to Savor
- Jalapeno Cheddar Bagels at Joelen’s Culinary Adventures
- Assorted Bagels from My Kitchen in Half Cups
- Plain Bagels from It’s All About Bread
- Seeded Bagels from Italian Food Forever
- Poppy Seed Bagels from The Studious Cook
- Assorted Bagels from A Stove with a House Around It
For those of you who are participating in The BBA Challenge, how did you like these bagels? What toppings, if any, did you use? Did you learn anything new while using this formula?
And remember, if you wrote a blog post about Bagels, or have photos available online, please leave a comment and share your link!
Nicole says
Allen says
Sean says
Natashya says
chris says
Corinne says
Hélène says
Deb says
Sandra says
Susie says
Daniel says
Rebecca says
Erin says
Jodi says
Susan/Wild Yeast says
Oggi says
Kris says
Paula says
Sean says
Ivete says