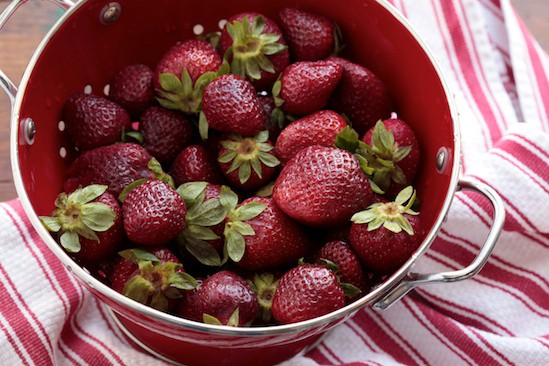
Last summer I made my first batch of homemade jam – peach jam, to be exact. While not difficult, the process was a bit labor-intensive: I sterilized jars, peeled and chopped fruit, boiled down the fruit and sugar, and even processed the filled jars in a water bath. It was well worth the effort and I was quite proud of myself for successfully preserving that small bit of the summer’s bounty. And with that first batch of jam under my belt, I had been making plans to can all kinds of jam this summer.
But now I’ve discovered freezer jam.
Today I made fresh strawberry jam in less than 30 minutes and it might be the best strawberry jam I’ve ever tasted! I didn’t have to deal with hot glass jars or bubbling hot fruit lava either.
I’ve heard people talk about freezer jam for years but I never really understood the difference between freezer jam and what I thought of as “real jam.” All I knew was that freezer jam was supposed to be much easier to make than jam canned the old-fashioned way. I figured that since it was so easy to prepare, freezer jam must somehow be inferior to the homemade jam that I grew up eating.
I was completely wrong.
Strawberry freezer jam is different than the strawberry jam I grew up eating, but it’s certainly not inferior. Because the berries aren’t cooked, the jam has a much fresher flavor than canned strawberry jam. Freezer jam isn’t as thick as the canned jam, but it has a nice spoonable consistency that works equally well as a spread or a topping. I’m planning on stirring some into plain yogurt for breakfast.
The main difference between freezer jam and canned jam is how it’s stored. Because it has not been cooked, freezer jam must be stored in the refrigerator or freezer. It will only last a few weeks in the refrigerator, so it’s best to store it in small containers that will be used up fast. You can keep one container in the refrigerator and store the rest in the freezer for up to a year.
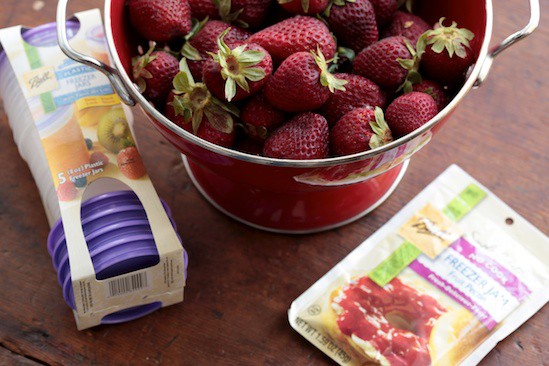
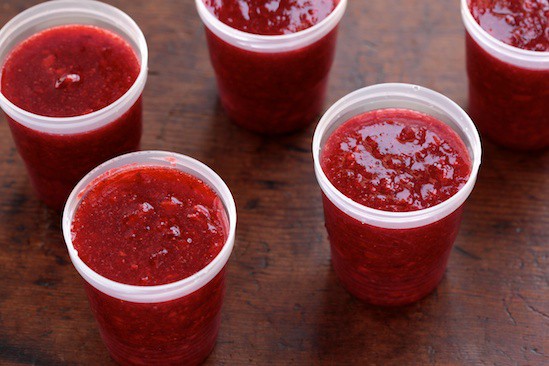
For today’s strawberry jam I used Ball No Cook Freezer Jam Pectin. I followed the instructions on the package and even used the same brand of freezer jam jars, although any little plastic containers would work fine for storing the jam.
First I chopped a bunch of strawberries up in my food processor – enough to make four cups of strawberry purée. This step can easily be done by hand if you don’t have a food processor – just hull and chop the berries and mash them with a potato masher. You want to leave a bit of texture in the jam, so don’t mash them completely.
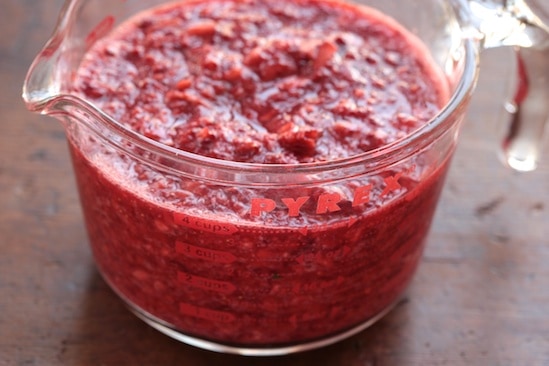
Next I stirred in one and half cups of sugar (MUCH less sugar than is required for canned jam), the package of freezer jam pectin, and a squeeze of fresh lemon juice. The lemon juice wasn’t included in the package instructions, but it sounded good to me. I stirred everything together for a few minutes until the sugar and pectin were completely dissolved.
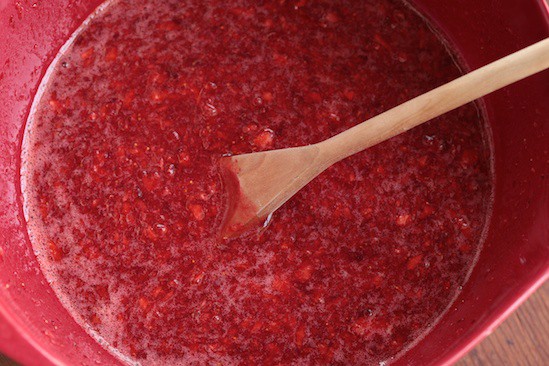
Once it was all stirred up, I poured the jam into clean plastic freezer jars. That’s it! It was really that simple. I now have one jar in the fridge and four jars in the freezer to either give away or continue eating in the coming months.
If you’re intimidated by the process of canning jam but have always wanted to give it a try, I highly recommend you start with freezer jam. Have fun!
Gisele M. says
Heather says