
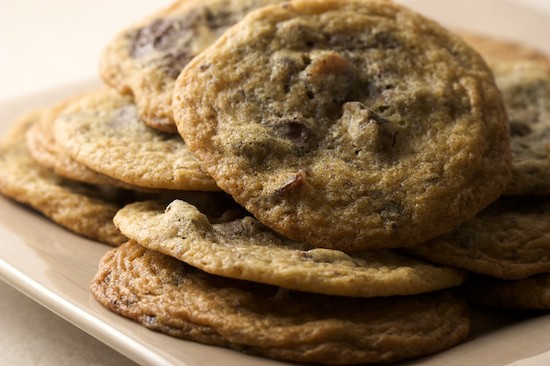
Thanks to everyone who contributed ideas for naming these cookies! Wow, what a turnout! I never thought I would be able to choose between all the great submissions, but I finally decided on a name that is simple, catchy, and to the point: Dark Chocolate Cherry Chews. Thanks to E’Beth Garren for the winning submission! I’ll be sending out a surprise gift, as promised.
So let me talk a bit about chocolate chip cookies. I’m not one of those bakers who is on a quest to find the ultimate chocolate chip cookie recipe. I generally use the recipe on the back of the Tollhouse bag and I think they’re great. But as you well know, I do enjoy experimenting with recipes from time to time!
These cookies came about because I noticed I had a couple of Starbucks dark chocolate bars hanging out in my pantry alongside half a bag of my favorite dried tart cherries from Trader Joe’s. Since I’m in cookie mode due to the rapid approach of Christmas, I decided that there was no better place for the chocolate and cherries to end up.
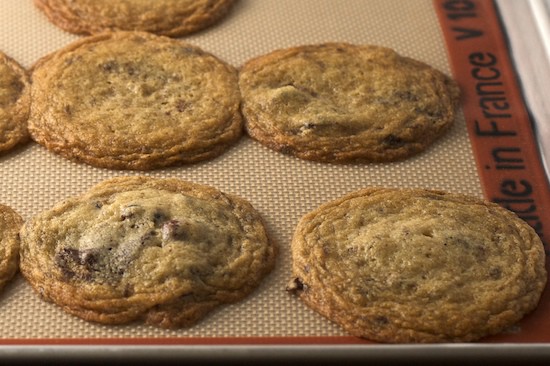
Believe it or not, I’m not a huge fan of dark chocolate on it’s own. I actually bought the chocolate bars to make some thick Italian hot chocolate from this recipe, but then never got around to it (this happens to me a lot). But I have always liked dark chocolate combined with dried fruit, whether it be raisins, blueberries, or in this case, cherries. We all know that the combination of chocolate and cherries is a classic one, so I’m not sure why it took me this long to combine them in a chocolate chip cookie!
This really is just a basic chocolate chip cookie, but made with dark chocolate chunks and chopped dried cherries rather than the semi-sweet morsels from the yellow bag. I played around a little with the dough after reading through a couple classic chocolate chip cookie recipes. This one uses a touch more flour than the Tollhouse recipe. And I also decided to add some almond extract, which I thought would compliment the cherries. I love the addition of almond extract! The flavor is not overpowering, but it gives the cookies that little something extra.
My husband prefers chocolate chip cookies with more cookie than chocolate, so I didn’t overload these with chocolate and cherries. I added enough so that you get a good taste of dark chocolate and cherry in each bite, but you can still taste the buttery cookie.
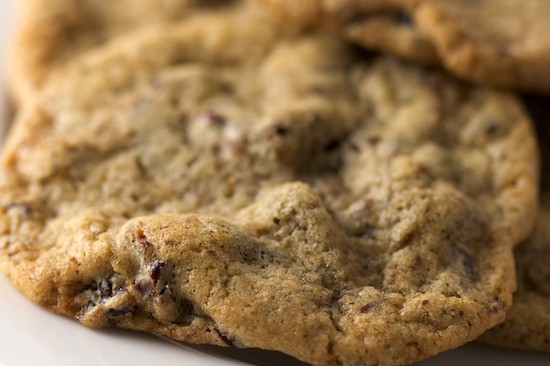
And since this is the first chocolate chip cookie recipe I’m posting on Pinch My Salt, I thought I might share some of my cookie baking tips in the hope that the rest of you will chime in with your own hints, tips, and tricks! First of all, and this goes for all baking, it’s important to preheat your oven early. I always turn it on the minute I decide to bake something, even before I start prepping the ingredients. Starting with an even baking temperature will ensure that your first tray of cookies will look similar to your last tray of cookies!
If you want your cookies to be similar in size and shape, a cookie scoop is your best friend! My grandmother gave me one a couple of years ago and I loved it so much, I went out and bought two additional sizes! Of course cookie scoops aren’t a necessity, but I highly recommend them if you have room in your baking budget! The scoop I used for these cookies holds a little more than a tablespoon of dough (about four teaspoons). But I also have one that’s twice this size for giant cookies, as well as an ice-cream sized scoop that’s perfect for measuring out muffin batter!
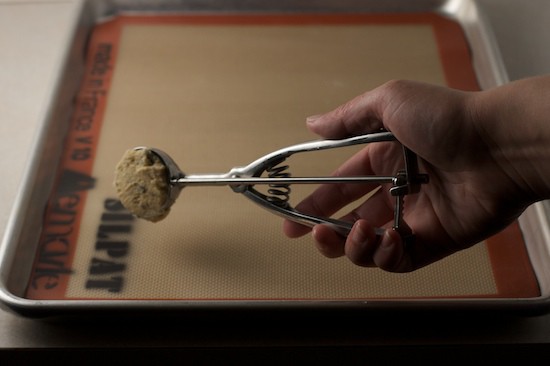
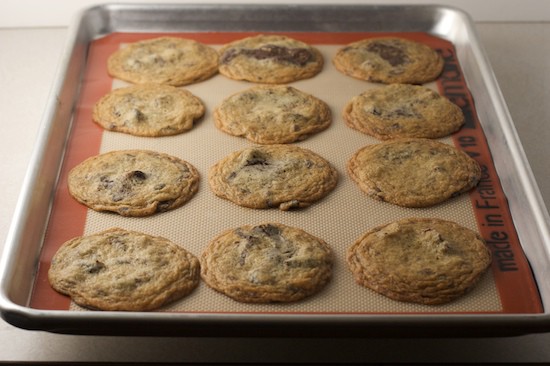
My favorite tip for cookie baking is to line your baking sheets with parchment paper (or, as in the photo above, a silicone baking mat). What’s the benefit of lining your baking sheets? Two things: your cookies will never, ever stick, and you won’t have to wash your baking sheets! I hate washing baking sheets (almost as much as i hate washing cooling racks)!
Although I do own a Silpat baking mat, I almost always use parchment paper. I’ve used the Silpat a few times, but for most things (like cookie baking), I just prefer parchment paper. I can’t even explain why, it’s just a preference I have. But during my last round of cookie baking I decided to try an experiment. I know many bakers swear by Silpat, so I decided to do a side-by-side comparison of parchment paper, Silicone baking mat, and a plain ungreased baking sheet to see if baking sheet liners affect the quality of the cookies in any way.
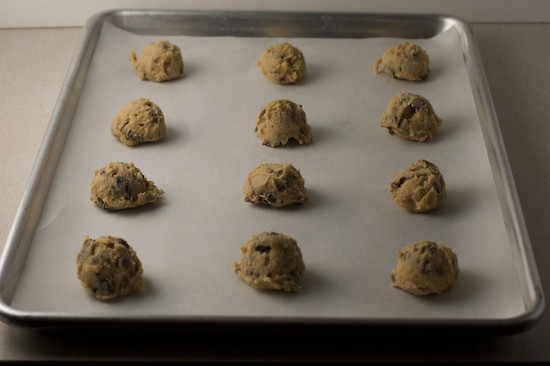
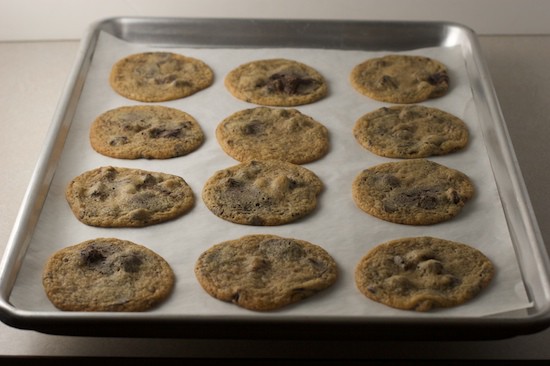
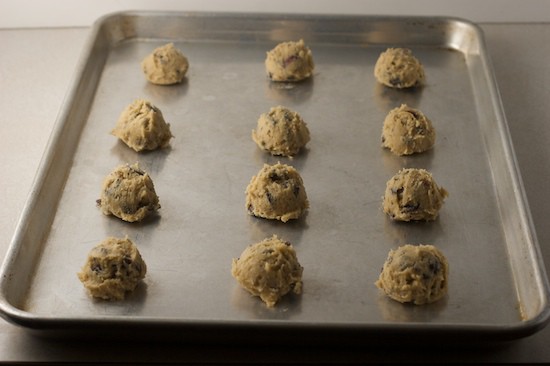
I baked three trays of cookies on the same type of baking sheet (heavy duty aluminum half-sheet pan), at the same temperature (350 degrees) for the same amount of time (11 minutes). The only difference was that one sheet was lined with Silpat, one was lined with parchment paper, and one was plain.
First was the Silpat:
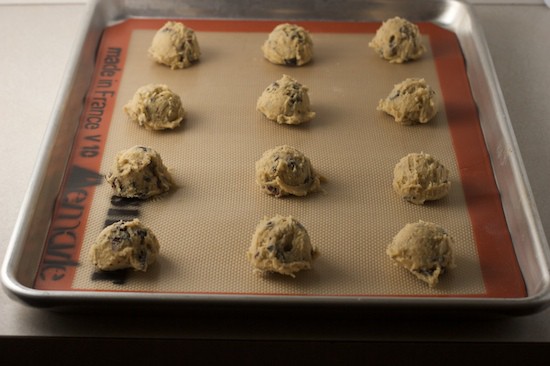
Next up was parchment paper:
And finally, the ungreased baking sheet:
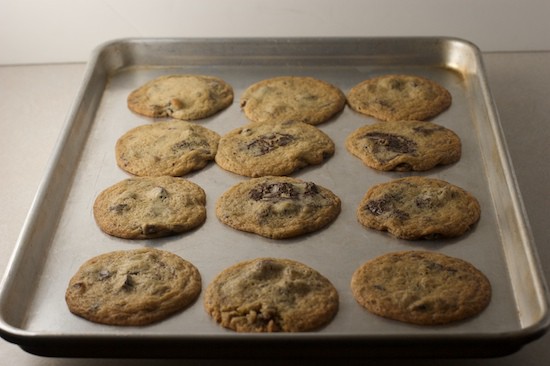
And here’s the side-by-side comparison:
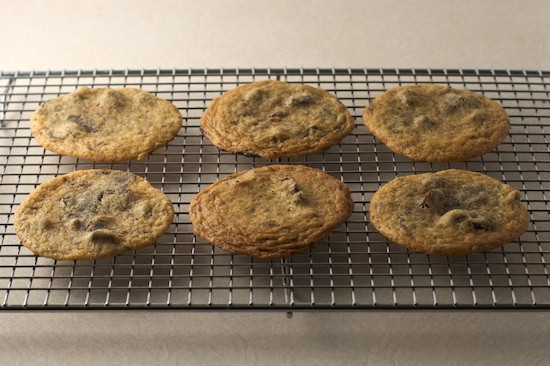
The cookies on the left were baked on parchment, the middle cookies were baked on Silpat, and the cookies on the right were baked on an ungreased cookie sheet.
The results:
The cookies on the silpat baking mat browned a lot faster than the other two and they ended up with a wrinkled appearance along the edges. They were also a tiny bit thicker than the other two. The cookies baked on parchment were the thinnest of the three and browned the least, although they were cooked all the way through, just like the others. I think the cookies baked on the ungreased baking sheet were the best looking of the bunch, although they stuck the pan a bit, and one of them broke as I was trying to dislodge it. Texture-wise there wasn’t a huge difference, although I preferred the texture of the cookies baked on parchment (maybe because that’s what I’m used to). I can honestly say that there wasn’t enough difference between the texture of the three types of cookie to really recommend one method over another. You’ll have to base your decision on how the cookies look and the convenience of using a baking liner or not.
And this concludes my very UN-scientific experiment!
Most bakers use all three methods, letting the recipe and circumstances dictate which to use and when. I stand by my choice of parchment paper in most cases. I know it can be wasteful, but I do try to re-use the sheets as often as possible. Here’s a tip for those of you tired of dealing with rolls of parchment paper: you can buy pre-cut sheets! I used to buy it online through Amazon or The Baker’s Catalog until Amanda tipped me off to the much, much cheaper precut sheets at Smart and Final. I’m sure you can also find them at a restaurant supply store, although I haven’t checked. If you buy them from Smart and Final (or another restaurant supply store), the sheets will be sized for commercial baking pans, much larger than you want. But I buy a pack of 50 full-size sheets and then cut them in half to end up with the 100 half sheets that I used to buy online. And they are less than half the price of Amazon and about a quarter of the price of The Baker’s Catalog.
Here are a few other uses for parchment paper that you might not know about: I put my pizza dough and loaves of bread on parchment to make it easy to slide in and out of oven (directly onto a baking sheet) without using messy semolina or cornmeal. I put a piece on the counter when I am measuring dry ingredients like flour and then just pick up the parchment and pour the excess right back into the bag. It’s great for rolling out pie dough, and can be used for just about anything you would use waxed paper for. There are many other uses for it, but those are a few of my favorites!
Now, if you are tired of washing baking sheets, are concerned with keeping waste to a minimum, but haven’t yet decided whether to take the plunge and buy some expensive silicone baking mats, here are a few pros/cons for you to consider (seasoned bakers, please leave comments with your own opinions, I’m sure I’m missing lots of pros and cons for each).
Parchment Paper
pros: inexpensive, easy clean up, completely nonstick, can usually be reused a few times, can be used for a million different things in the kitchen
cons: wasteful, rolls of parchment paper can be a hassle to deal with, might have to cut to size, it’s slippery so you have to be careful not to let it slide around when putting parchment lined baking sheet in the oven
Silpat (or silicone baking mats)
pros: can be reused (no waste), they last a really, really long time, completely nonstick, can put them on the countertop to help roll out sticky dough, doesn’t slide around on your baking sheet!
cons: big initial expense (usually cost $20 each), don’t have many uses outside of lining baking sheets or countertops
I say that if you can afford to buy silicone baking mats and you do A LOT of baking, they are definitely worth the investment. But if you are just a casual baker, I think you can get by just fine with parchment paper. And if you happen to love washing baking sheets, and you don’t mind the occasional stuck cookie, by all means, skip the liner altogether!
And finally, here’s the cookie recipe!
Dark Chocolate Cherry Chews
2 1/2 cups all purpose flour
1 1/2 teaspoons baking soda
1 teaspoon salt
1 cup unsalted butter, at room temperature
1 cup packed brown sugar
3/4 cup granulated sugar
2 large eggs
2 teaspoons vanilla extract
scant teaspoon almond extract (teaspoon not quite full)
8 oz. dark chocolate, chopped into small pieces
1 cup dried tart cherries, chopped
1. Preheat oven to 350 degrees.
2. In a medium bowl, whisk together flour, soda, and salt; set aside.
3. Using an electric hand mixer or stand mixer, cream together the butter and sugars. Add eggs, once at a time, blending well after each addition. Blend in vanilla and almond extracts. Blend in flour mixture, a little at a time, until it’s all incorporated. By hand, stir in cherries and chocolate pieces.
4. Drop by tablespoonfuls onto a parchment-lined baking sheet, spaced at least two inches apart. Bake in a preheated 350 degree oven for 10-13 minutes or until edges are starting to brown. Let cool on baking sheet for ten minutes then move to wire racks to cool completely.
Yield: about four dozen cookies
Recipe Notes: These cookies are very flat and chewy, if you prefer a thicker, more cake-like chocolate chip cookie, this recipe might disappoint you. I used dark chocolate bars from Trader Joe’s and chopped them up into small chunks, but you can use any kind of dark chocolate chips or chunks you wish. The reason I like to chop them myself is that you get lots of little flakes of chocolate that melt into the cookie dough. The cherries I used were Dried Pitted Tart Montmorency Cherries, also from Trader Joe’s. I loved the tartness of these cherries with the sweet cookie, but feel free to use other dried cherries if you can’t find that particular type. And finally, feel free to add extra chocolate and cherries if you wish!
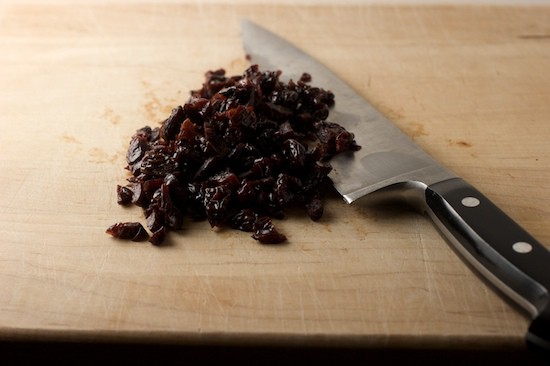
I just roughly chopped the cherries so that the pieces were a variety of sizes. I found it easiest to chop half of them at a time.
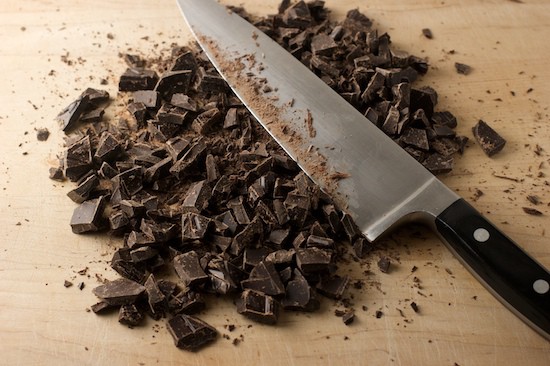
I chopped the chocolate bars into fairly small chunks, but again, the pieces are not uniform in size. Make sure you scrape up all the little tiny bits of chocolate to stir into the cookie dough!
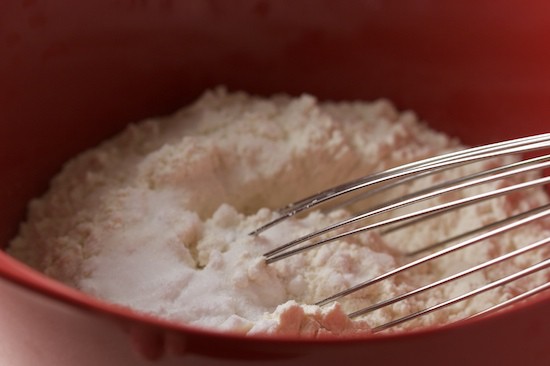
By measuring out and whisking the dry ingredients together, you ensure that the baking soda and salt will be evenly distributed throughout the dough. If you do it first and have it ready to go, your workflow will be much smoother!
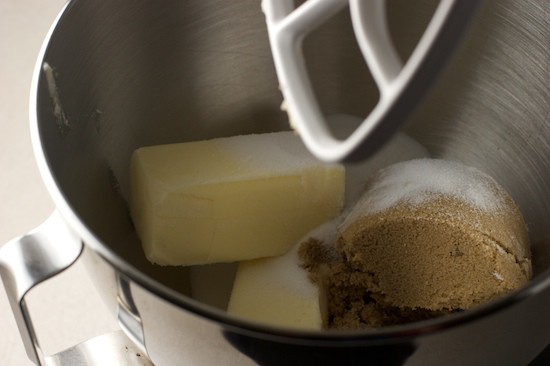
For ease of photographing, I mixed this batch of cookies in my stand mixer. But I generally use a hand mixer for cookie dough. You can also cream the butter and sugar with a wooden spoon and mix the remaining ingredients by hand. It’s a bit more work, but the results are fine (I mixed the first batch by hand).
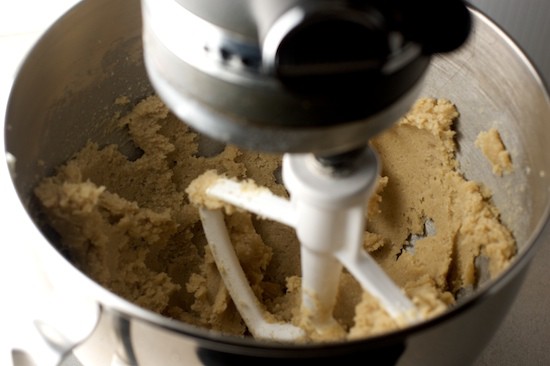
You just want to cream the butter and sugar together until it’s all smooth. No need to beat it forever!
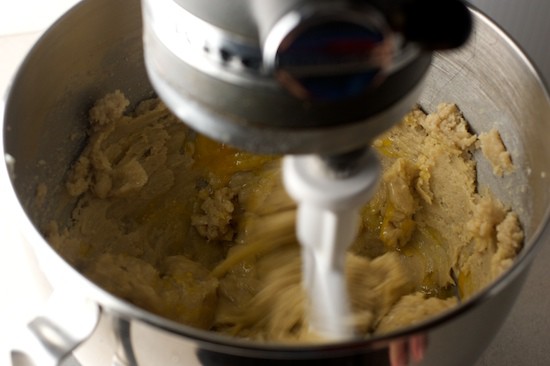
Beat the eggs in one at a time. I like to crack the eggs ahead of time and put them in a small bowl to avoid any incidents of eggshell in the dough! And no, I still can’t manage to crack an egg and keep the shell intact!
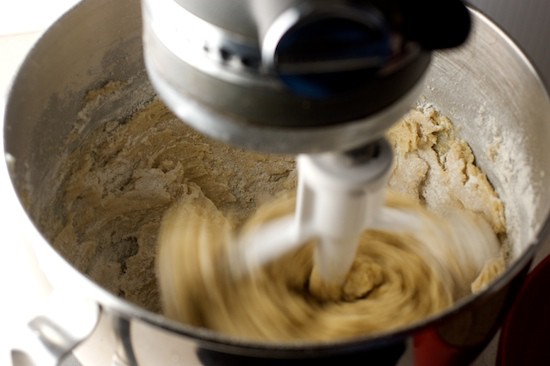
Beat in the flour a little at a time on low speed (unless you want to end up wearing the flour!) until it’s all incorporated
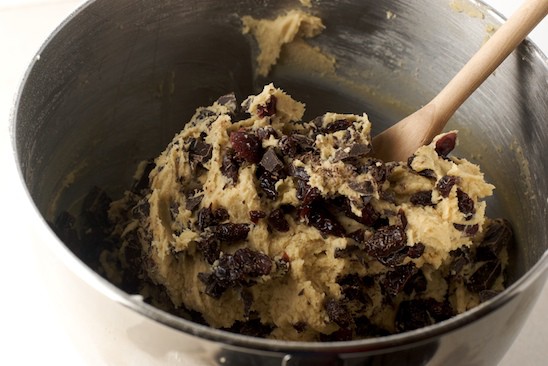
Now put down your mixer (don’t forget to lick the beaters) and stir in the chocolate and cherries by hand.
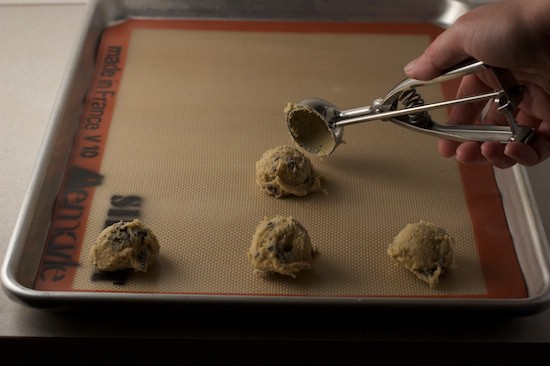
Be sure to space the cookies a couple inches apart because these cookies spread like crazy!
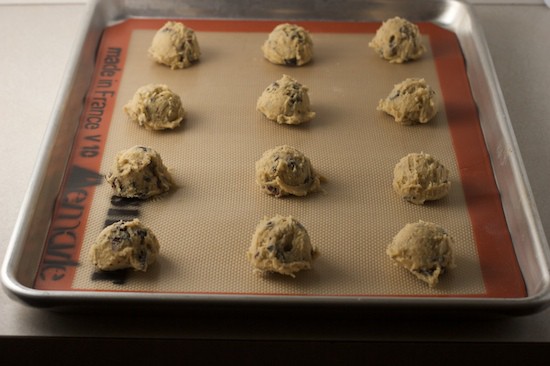
I can fit 12 cookies on a half sheet pan.

I like to bake them until the edges just start to brown. In my oven, 11 minutes was perfect. I suggest checking them early if your oven tends to be hot. I leave them on the baking sheet for 5-10 minutes to allow the cookies to set before removing to a wire rack.
Enjoy!
Now please feel free to share any cookie baking tips you have as well as links to your favorite chocolate chip cookie recipes! And I’d love it if you would share your reasons for loving (or hating) silicone baking mats and/or parchment paper for baking cookies.
We’re heading up to Oregon for Christmas (and SNOW!!), so in case you don’t hear from me until 2009, Merry Christmas, Happy Hanukkah and a very happy new year to all!
Elife says
Claire Mason says
Lisa says
katy says
Catherine says
Tam says
Rachel says
jenna says
gretchenjoanna says
Jim-49 says
Trish says
Trish says
Trish says
Chung-Ah | Damn Delicious says
theresa k. says
top article says