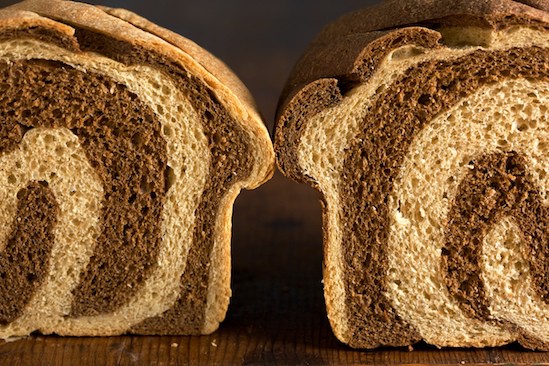
It’s taking longer than I anticipated, but I’m still plugging away at The Bread Baker’s Apprentice Challenge and enjoying every minute of it. With the completion of this gorgeous Marbled Rye, I’ve mixed, kneaded, shaped, photographed, tasted, and shared the first 19 breads in the book.
Each successful loaf feels like a huge accomplishment, but this one in particular was special to me because it was the first time that I’ve attempted baking rye bread. I wasn’t sure what to expect, because before this I had never even tasted marbled rye, but I was blown away by this bread. The flavor and texture were wonderful and I fell in love with the striking appearance of the loaves.
The beautiful swirl in the marbled rye is created by making two bread doughs, one dark and one light, and rolling them together into a loaf. It’s not really any more difficult but it is more time consuming than making plain sandwich loaves. Because of this, I graciously accepted the help of my Kitchen Aid stand mixer to speed up the process of mixing and kneading two separate bread doughs.
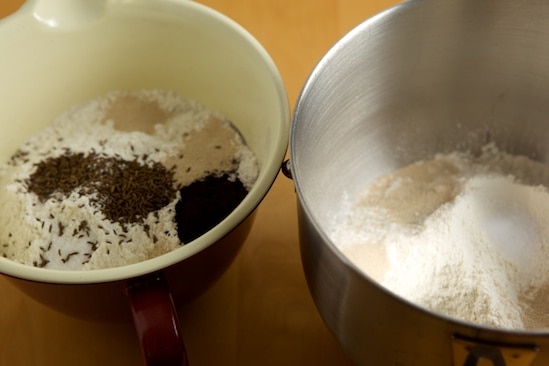
First I assembled the dry ingredients for the two doughs in separate bowls. The ingredients for each are almost identical with only a couple of differences. One dough includes a flavorless caramel coloring to make it darker. I also added the optional caraway seeds to the dark dough only, although the book suggests adding caraway to both the dark and light doughs.
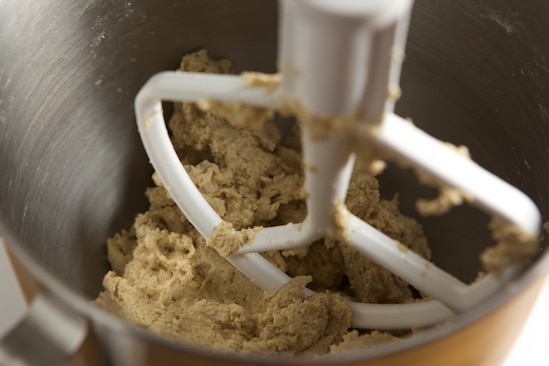
Next, I mixed the light dough ingredients with the paddle attachment of my mixer. Whether you choose to mix by hand or machine, stir the ingredients together until a ball of dough forms and all the loose flour has been incorporated. In the process you may need to add a dribble or two of water to make this happen. Next, use the dough hook on the mixer or turn the dough out onto a lightly floured surface and knead for 4 to 6 minutes, or until smooth.
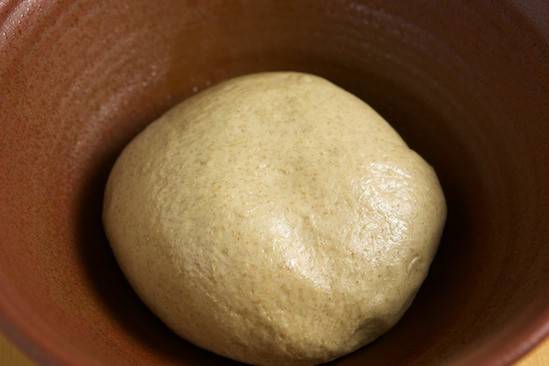
The kneaded dough should feel supple and pliable, slightly tacky but not sticky. (To learn the difference between tacky and sticky bread dough, check out this great example at Yumarama Bread Blog.) After the dough has been kneaded enough, place it in a greased bowl, roll it to coat all sides with oil, and cover with plastic wrap.
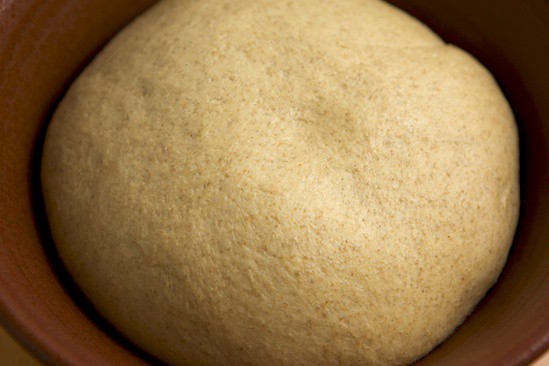
Repeat the entire process with the dark dough then let both ferment at room temperature for about 90 minutes or until the doughs have doubled in size.

Now it’s time for shaping.
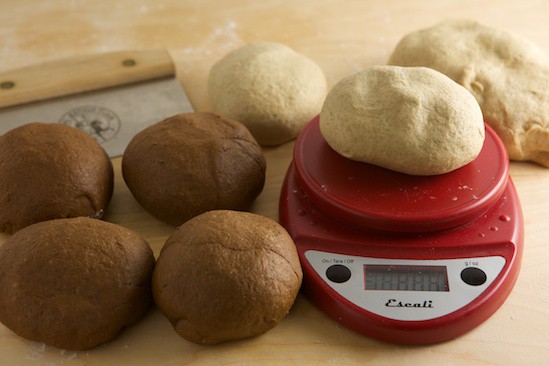
To shape the loaves, the first step is to divide each dough into four equal pieces. The easiest way to ensure your pieces are the same size is to use a kitchen scale. I first weighed the intact piece of dough then divided the weight by four to figure out how much each small piece should weigh. If you don’t have a scale, just divide the dough as evenly as possible. You want to end up with four dark pieces and four light pieces.
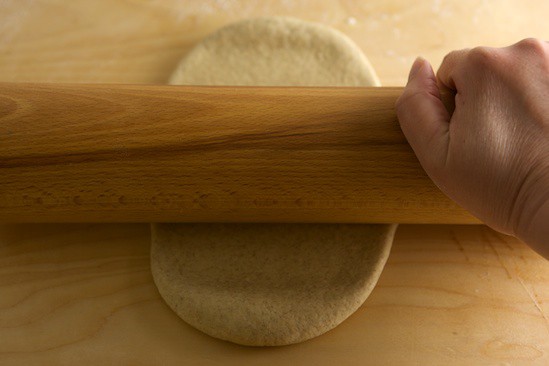
Next, each small piece of dough is rolled into an oblong about 5 inches wide by 8 inches long. They don’t have to be perfect, but try to roll each one as close to the same size as you can.

To create a loaf, stack four pieces of dough, alternating the light and dark colors.
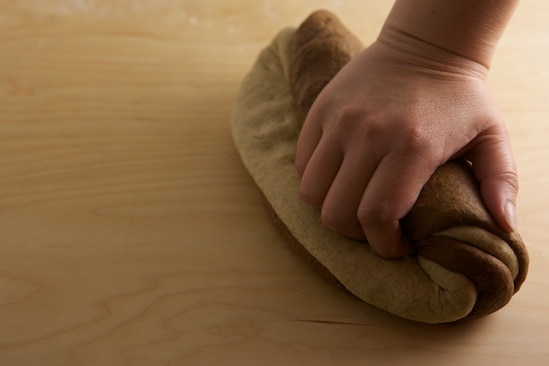
Starting at a long end, roll the stack up into an oblong loaf, or bâtard.
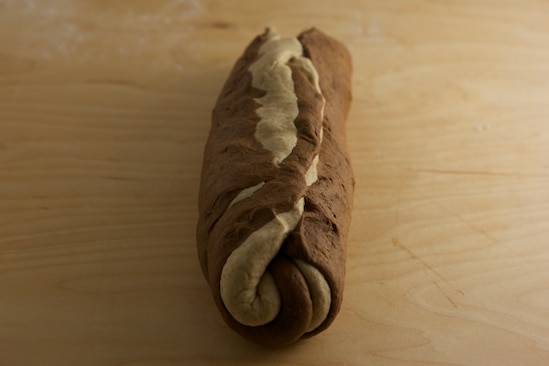
Pinch the seam together at the top (the seam side will become the bottom of the loaf).
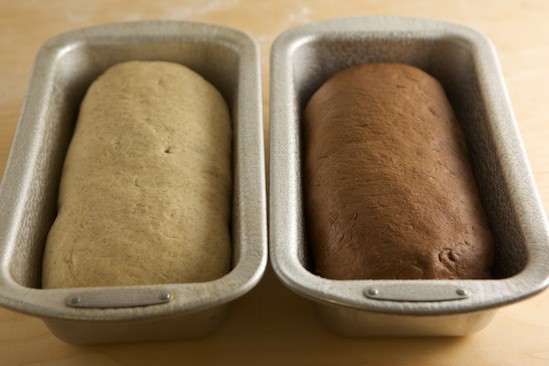
Repeat the stacking and rolling to form the second loaf then place the loaves into loaf pans. If you prefer free-form loaves they can be placed directly on parchment-lined baking sheets. Allow the loaves to proof at room temperature for another 60-90 minutes or until they have almost doubled in size.
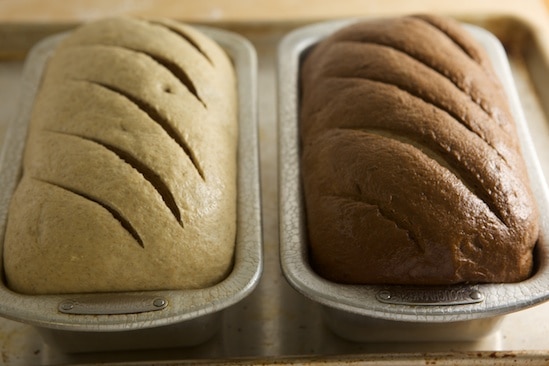
Although not required, I chose to slash the tops of the loaves once they had finished proofing. It was mainly for decorative purposes, but I also wanted to practice my slashing technique since I’m still a bit timid with a razor blade.
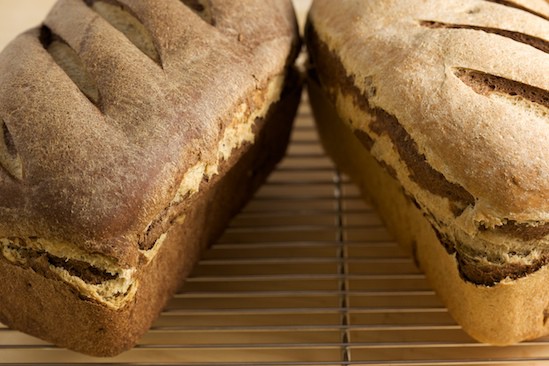
The loaves were baked at 350 degrees for about 45 minutes. They had tons of oven spring – so much, in fact, that both loaves split open a bit on the sides.
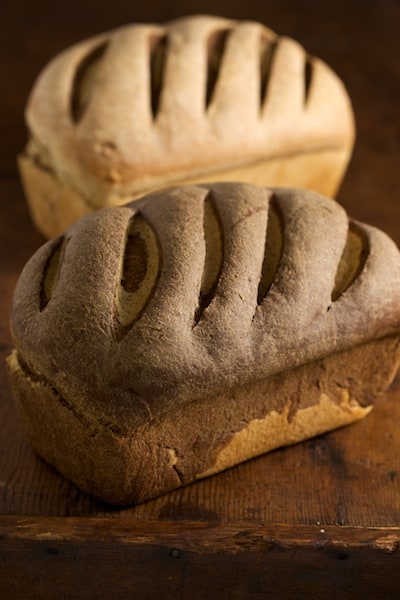
Despite the blowouts, they were absolutely beautiful and I was thrilled that the slashes on top opened up to show the different colors inside the loaves.
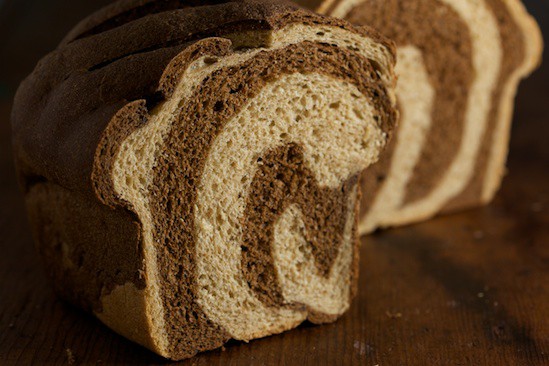
I’d have to say that the most rewarding part of this entire experience was slicing open the loaves to see the beautiful swirl inside…
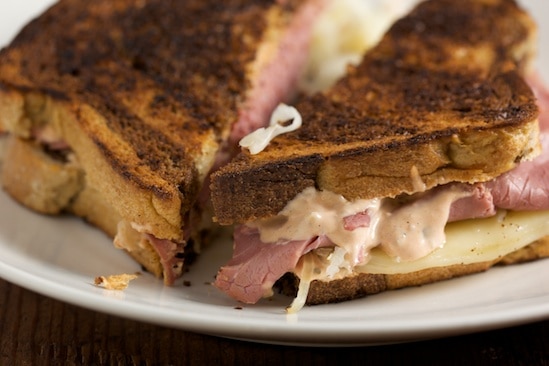
But this Reuben Sandwich with homemade thousand island dressing was a close second.
If you’re following along in the challenge, the formula can be found on page 184 of The Bread Baker’s Apprentice. The next bread is Multigrain Bread Extraordinaire – hopefully the bread will live up to its fancy name!
Want to Join The Bread Baker’s Apprentice Challenge?
There are several ways for you to join in the fun! First of all, you need a copy of Peter Reinhart’s The Bread Baker’s Apprentice. Read the first section of the book carefully, as this will prepare you for the bread recipes in the second section of the book. Then just jump in and bake some Anadama Bread, which is the first bread formula in the book. You may also visit The BBA Challenge Page for more details on how to participate in the group.
If you haven’t already, you might want to bookmark the BBA Challenge Page. From there you can see which breads are coming up soon, find answers to Frequently Asked Questions, visit and/or add yourself to our World Map, see the BBA Challenge Blogroll, and check out the continually updated slideshow of BBA Bread photos from our ever-expanding group of bakers!
Marbled Rye Bread from other BBA Bakers:
- Two Skinny Jenkins
- Italian Food Forever
- The Other Side of Fifty
- I Can Do That!
- Texas Farmer’s Hot Stove
- Yumarama Bread Blog
- Bewitching Kitchen
- Something Shiny
- Salt and Serenity
- Round the Table
- Susie’s Home and Hobbies
- Goth Panda
- Phoo-D
- Second Dinner
- Gourmet Hotdish and Other Culinary Disasters
- Pete Eatemall
bigjobsboard says
Supriya Raman says
Daniel says
Michelle says
bhagheerathy says
MyGreenFork says
cleawalford says
Joel says
Cook in a Bar says
Nutrition News says
Sara says
Ckay says