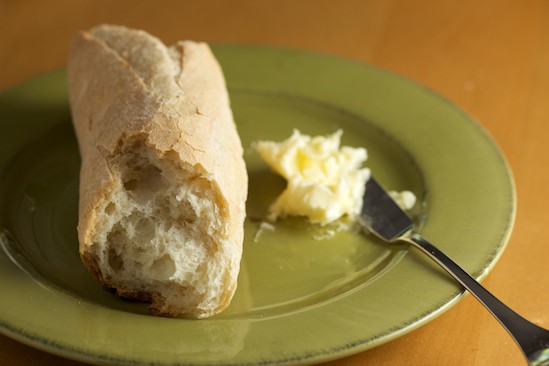
So it turns out that I have fallen a bit behind on The Bread Baker’s Apprentice Challenge. Life doesn’t always cooperate with bread baking and blogging, and that’s the reason I’ve encouraged everyone to bake at their own pace and take breaks as needed. Well my break is now over, my husband is home from Iraq, and I’m ready to jump back in and share some bread with you!
Bread #14 in the book is French Bread. After the huge success of the focaccia, I was a little worried that my baguettes would disappoint. I’ve never made a basic French bread, and it’s so easy to pick up great-tasting baguettes from our local bakeries, I wasn’t sure it would be worth the effort. But, as usual, Peter Reinhart proved me wrong. This bread wasn’t that difficult, and it had an amazing flavor!
This French Bread formula uses a large amount of pâte fermentée, or pre-fermented dough. As we’ve learned from earlier breads in this challenge, the extra step of using a pre-ferment really doesn’t take much effort, but makes a huge difference in the final outcome. It only takes a few extra minutes of hands-on time, and you’ll be amazed at the wonderful flavor that develops. You simply mix up some flour, yeast, and water a day or two ahead of time, and let it hang out in the refrigerator.
For the pâte fermentée, I blended bread flour, all-purpose flour, salt, yeast, and water. I kneaded it like any other bread dough, let it ferment at room temperature for an hour, and then stuck it in the fridge overnight. The next day, I let the pâte fermentée come to room temperature before using it in my French Bread dough.
When using a pâte fermentée or biga (the Italian equivalent), the pre-ferment must be chopped up into pieces so that it can be mixed more easily into the final dough. I simply dumped it out onto a floured surface and cut it into pieces with my bench scraper.
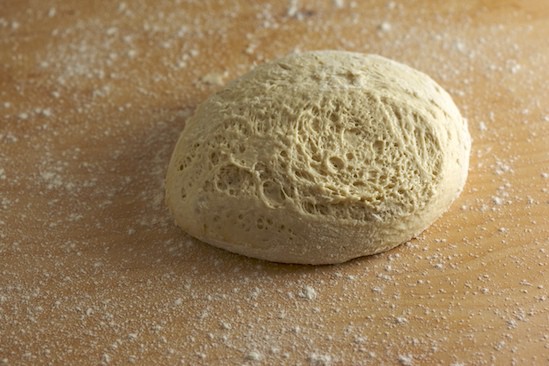
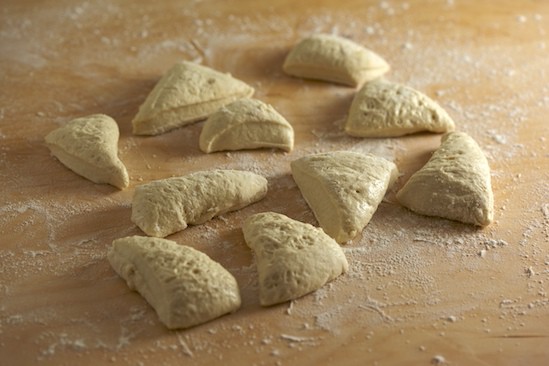
Next, I combined more flour, salt, and yeast with the pieces of pâte fermentée in a mixing bowl.
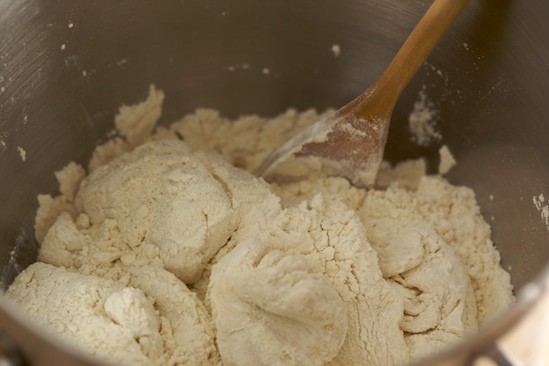
Water was then added and the dough was mixed with the paddle attachment in my stand mixer until everything came together and a coarse ball was formed.
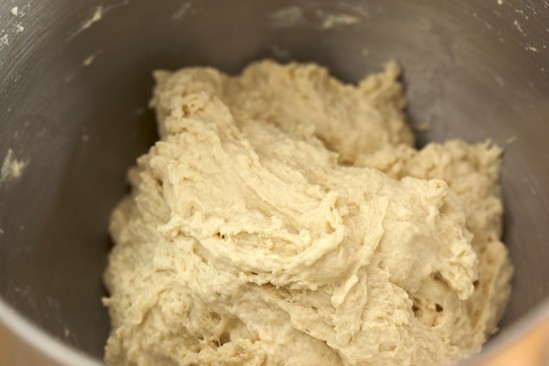
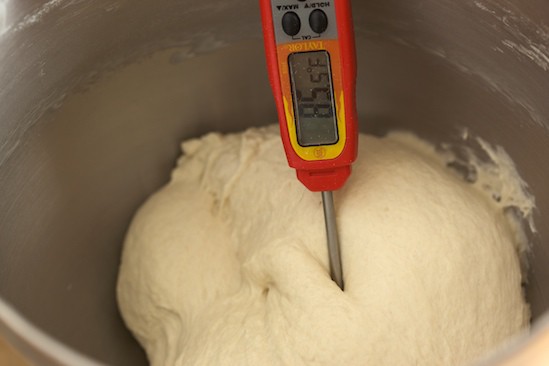
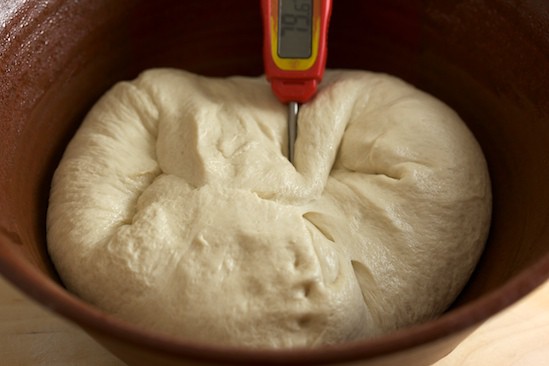
I then switched to the dough hook and kneaded the French Bread dough until it was soft, pliable and tacky. I had to add small amounts of flour as I was kneading in order to achieve that state. I also ended up kneading it longer than the book suggested in order for the dough to pass the windowpane test. Because of the extra kneading, my dough temperature was higher than it should have been. The book says the dough temperature should be between 77 and 81 degrees F, but mine registered at 85 degrees F. Ooooops.
Next, I placed my slightly warm ball of dough into a greased bowl, turned it to coat both sides with oil, and let it ferment at room temperature. I knew that the dough was going to rise faster than I wanted, but the book specifies that if this happens, you can degas the dough and let it rise a second time.
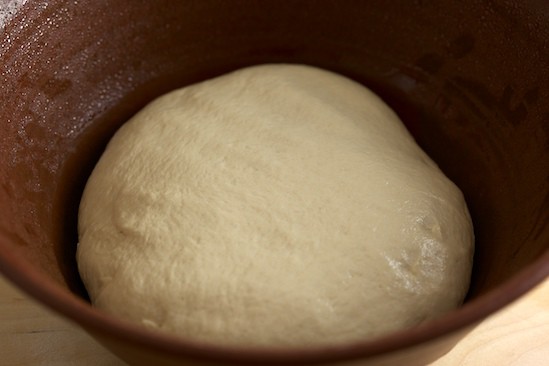
Sure enough, my dough doubled in record time!
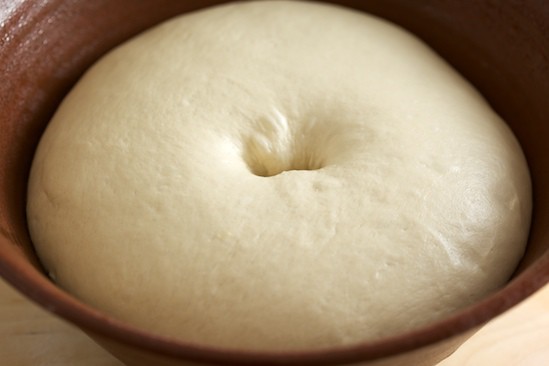
So I kneaded it gently and then placed it back in the bowl. Just for fun, I checked the temperature again. It had dropped and was now within the range it should have been originally.
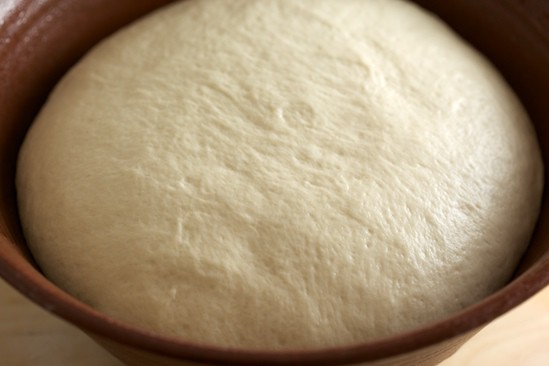
I let the dough ferment for about another hour, and it once again doubled in size.
Now for the fun part! I dumped the dough back out onto my flour board so I could divide it into three pieces which would eventually be shaped into baguettes.
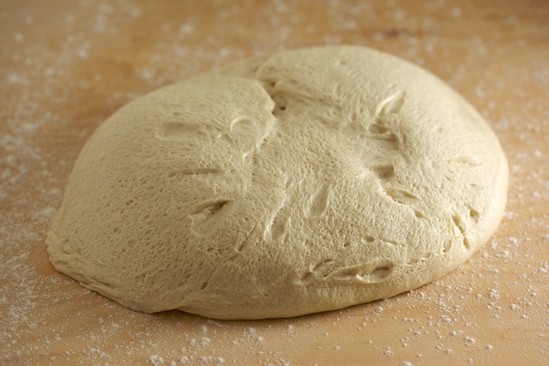
I usually weigh my dough so that I end up with equal pieces, but I was lazy this time and just eyeballed it.
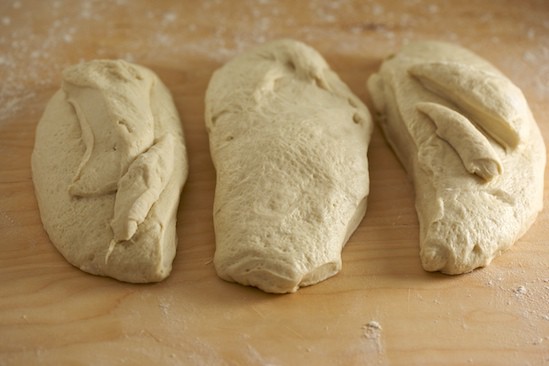
I obviously didn’t do a very good job of guessing the weight of the dough since I ended up with three different sizes (next time I’ll go back to using my scale)! Before shaping the baguettes, I first pre-shaped the pieces into batards and let the dough relax for a few minutes.
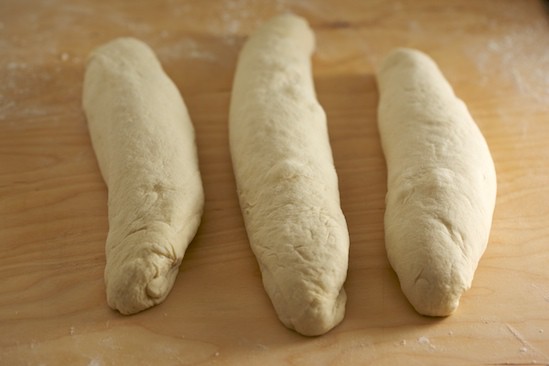
Unfortunately I didn’t photograph the baguette-shaping process, but you can see the process more clearly in this video. After shaping my baguettes, I nestled them in between the folds of a floured couche, seam side up, and let them proof at room temperature for about an hour.
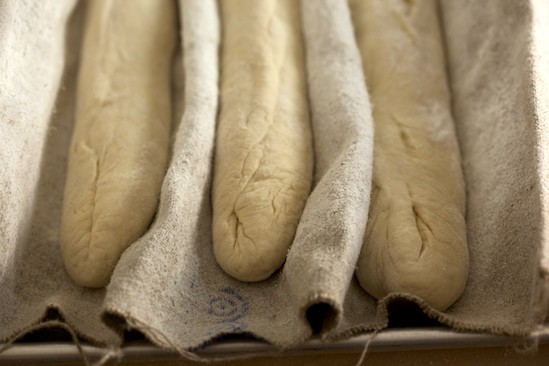
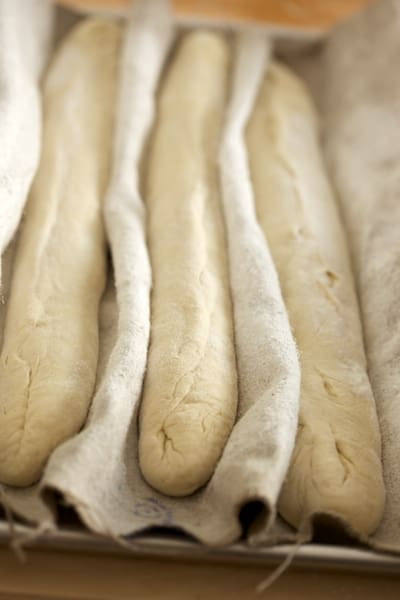
After the baguettes were properly proofed, I gently transferred them to a piece of parchment paper on the back of a sheet pan. I was thinking that I could just slide the baguettes and parchment onto my baking stone using the sheet pan instead of messing with semolina or cornmeal.
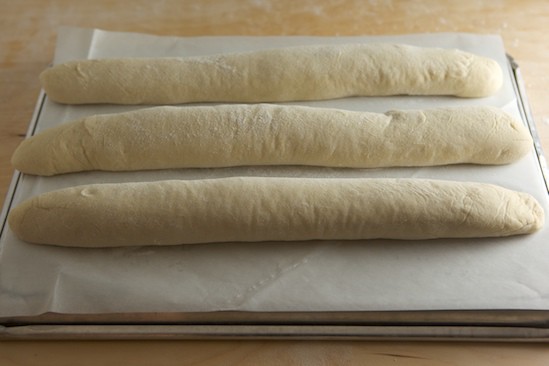
Next, I slashed the baguettes using a razor blade. I’m still not completely confident in my slashing technique, but it wasn’t too bad.
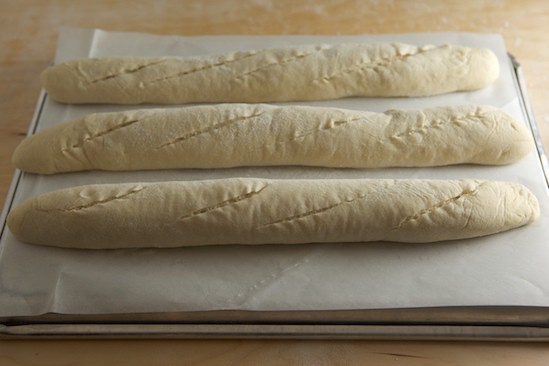
To prepare the oven for baking, I preheated to 500 degrees with a baking stone on the middle shelf and an empty pan on the top shelf. The pan on the top shelf is allowed to preheat with the oven so that I can pour hot water in it to create steam after the loaves have been placed on the baking stone. The steam allows for a better oven spring as the loaves are allowed to grow a bit more before a crust is formed.
When the oven was ready, I tried to slide the baguettes and parchment paper onto the stone. Unfortunately, the baguettes rolled rather than slid, and I ended up with a mini disaster as the baguette were all upside down and in the wrong places and I was dealing with a 500 degree oven. I was able to save two of them, but the third ended up being baked upside down and halfway off the baking stone for a few minutes (I was able to move it after the crust had started forming). The results were two nicely shaped baguettes and one slightly curved baguette. But they all looked much better than I had anticipated!
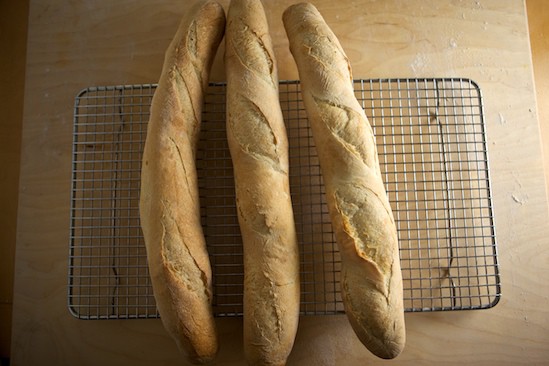
The only thing that concerned me was the color. I thought that they were a bit too pale and wonder what I could do differently to get some better caramelization in the crust. But the flavor of this bread was magnificent and I will definitely be giving it another try soon!
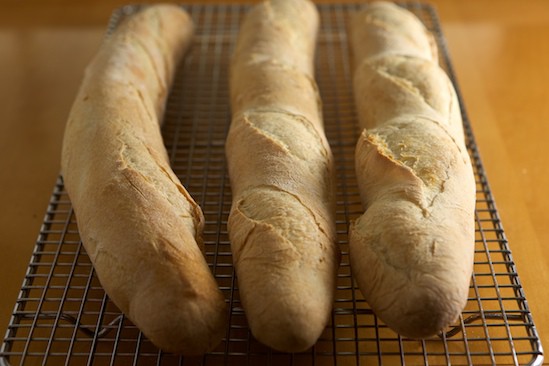
Are you ready to give homemade baguettes a try? The recipe for French Bread can be found on page 168 of The Bread Baker’s Apprentice. The next bread in the challenge is Italian Bread and it’s a good one! Meatball Sandwich, anyone?
Want to Join The Bread Baker’s Apprentice Challenge?
There are several ways for you to join in the fun! First of all, you need a copy of Peter Reinhart’s The Bread Baker’s Apprentice. Read the first section of the book carefully, as this will prepare you for the bread recipes in the second section of the book. Then just jump in and bake some Anadama Bread, which is the first recipe in the book. But first, please visit The BBA Challenge Page for more details on how to participate in the group!
If you haven’t already, you might want to bookmark the BBA Challenge Page. From there you can see which breads are coming up soon, find answers to Frequently Asked Questions, visit and/or add yourself to our World Map, see the BBA Challenge Blogroll, and check out the continually updated slideshow of BBA Bread photos from our ever-expanding group of bakers!
French Bread from other BBA Challenge Members:
- French Bread from Big Black Dog
- French Bread from Gourmet Hotdish and other Culinary Disasters
- French Bread from Ahrelich Gesagt
- French Bread from Goth Panda
- French Bread from Pete Eatemall
- French Bread from Salt and Serenity
- French Bread from Round the Table
- French Bread from La cuisine d’Hélène
Jennifer says
pearlie says
pearlie says
Abby says
Maribel says
DJ Brasier says
Betty Rembert says
Ravenlynne says
alittlebettercook says
Ben says