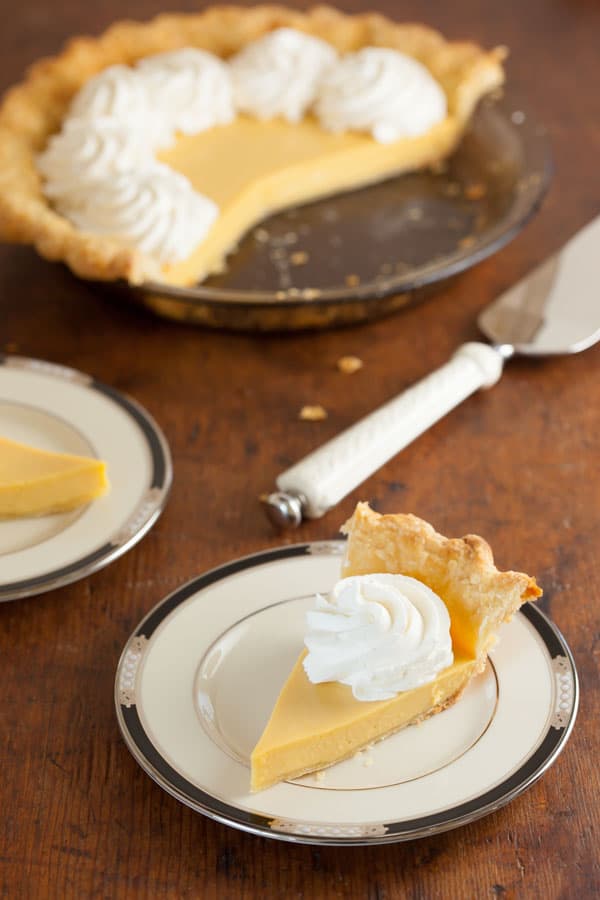
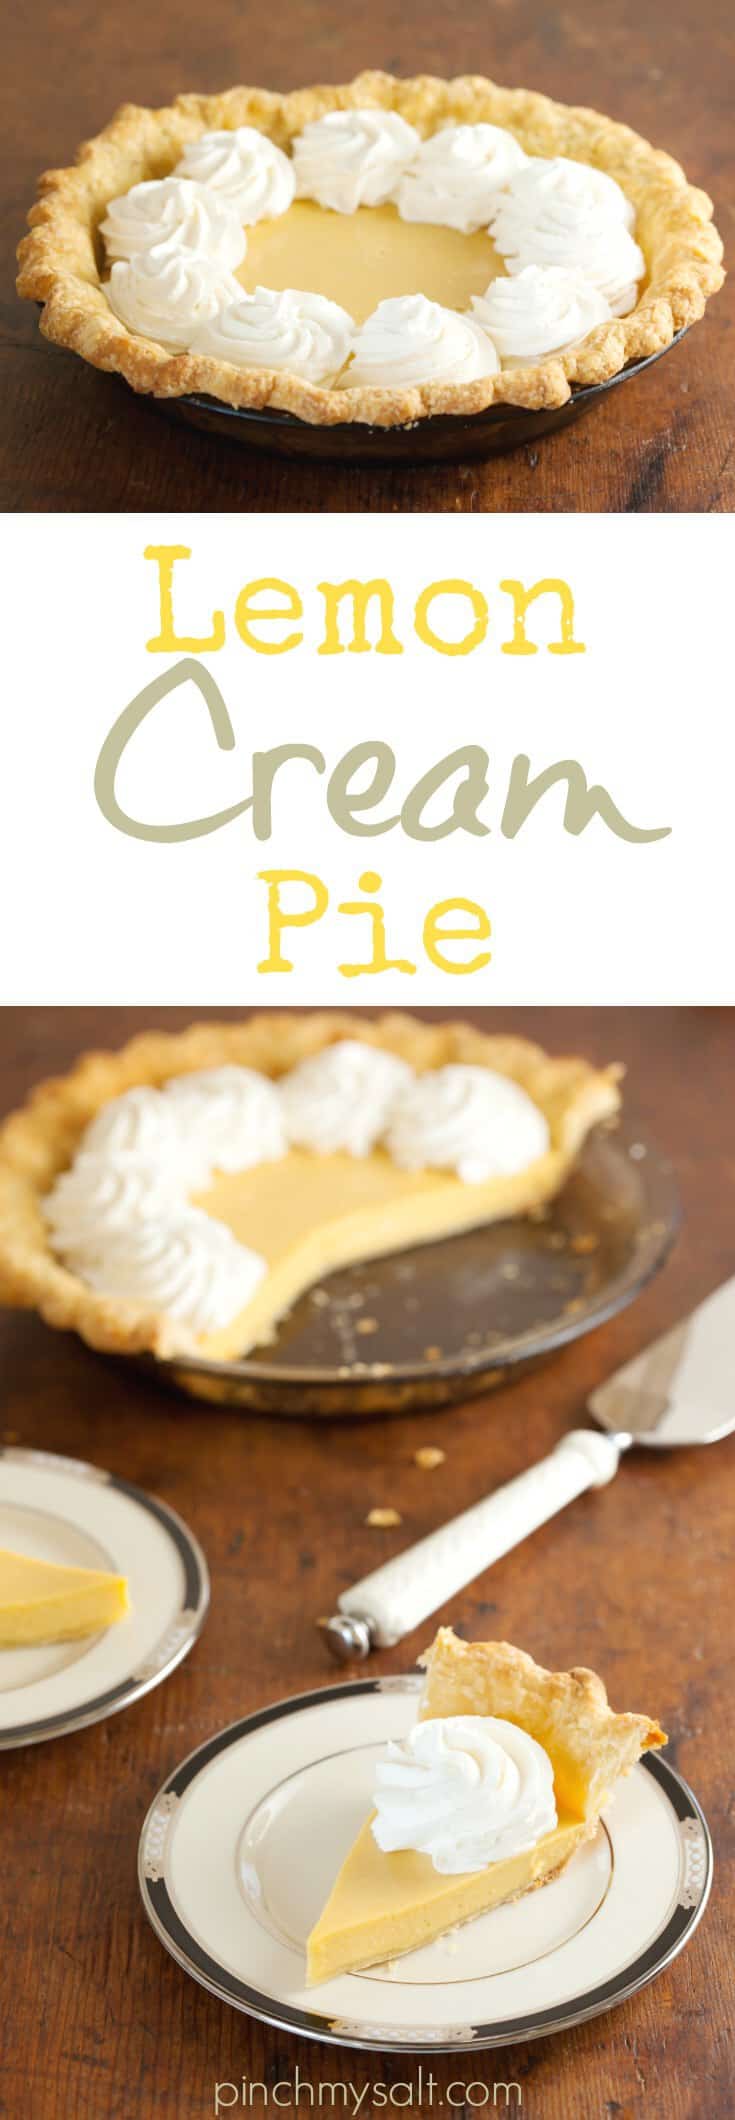
If you like key lime pie, you are going to love this easy, sweet, and tart lemon cream pie recipe! With only three ingredients, the filling can be whipped up in minutes. And because this pie is baked, the filling has a wonderful smooth consistency that holds its shape when you slice it.
My daughter turned 6 months old the other day and I am in shock at how fast time has passed since she was born. I’ve heard parents says this over and over and over, but of course I had no real understanding of what it meant.
So far parenthood has been a constant struggle to stay present and appreciate each day, each moment, each second while secretly and openly yearning for the changes to come. (First smile, first giggle, first full night of sleep, first word, first step—so many firsts to anticipate!)
But it’s all accompanied by an intense mourning as each stage passes.
It’s the ever-present feeling of loss that I wasn’t prepared for. Each tiny outgrown piece of clothing is marked by at least a few tears as it is carefully folded and set aside.
I’ve jokingly referred to the laundry basket in the closet where I temporarily store her outgrown clothes before sorting and packing them away as the basket of sorrow. I laugh about it—you have to, but at times it has been gut-wrenching.
Luckily, all those feelings are balanced by joy. So much joy! Indescribable joy. And more tears, but happy tears. (Seriously, I was not prepared for the amount of crying that would happen this first year.)
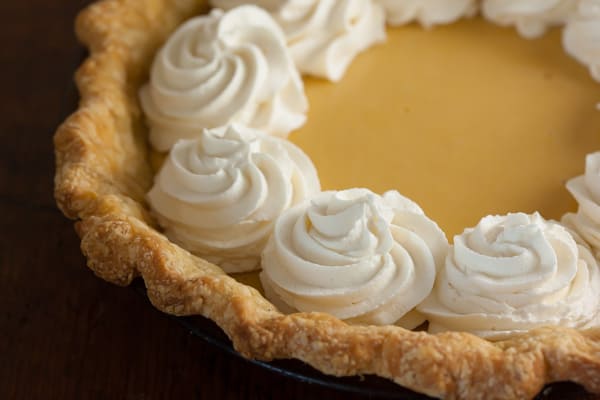
What I’m currently experiencing is the loss of this lemon cream pie that was polished off by my husband last night, because it also brought joy. I made it for Phil’s birthday, so it was his right to eat the last piece, but it still hurt.
Luckily, I have a tree full of lemons that are just starting to ripen, so I can make another for my birthday. And Thanksgiving. And Christmas.
This easy lemon cream pie has become a family favorite since I started making it a few years ago. The filling consists of only three ingredients, which can be whisked together by hand. It bakes up in about 20 minutes, and it seriously comes out perfect every single time.
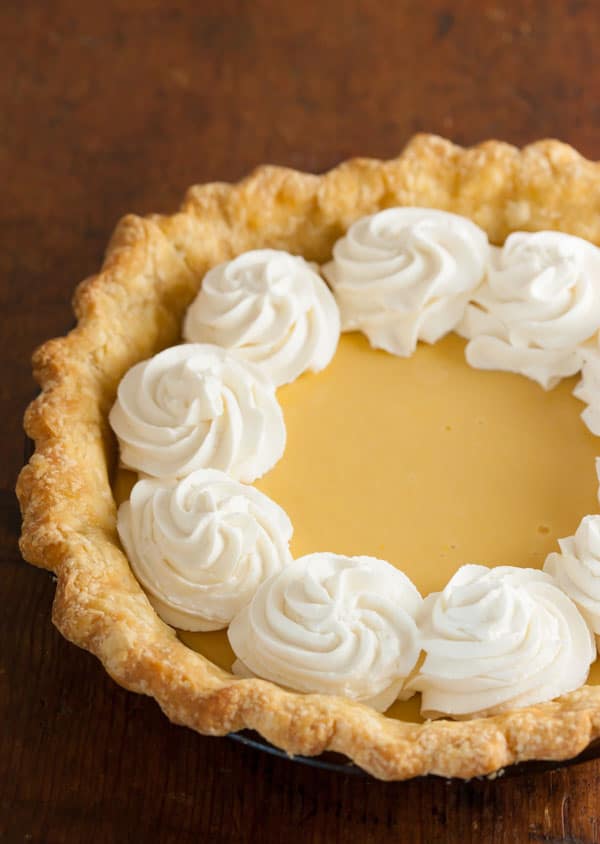
The easiest version of this pie would involve a store-bought graham cracker crust and pre-made whipped topping. Making it that way would be delicious and if you’re really pressed for time, that’s the way to go.
I prefer a regular pie crust over graham cracker crust, because the pie filling is intensely sweet thanks to the sweetened condensed milk. The pastry crust helps to cut the sweetness just a bit. But if you like a graham cracker crust with key lime pie, you’ll like it with this pie as well.
If you use a store-bought frozen pie crust, you’ll need to prebake it following the directions on the package before adding the filling and baking it again. Still, it’s pretty easy. And you could still use whipped topping from a tub or can if you’re pressed for time.
Of course my version is the most time consuming (and most delicious) of all. I like to start with a homemade, butter-rich pie crust and top it with fresh whipped cream, piped into decorative swirls. This latest pie was made with my sourdough pie crust, but you can use whichever pie crust recipe you like best.
Sometimes I make a regular all-butter pie crust and sometimes I make one that uses a combination of butter and shortening. If you like the type of pie crust that you find at Marie Callender’s, you’ll want to use a pie crust recipe that is made with just vegetable shortening.
My husband prefers the sourdough pie crust with this lemon cream pie because of the amazing flavor, but if you are looking specifically for a tender, flaky crust, you might be disappointed. The sourdough crust is delicious, and it does have some buttery flakes, but it is a very sturdy crust, and can’t really be described as tender and light.
I like to use a homemade stabilized whipped cream topping, which is just sweetened heavy cream with a bit of gelatin added. The stabilized whipped cream will hold it’s shape and won’t weep, even if the pie is decorated the day before you eat it.
We’ve found that this pie will keep perfectly well for up to a week, if it’s stored in a covered container in the refrigerator.
If you don’t need to make the pie in advance, stabilizing the whipped cream isn’t really necessary. I have included instructions for both stabilized and regular homemade whipped cream in the printable recipe at the bottom of this page.
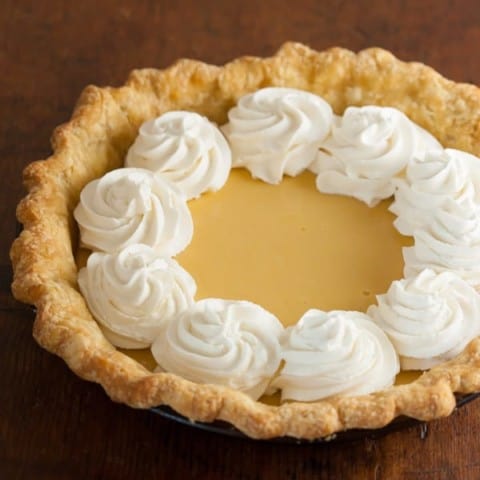
You can use a piping bag and open star decorating tip to create whipped cream swirls or you can just spread whipped cream over the entire pie. I usually opt for swirls, sometimes covering the pie completely, sometimes leaving the center uncovered.
Okay, as you can see, there are many options for this pie. The filling is so delicious that the pie will be a hit no matter how much effort you put into the crust and topping. So just do what works best for you and your schedule.
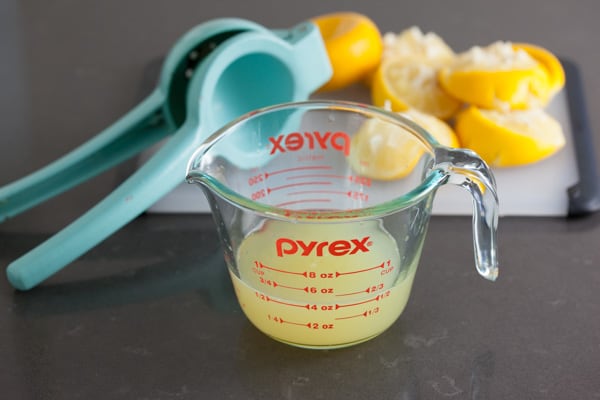
I used Meyer lemons off my tree for the juice, but regular lemon juice is perfect. Fresh-squeezed will be better than bottled lemon juice.

You’ll need three large egg yolks. These were provided by my chickens, which is why they’re so orange!
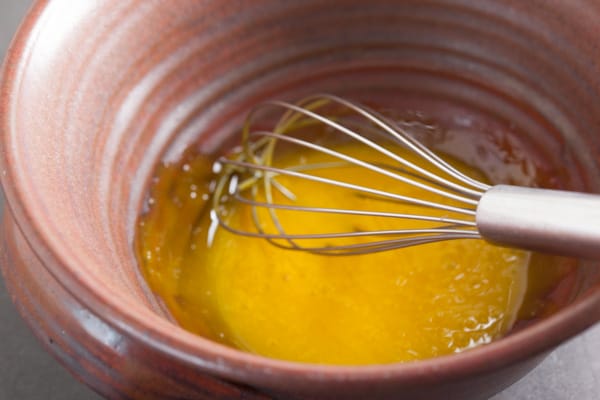
You can whisk the yolks by hand or with a hand mixer. I just use a whisk.
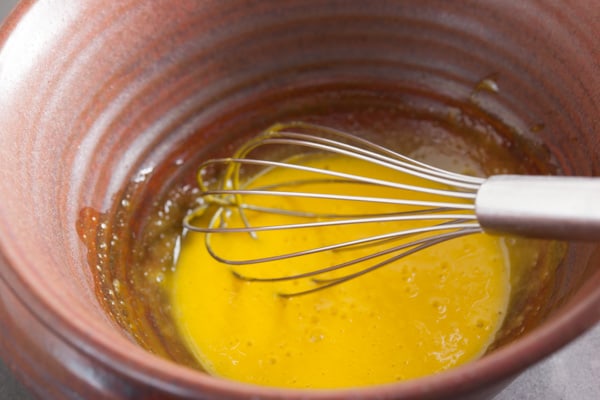
Just whisk them for a few minutes until they’ve increased in volume just a bit and lightened in color.
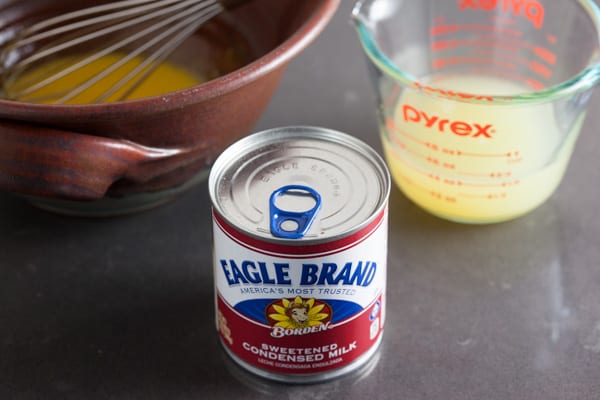
These are the only ingredients you need for the filling: lemon juice, egg yolks, and a can of sweetened condensed milk.
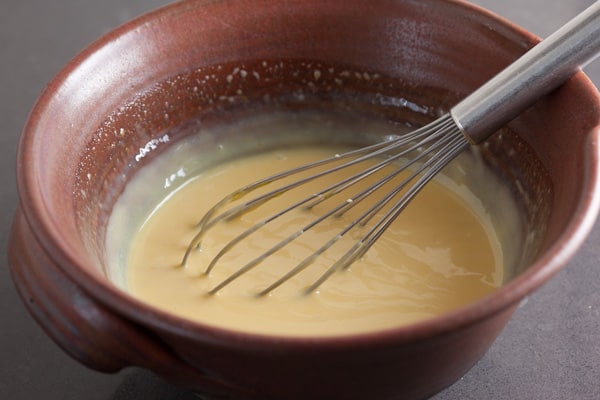
Once you’ve whisked your yolks, whisk in the lemon juice and sweetened condensed milk until everything is well combined.
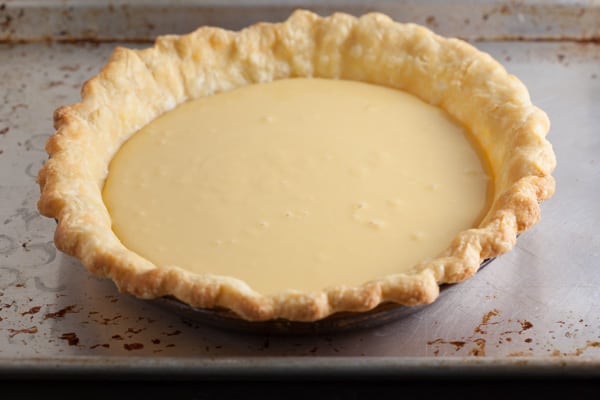
Pour the filling into your pre-baked pie crust (or prepared graham cracker crust, if that’s what you’re using).
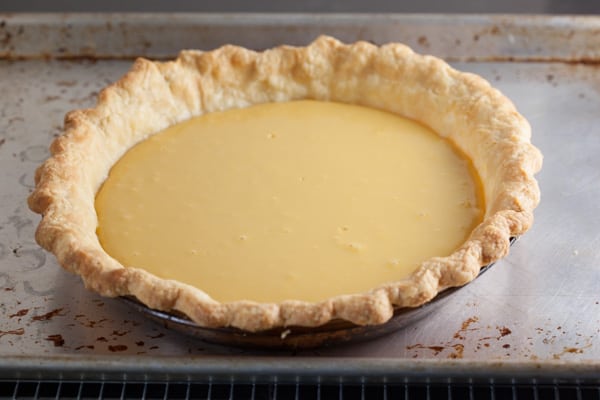
Bake the pie for about 20 minutes at 325 degrees, or until the filling no longer jiggles in the center when you shake it. It might take longer if your pie crust is smaller than 9 inches in diameter, because the filling will be a bit thicker.
Let the pie cool at room temperature then refrigerate it for a few hours before adding the topping.
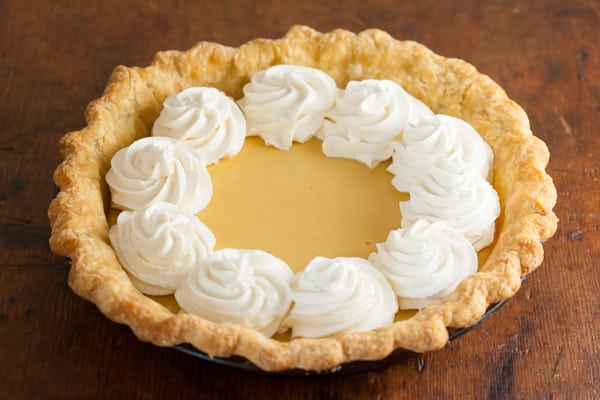
Enjoy!
Lemon Cream Pie
Ingredients
- 3 large egg yolks
- 14-oz can sweetened condensed milk
- 1/2 cup lemon juice
- 8- or 9-inch baked pie crust or prepared graham cracker crust
Topping:
- 1 teaspoon unflavored gelatin (optional, for stabilized whipped cream)*
- 4 teaspoons cold water
- 1 cup heavy whipping cream
- 1/4 cup powdered sugar, sifted
- 1/2 teaspoon vanilla extract
Instructions
1. Preheat oven to 325 degrees F.
2. In a mixing bowl, whisk egg yolks until color lightens a bit. Add condensed milk and lemon juice and stir until smooth.
3. Pour filling into cooled pie crust (or graham cracker crust). Bake at 325 degrees for 20 minutes, or until filling is set (it won't jiggle when you shake the pie plate). My 9-inch pies are always done at 20 minutes, but If you are using an 8-inch pie crust, the filling might take a bit longer to bake.
4. Let pie cool completely on wire rack then refrigerate for a few hours before adding the whipped cream topping.
Regular Whipped Cream Topping:
1. Whip the cold heavy cream with whisk attachment on mixer or by hand with a whisk until soft peaks form. Add powdered sugar and vanilla then continue mixing until medium-stiff peaks form.
3. Spread whipped cream over the top of the pie or use a piping bag and large open star tip to create decorative swirls.
Stabilized Whipped cream topping:
1. In a very small microwave-safe bowl, sprinkle gelatin over 4 teaspoons of cold water. Let bloom for 5 minutes then microwave in 5 second bursts until gelatin is fully dissolved. Set aside to cool a bit.
2. Whip the cold heavy cream with whisk attachment on mixer or by hand with a whisk until soft peaks form. Add powdered sugar, vanilla, and gelatin mixture and continue mixing until medium-stiff peaks form.
3. Use a piping bag and large open star tip to create decorative swirls over the top of the pie.
Notes
*If you would like to decorate the pie a day ahead of time and want to make sure that the whipped cream topping holds its shape and doesn't weep, follow the directions for the stabilized whipped cream topping. The flavor is not affected, but the whipped cream will be slightly firmer and will hold its shape really well.
Nutrition Information:
Yield: 8Amount Per Serving: Calories: 37Carbohydrates: 9g
This lemon cream pie recipe is based on the Eagle Brand Lemon Cream Pie found on All Recipes.
I will be sharing photos and instructions for rolling and blind baking the sourdough pie crust tomorrow. I had planned on combining that with this post, but realized it was going to be too long and contain too many photos!
This post may include Amazon affiliate links. Making purchases through these links won’t affect the amount you pay, but I will earn a small percentage, which helps support this blog and my family. If I write about products I have received for free or am ever paid to write about a product, it will always be disclosed. Thank you.
Kitchen equipment used for this recipe:
(the following are Amazon Affiliate links)
Related Recipes:
- Apple Galette
- Avocado Pie
- Pumpkin Cheesecake Bars with Brown Sugar Shortbread Crust
- Mini Pumpkin Cheesecakes
- Mini Cherry Cheesecakes
- Orange Mini Cheesecakes with Grand Marnier Cream
Around the Web:
- Shaker Lemon Pie from Serious Eats
- Whole Lemon Pie from Lovely Little Kitchen
- Lemon Meringue Pie from Gimme Some Oven
- Lemon Mousse Pie from Completely Delicious
- Raspberry Lemon Icebox Pie from Bake or Break
- Meyer Lemon Buttermilk Pie from Fifteen Spatulas

Lemon Cream Pie
Ingredients
- 3 large egg yolks
- 14-oz can sweetened condensed milk
- 1/2 cup lemon juice
- 8- or 9-inch baked pie crust or prepared graham cracker crust
Topping:
- 1 teaspoon unflavored gelatin (optional, for stabilized whipped cream)*
- 4 teaspoons cold water
- 1 cup heavy whipping cream
- 1/4 cup powdered sugar, sifted
- 1/2 teaspoon vanilla extract
Instructions
1. Preheat oven to 325 degrees F.
2. In a mixing bowl, whisk egg yolks until color lightens a bit. Add condensed milk and lemon juice and stir until smooth.
3. Pour filling into cooled pie crust (or graham cracker crust). Bake at 325 degrees for 20 minutes, or until filling is set (it won't jiggle when you shake the pie plate). My 9-inch pies are always done at 20 minutes, but If you are using an 8-inch pie crust, the filling might take a bit longer to bake.
4. Let pie cool completely on wire rack then refrigerate for a few hours before adding the whipped cream topping.
Regular Whipped Cream Topping:
1. Whip the cold heavy cream with whisk attachment on mixer or by hand with a whisk until soft peaks form. Add powdered sugar and vanilla then continue mixing until medium-stiff peaks form.
3. Spread whipped cream over the top of the pie or use a piping bag and large open star tip to create decorative swirls.
Stabilized Whipped cream topping:
1. In a very small microwave-safe bowl, sprinkle gelatin over 4 teaspoons of cold water. Let bloom for 5 minutes then microwave in 5 second bursts until gelatin is fully dissolved. Set aside to cool a bit.
2. Whip the cold heavy cream with whisk attachment on mixer or by hand with a whisk until soft peaks form. Add powdered sugar, vanilla, and gelatin mixture and continue mixing until medium-stiff peaks form.
3. Use a piping bag and large open star tip to create decorative swirls over the top of the pie.
Notes
*If you would like to decorate the pie a day ahead of time and want to make sure that the whipped cream topping holds its shape and doesn't weep, follow the directions for the stabilized whipped cream topping. The flavor is not affected, but the whipped cream will be slightly firmer and will hold its shape really well.
Nutrition Information:
Yield: 8Amount Per Serving: Calories: 37Carbohydrates: 9g
Simone says
Nicole says
Simone says
Deepa Suresh says
Mithra says
Janice says
janu2611 says
Sandi Birtwistle says
indoasiangroceries says
Alex Zomber says
Linda says
Catering Albuquerque says
easynomic1 says
Kok aan huis says
Catering Drenthe says