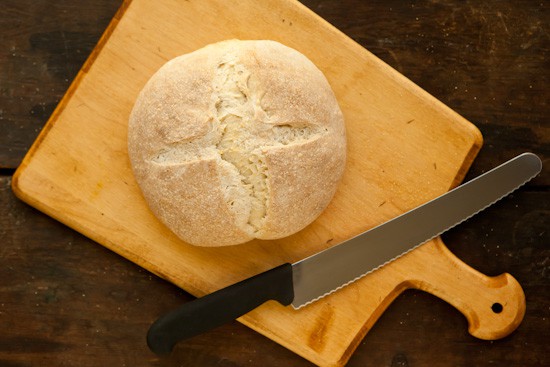
It took a week to get to this point, but today I have two loaves of delicious fresh sourdough from my new starter. If you’re just tuning in and want to learn how I created my sourdough starter, begin here.
Even though I’ve been making sourdough bread from scratch for over 5 years, it still amazes me that something so delicious can come from only 3 ingredients: flour, water, and salt. I didn’t use any special equipment to make this bread – it was mixed and kneaded by hand and baked in a home oven on a regular sheet pan. Anyone can do this.
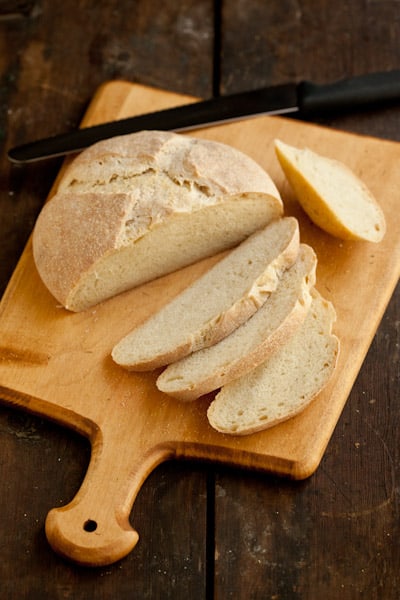
It’s true that I do own lots of special equipment for baking bread. If I had taken some extra steps, this bread would have been even more beautiful, with a dark golden crust and open crumb. But I really wanted to show you how easy it is to bake sourdough bread at home without any special knowledge or equipment. Sure, with some instruction and practice, anyone can learn to make bread that looks like it came from the bakery. We’ll get to that. But if you’re new to sourdough and don’t yet own a kitchen scale, instant-read thermometer, stand mixer, baking stone, or proofing baskets, don’t worry. You can make this bread and it will be delicious.
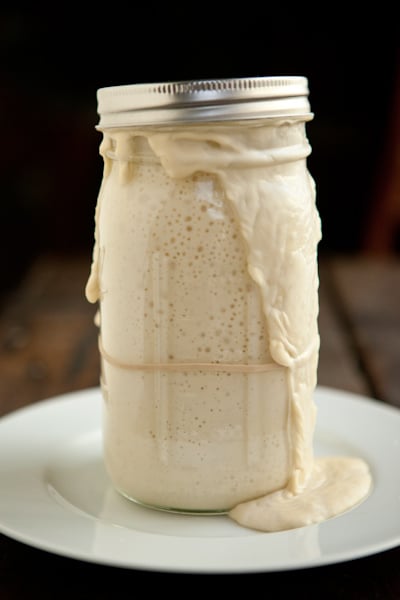
This was what my sourdough starter looked like on the morning of day eight. Yes, it was definitely time to bake some bread with it. The first step in this bread is to measure out a cup of your starter and mix it up with three cups of flour and cup and a half of water in a large mixing bowl. It’s basically like feeding your starter twice as much as usual and therefore tripling the amount instead of doubling it. This mixture is called the sponge. (Make sure to feed your original sourdough starter after removing one cup – you can stick it in the fridge after feeding if you want.)
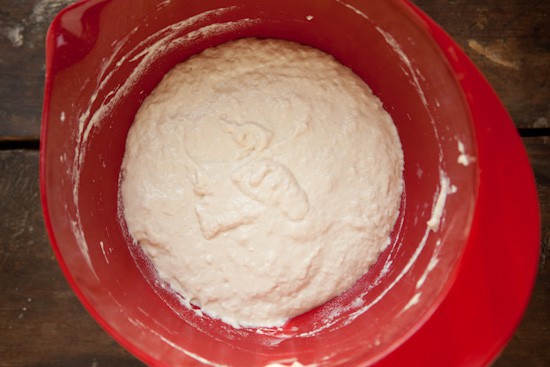
You need to let this sponge sit out at room temperature for at least a couple hours, but it can be as long as 8 hours if you want. You can even decide to refrigerate it after a couple of hours and continue the rest of the process the following morning. The longer you let the sponge ferment, the more sour your bread will be. The temperature of the room is also going to have an effect. The warmer it is, the faster the sponge will ferment and vice versa. I like to let the sponge tell me when it’s ready.
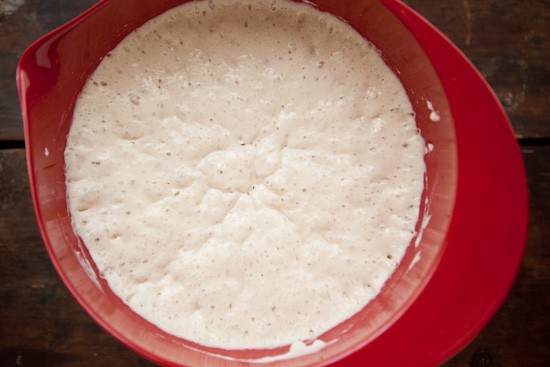
After you mix up the sponge, it will start rising. At a certain point, it will have risen as much as it can and it will slowly start collapsing. You see how the surface of the sponge has wrinkles in the middle? This is what I look for as a sign that my sponge is ready to be mixed into a bread dough.
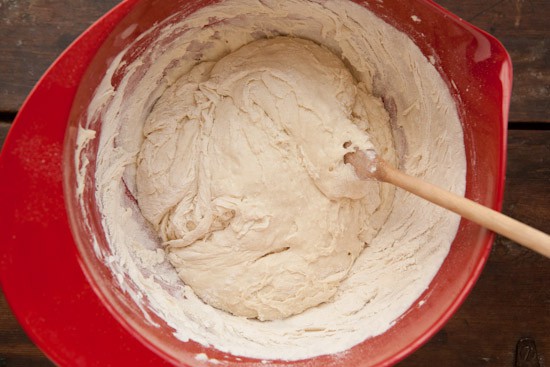
Now it’s time to stir in the salt and extra flour to make the dough. I start by whisking the salt into a cup of flour and stirring that into the sponge.
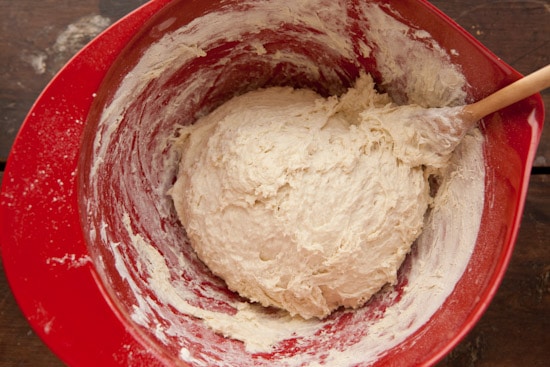
I then keep adding more flour, a little at a time, until it’s too hard to mix the dough with my wooden spoon.
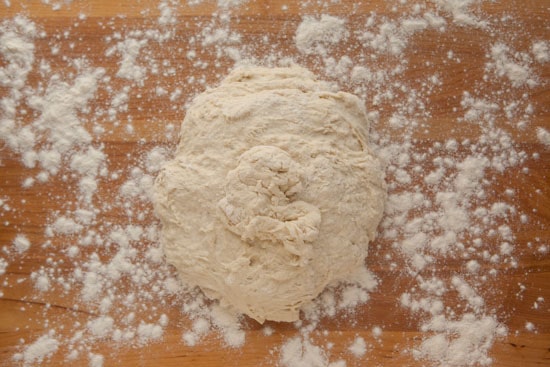
Next, I sprinkle flour over my kitchen counter or bread board (in this case, I used the board) and then scrape out the dough. I then dust my hands with flour and start kneading. The dough will be sticky, so you’ll want to have flour nearby to dip your hands into and you’ll need to sprinkle a bit on the board under the dough as the dough starts sticking. Use only as much as you need to keep the dough from sticking – you want to keep the dough fairly soft. For instructions on kneading, go here.
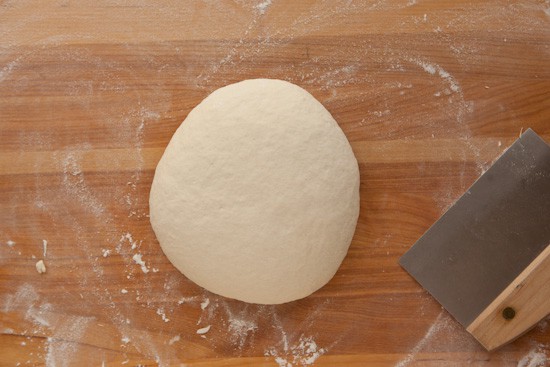
Although I said that you don’t need any special equipment to make this bread, a bench scraper is really very helpful. Sourdough is stickier than other bread dough and the scraper helps to lift up the dough to sprinkle more flour underneath when it starts to stick to the board or counter. It’s also very helpful when cleaning up flour.
You want to knead the dough for about three minutes and then let it rest. I just cover it with a towel and leave it for about ten minutes. While the dough is resting you’ll need to clean and dry the mixing bowl then spray or rub it with oil.
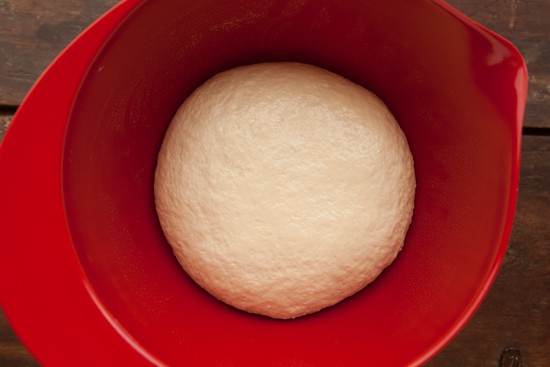
After the dough rests, you’ll continue kneading for another few minutes, until the dough is smooth and elastic. Next, place the ball of dough into your greased bowl and turn it so that the top is lightly coated in oil. Now cover the bowl and put it in a fairly warm spot. If your kitchen is cold, put it on top of the refrigerator or in the oven (turned off) with the light turned on. Let the dough rise until doubled in size, about 1 1/2 to 2 hours.
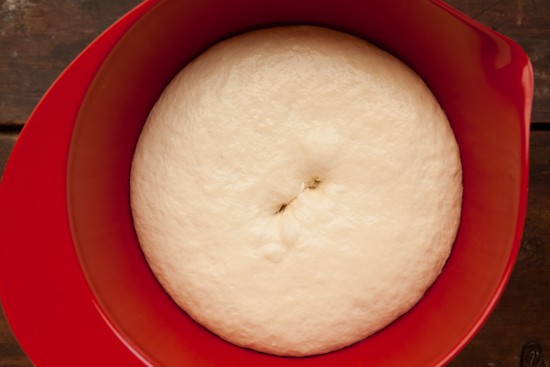
One way to test if the dough has doubled is to push a couple fingers down into the dough. If the holes don’t fill back in, the dough is ready to be shaped.
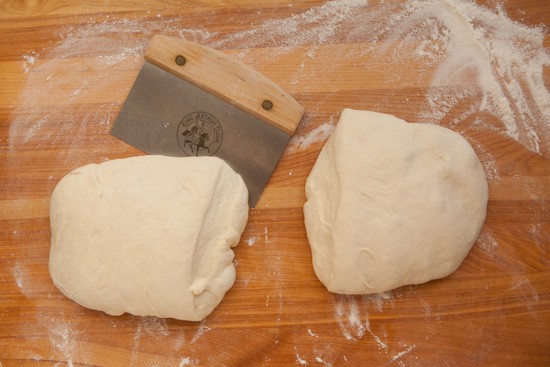
Carefully dump the dough out onto a lightly floured surface and divide it in half. Again, a bench scraper works well here, but you can cut it with a knife. You want the pieces to be as equal in size as possible.
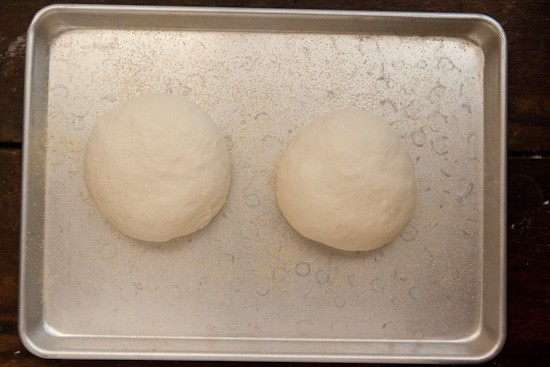
Next, shape the loaves. You can form them into whatever shapes you wish, but I find round loaves (also known as boules) are the easiest. For instructions on shaping, go here. Place the loaves onto a lightly greased baking sheet that has been sprinkled with cornmeal.
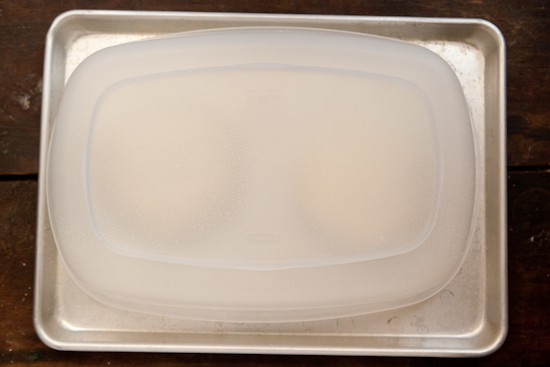
You’ll want to cover the loaves while they rise. You can used plastic wrap that has been coated in spray oil or get creative like I did. I just used a big plastic container that fit over both loaves. I did spray the inside of the container with oil just in case the loaves spread out while rising. Again, let the loaves rise in a warm space until about doubled in size. The dough will most likely spread out rather than up, and that’s fine. It should take close to two hours.
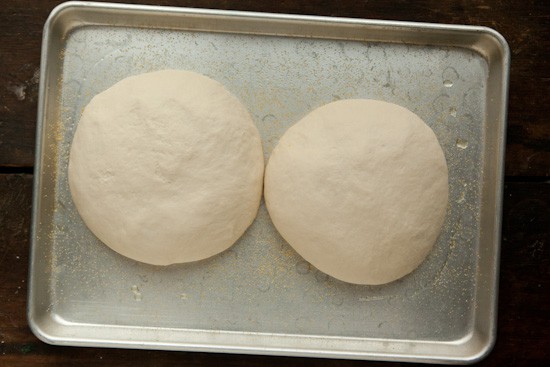
If the loaves grow into each other, it’s not the end of the world. Don’t try to move them, you may end up deflating your loaves. They’ll be easy to separate after baking.
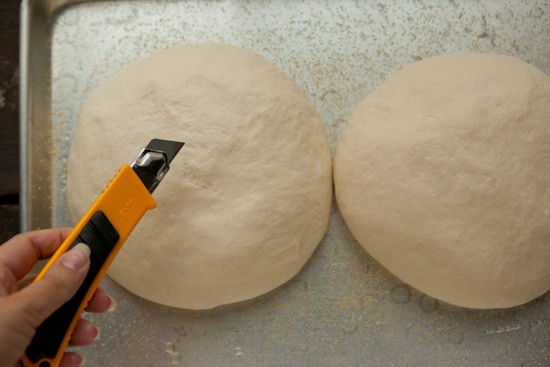
At this point, your oven should be preheated to 450 degrees F. The last step before baking is to slash the tops of the loaves. You can use any sharp knife for this or a razor blade. I decided to try this cutting tool.
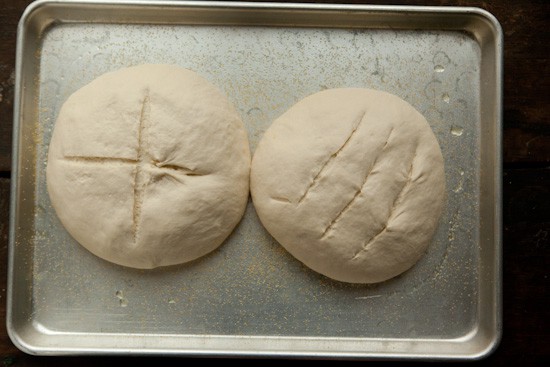
You can create whatever pattern you want. It doesn’t really matter if you mess up – I’m notoriously bad at this. The dough will be sticky so your best best is to be confident and just do it quickly. Even if your slashes look horrible now, the bread will probably come out of the oven looking pretty good.
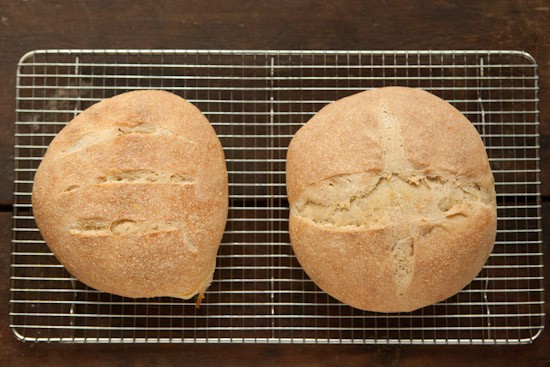
And even if they’re not the most gorgeous things you’ve ever seen – it will smell wonderful and taste even better.
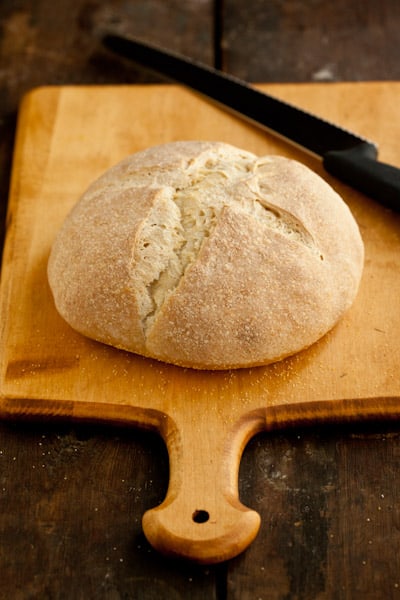
If you can, wait for the bread to cool completely before cutting into it. The flavor and texture continue to develop as the bread cools. I’ll admit that I’m not very good at waiting for my bread to cool before cutting the first slice, so I won’t say anything if you can’t wait.

Basic Sourdough Bread
Ingredients
- 1 cup "fed" sourdough starter
- 1 1/2 cups warm filtered water
- 5 to 6 cups unbleached all-purpose or bread flour
- 2 1/2 teaspoons salt
Instructions
- The sponge: Pour the cup of starter into a large mixing bowl. Add the warm water and 3 cups of flour. Beat vigorously with a wooden spoon. Cover this sponge with plastic wrap and put it aside to work. This period can be very flexible, but allow at least 2 hours and up to 8 hours. A longer period (at a lower temperature) will result in a more sour flavor.
- The dough: After the sponge has bubbled and expanded, remove the plastic wrap. Blend the salt and one cup of flour. Stir the flour and salt into the sponge then add more flour, a little at a time until the dough comes together. Turn it out onto a floured board and knead it for 3 to 4 minutes. Give the dough a rest while you clean out and grease your bowl. Continue kneading for another 3 or 4 minutes, adding extra flour as needed, until the dough is smooth and elastic. Add only enough extra flour to keep the dough from sticking. Place the dough in the bowl, turn it once to grease the top, cover, and let it rise until doubled (1 to 2 hours).
- Shaping and Baking: Turn the dough out, then divide in half. Shape each half into a loaf, and place on a lightly greased, cornmeal-sprinkled baking sheet. Cover, and let rise until doubled (this can take up to 2 hours). Remove the cover, slash the tops, and bake in a preheated 450 degree oven for approximately 20 minutes, until golden brown. Turn the oven off, crack the door, and leave the loaves in for another 5 minutes. Remove loaves to a cooling rack and let cool completely before slicing.
Notes
Adapted from King Arthur Flour
Nutrition Information:
Yield: 16 Serving Size: 1Amount Per Serving: Calories: 182Total Fat: 1gSaturated Fat: 0gTrans Fat: 0gUnsaturated Fat: 0gCholesterol: 0mgSodium: 333mgCarbohydrates: 37gFiber: 2gSugar: 0gProtein: 6g
How to Create a Sourdough Starter
If you don’t yet have your own sourdough starter, you’ll need to get one from a friend, buy one, or make your own before you can make this bread. Of course I think you should make your own!
You can follow my adventure making a sourdough starter and find instructions for making your own starter by clicking on the following links. The full instructions are given on each page.
Diana Banks says
Nicole says
Diana Banks says
Nicole says
Jade McGaw says
Jean Beardsall says
Cathy says
Nicole says
Andrea says
Nicole says
Debbie says
Nicole says
Deedee says
Nicole says
Janice says
Dan M says
Jenna says
Nicole says
Jeanie says
Steve says
Nicole says
Crystal says
Nicole says