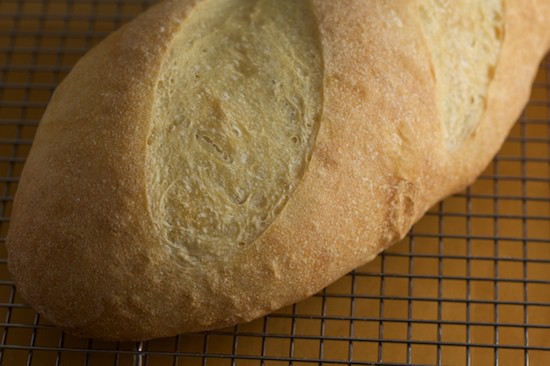
The new year is about to begin and I’m determined to get back on track with The Bread Baker’s Apprentice Challenge! I’ve fallen way behind many of my fellow BBA bakers, but the great thing about this challenge is that we each set our own pace, and even though I’ve fallen behind, I can pick right back up where I left off and continue working toward the goal of finishing all the breads in the book. And since I am behind several of the others, there are plenty of people I can turn to for help or advice!
Today, I’m writing about the 15th bread in the challenge: Italian Bread. I actually baked and photographed this bread months ago, so bear with me as I try to remember the details of the process – luckily I took lots of photos. One thing I do remember is the wonderful flavor of this bread. I gave a loaf to my friend Caron for her birthday, and she shared a buttered slice of the still-warm bread with me in her kitchen. There’s nothing like sharing bread and butter with a friend!
Peter Reinhart’s Italian Bread is soft and delicious with a thin crisp crust that softens slightly as the bread cools. It is wonderful sliced and served with butter, but I think that this bread really shines as a sandwich loaf. I will definitely be making the Italian Bread again, but next time will form the dough into smaller torpedo rolls for meatball sandwiches.
Just like the French Bread, this formula employs a pre-ferment to extract maximum flavor from the simple ingredients. For the French Bread, the pre-ferment was pâte fermentée, but the Italian version is biga. The biga is made the day before you want to bake the bread (or up to 3 days earlier). It’s a simple mixture of flour, a bit of instant yeast, and water. The biga forms a dough similar in consistency to what the final dough will be. It’s kneaded, allowed to ferment at room temperature for a few hours, then placed in the refrigerator overnight.
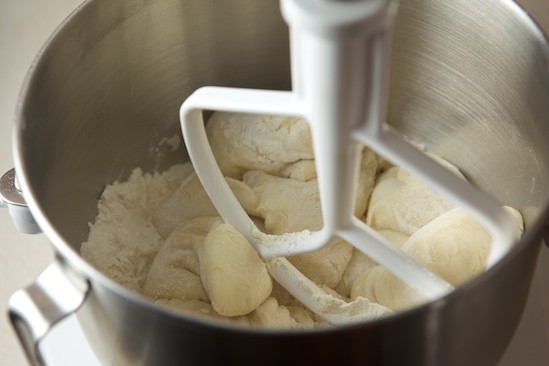
The following day, you will remove the biga from the refrigerator cut it into small pieces one hour before starting the Italian Bread, so that it can come up to room temperature. The pieces are then mixed with some flour, salt, sugar, yeast and malt powder.
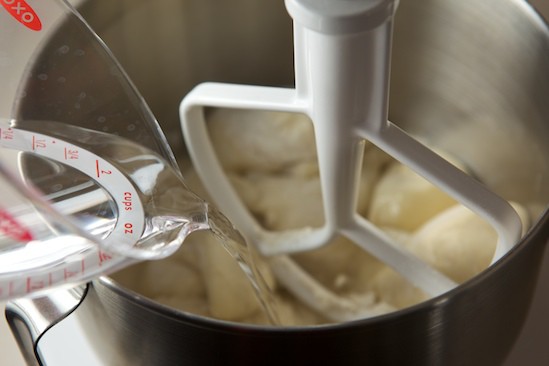
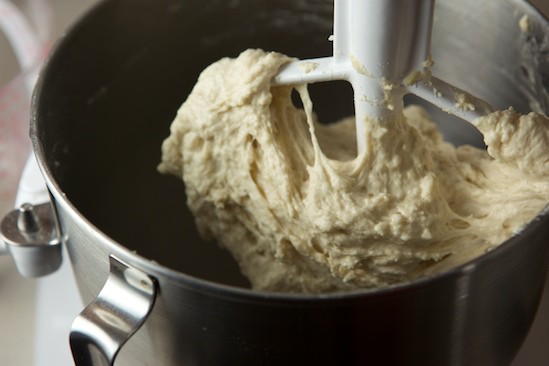
Next you add the liquid ingredients: olive oil and water. The instructions are to mix all of the ingredients, adjusting with extra flour or water as needed to achieve a dough that is slightly sticky and soft, but not too sticky. This is where you just have to reach in and feel the dough, and use your best judgment!

The instructions are to mix all of the ingredients, adjusting with extra flour or water as needed to achieve a dough that is slightly sticky and soft, but not too sticky. This is where you just have to reach in and feel the dough, and use your best judgment!
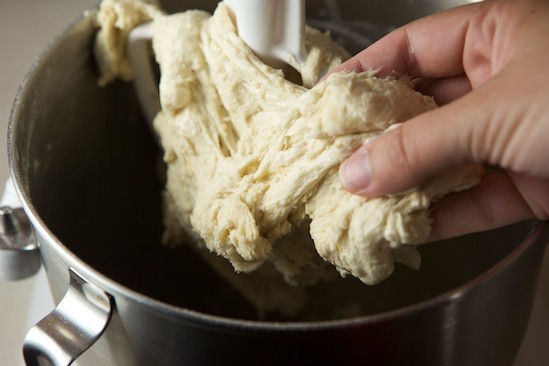
The first time I felt the dough, it seemed too dry and tough. I decided to add a tiny bit more water.
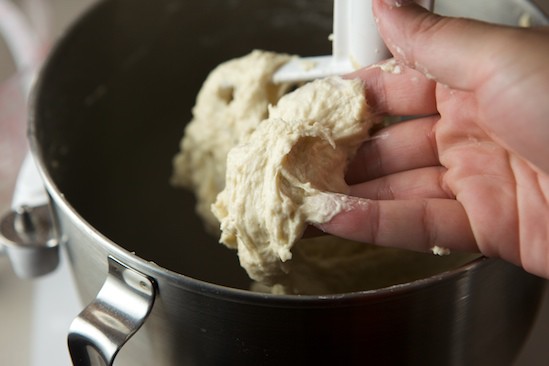
But this dough seemed way too sticky and soft. Solution? Add a bit more flour!
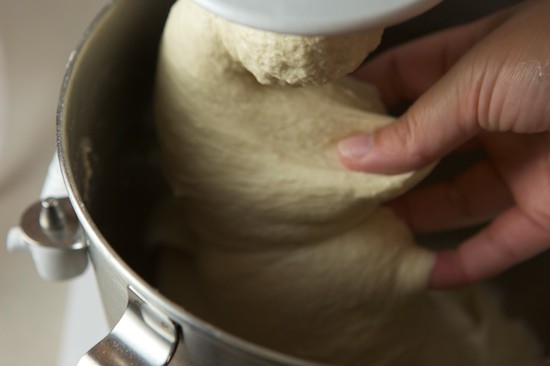
I finally ended up with a dough that seemed to fit the Mr. Reinhart’s description, so I switched to the dough hook and kneaded it until it was slightly tacky and supple.
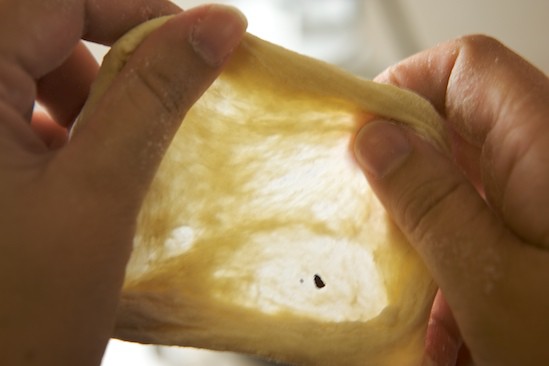
To check if it had been kneaded enough, I used the windowpane test (which is rather hard to photograph alone, by the way). It passed with flying colors, so it was ready to ferment.
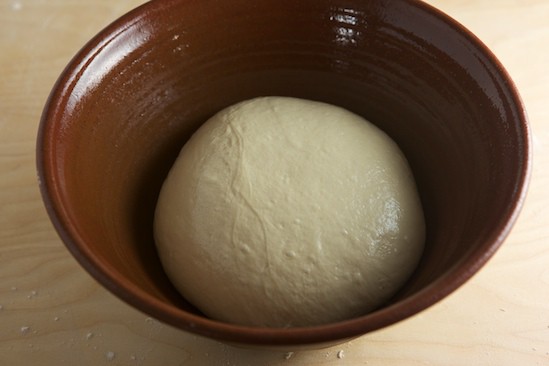
I placed the ball of dough in an oiled bowl, turning it once to cover, then let it ferment at room temperature (covered) for close to 2 hours.
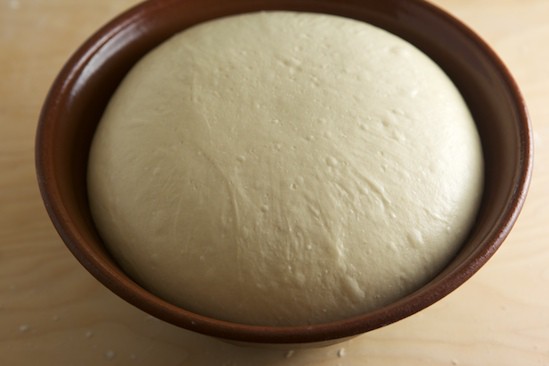
As you can see, the dough definitely doubled in size!
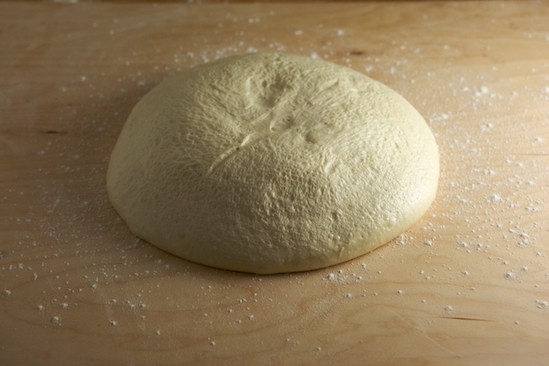
Next, I dumped it out onto a lightly floured surface, to divide and shape the dough into loaves.
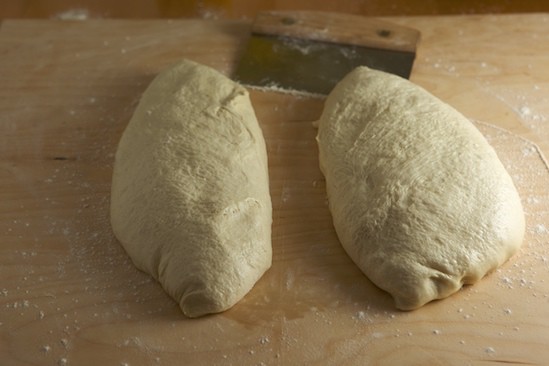
Normally, I use a scale to weigh the pieces, ensuring that I end up with loaves of equal size. Apparently, I was feeling lazy this day. And as you can see, the dough isn’t exactly evenly divided. Oh well.
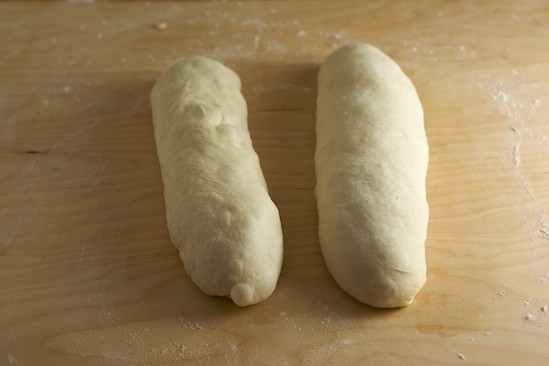
Following the instructions and photos in the book, I gently shaped the pieces into bâtards (torpedoes). It’s important to be gentle with the dough during the shaping process, as you don’t want to degas the dough too much.
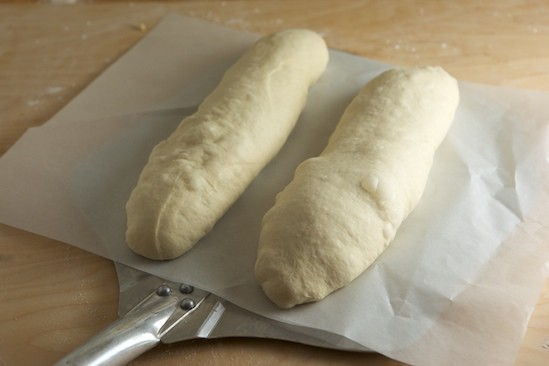
Next, I transferred the loaves to a sheet of parchment on my peel. I’ve had pretty good luck using parchment instead of cornmeal or semolina. It’s less messy, and the parchment slides right off the peel onto the baking stone. The problem I did have, was placing the loaves too close together. I just wasn’t paying attention.

As you can see, the loaves are already touching, after proofing for an hour. But I knew if I tried to move them at this point, I was going to have problems. I decided to just let them bake together.
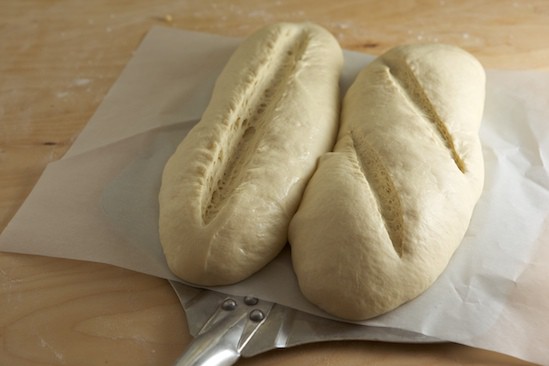
The final step before baking, is scoring the tops of the loaves with a knife or razor blade. I used a razor blade. The loaves were baked in a preheated 500 degree oven that had been prepared for hearth baking. This means that a baking stone and an empty pan were placed in the oven before preheating. When the oven is heated, the loaves are placed directly on the stone, hot water is poured in the hot pan, and the oven door is closed immediately. The steam from the water and the direct heat from the baking stone help promote oven spring and a crisp crust.
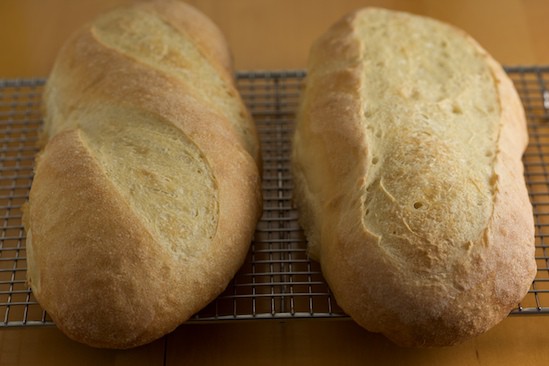
As you can see, the loaves were beautiful despite the fact that I let them proof and bake too close together. This really was some wonderful tasting bread, and I’m so happy to finally share it with you. I also want to send out a big hug and thank you to the lovely Janice of Round The Table, who sent me part of her stash of diastatic barley malt powder, an ingredient I was lacking for this bread and the next one coming up.
Are you ready to give homemade Italian Bread a try? The recipe can be found on page 172 of The Bread Baker’s Apprentice. The next bread in the challenge is Kaiser Rolls, and they are both fun to make and delicious! I’ve made them once before, but plan on making some more (and taking photos) for our New Year’s Day football gathering.
Want to Join The Bread Baker’s Apprentice Challenge?
There are several ways for you to join in the fun! First of all, you need a copy of Peter Reinhart’s The Bread Baker’s Apprentice. Read the first section of the book carefully, as this will prepare you for the bread recipes in the second section of the book. Then just jump in and bake some Anadama Bread, which is the first recipe in the book. But first, please visit The BBA Challenge Page for more details on how to participate in the group!
If you haven’t already, you might want to bookmark the BBA Challenge Page. From there you can see which breads are coming up soon, find answers to Frequently Asked Questions, visit and/or add yourself to our World Map, see the BBA Challenge Blogroll, and check out the continually updated slideshow of BBA Bread photos from our ever-expanding group of bakers!
Italian Bread from other BBA Challenge Members:
- Italian Bread from Goth Panda
- Italian Bread from Round the Table
- Italian Bread from Pete Eatemall
- Italian Bread from The Yumarama Artisan Bread Blog
- Italian Bread from Of Cabbages and King Cakes
- Italian Bread from Joelen’s Culinary Adventures
- Italian Bread from Two Skinny Jenkins
- Italian Bread from Susie’s Home and Hobbies
- Italian Bread from The Other Side of 50
- Italian Bread from Italian Food Forever
Mary says