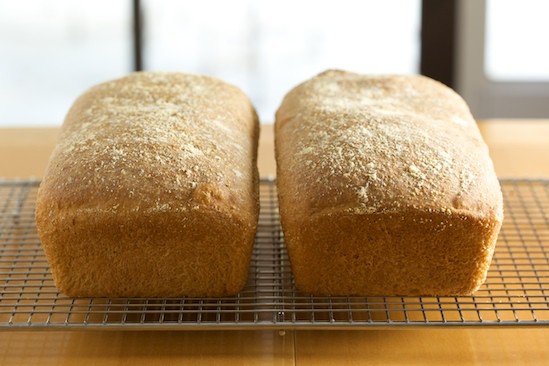
So here we are, my very first bread for the Bread Baker’s Apprentice Challenge is complete! Anadama is a traditional New England bread made with flour, corn meal, and molasses. It’s a curious name with a funny story attached to it, but the bread itself is no laughing matter. This is a seriously good loaf of bread!
Since I’ve never visited New England, my only only prior experience with Anadama Bread was reading a recipe for it a few years ago in The King Arthur Flour 200th Anniversary Cookbook. It sounded interesting, but at the time I was mostly baking whole wheat sandwich loaves.
Peter Reinhart’s version is similar to the King Arthur recipe when it comes to ingredients, but the method is different. In traditional Anadama recipes, the cornmeal is softened with boiling water and allowed to cool before the dough is mixed. The cornmeal step might add an extra hour, but bread could easily be made in an afternoon. Peter Reinhart’s version takes two days.
Now I know what you’re all thinking: who has two days to spend on a loaf of sandwich bread? But it’s not like that. The amount of active time between the two versions is about the same, but we have now learned from Peter Reinhart that everything tastes better when it sits around for a while. Yes, I’m oversimplifying it, but it’s true!
Traditional formulas for this bread are usually given as a direct-dough method, but this version utilizes a soaker and a sponge to evoke more flavor from the grain. Corn is chock-full of natural sugars, trapped in the complex carbohydrate starch base, so any trick we can employ to break the sugars free can only improve the already wonderful flavor. — from The Bread Baker’s Apprentice: Mastering the Art of extraordinary Bread by Peter Reinhart
Terms like soaker and sponge might be unfamiliar to some of you, but the concepts are simple. For this particular bread, the soaker was simply a mixture of coarse ground corn meal (polenta or corn grits) and water. So on the first day I spent a couple minutes mixing that up, left it on the counter and I was done!
Day two is when the real work began! I mixed my corn meal soaker with part of the flour, all of the yeast, and water. This was my sponge.
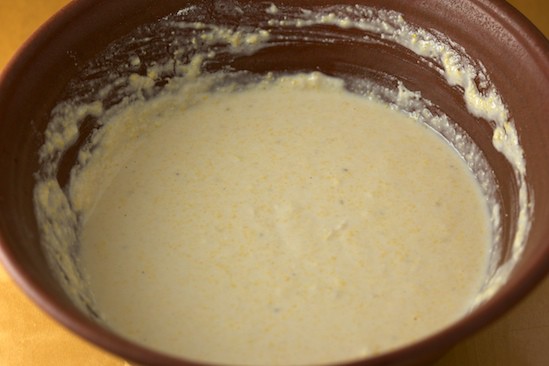
Mixing up a sponge before creating the final dough is a way to extend fermentation time. This process somehow extracts more flavor from the wheat (I’ll hopefully gain a better understanding of the science behind this as I bake more breads utilizing this method) and you’ll end up with a more flavorful loaf of bread. The soaker only took a few minutes to mix up and I left it alone on the counter for about an hour.
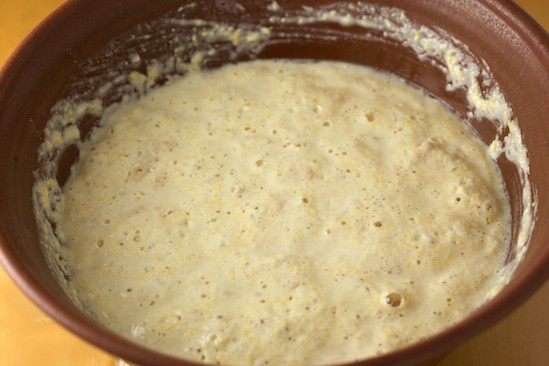
It’s aliiiiiive! As you can see, the sponge started bubbling away nicely in the hour that I left it sitting on my kitchen counter. Next I added all the remaining ingredients to sponge: flour, salt, molasses and butter.
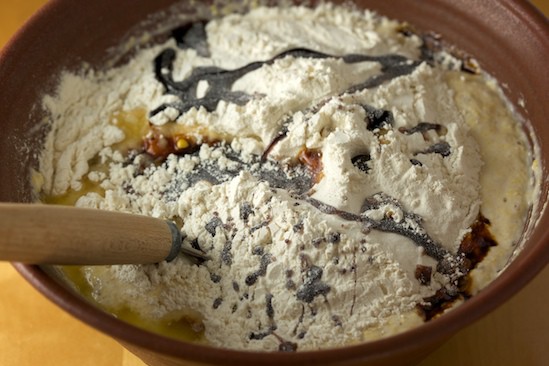
I decided to make this first bread completely by hand rather than using my stand mixer. But if using a stand mixer, I would have mixed up the sponge in that bowl. After adding the extra ingredients, it can mixed using the paddle attachment of a stand mixer.
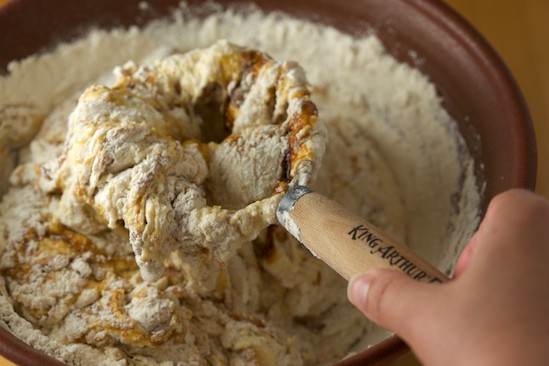
When mixing by hand, I like to use a dough whisk. I got mine from King Arthur Flour’s Baker’s Catalog, but I’ve heard they are available other places online as well as in cooking stores like Sur La Table. A wooden spoon works, too!
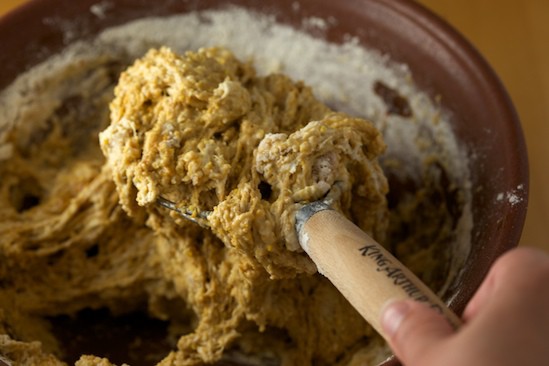
Mix, mix, mix!
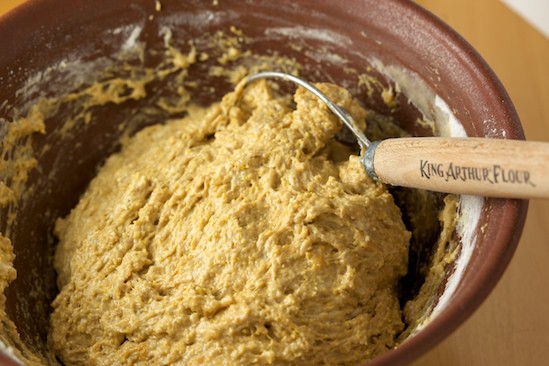
Eventually everything will be pretty well mixed in. At this point, my dough was much wetter than I was expecting. But rather than stir in extra flour, I decided to add the extra flour during the kneading process.
Tip: to get a wet dough out of the bowl, a simple flexible dough/bowl scraper is extremely useful and they are cheap enough that I suggest buying a couple just to make sure you always have one around! I think I paid a dollar each for mine at an expensive kitchen store. If you don’t have a scraper, just scoop the wet dough out as best you can with a rubber spatula. It’s very helpful to sprinkle flour around the edges of the dough in the bowl before scraping it out. I’ll try to illustrate this better with photos next time!
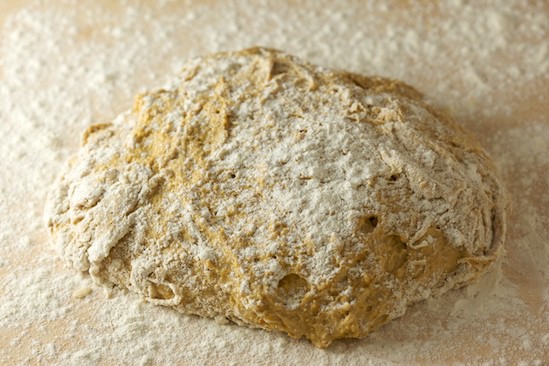
Make sure you flour your counter or bread board prior to dumping out a mass of wet dough! And I sprinkled some on top and also floured up my hands in anticipation of the sticky mess that was ahead of me!
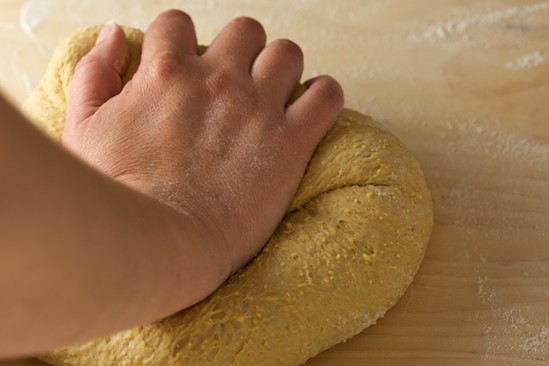
I was right, the dough was a sticky mess. But I kept kneading and adding flour a little at a time until it became more cooperative. I’m not sure how much extra flour I kneaded in, probably close to 3/4 cup. It happens. I think I kneaded the dough for a total of ten minutes before I felt that it met the requirements of Peter Reinhart: “The dough should be firm but supple and pliable and definitely not sticky.”
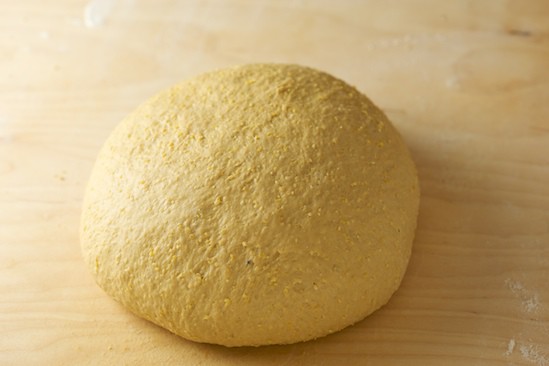
So I was looking for a tacky, but not sticky, dough. What’s the difference between tacky and sticky? Luckily one of our BBA Challenge members was able to answer that question for us!
How to tell the difference between “sticky” and “tacky” when it comes to dough: The easiest way is to press your hand onto the dough and then lift it up. If the dough pulls ups with your hand and then releases (so your hand comes away clean), the dough is tacky. If you end up with dough stuck to your hand, it’s sticky. — from Phyl of Of Cabbages and King Cakes and founder of our BBA Challenge Facebook Group
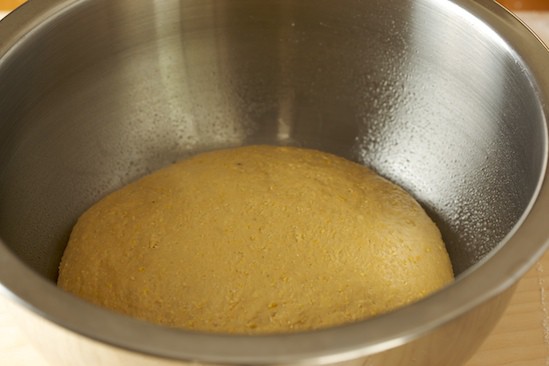
Once I felt that the dough had been kneaded enough, I put it in an oiled bowl and turned it to make sure that the entire surface was coated in oil. This prevents the dough from drying out during the bulk fermentation period. ‘Bulk Fermentation’ is one of the new fancy terms that I’ve taken to using thanks to this book. It’s the proper term for a dough’s first rising period. Whatever you want to call it, this is the time when you cover the bowl with plastic wrap and let it sit around and grow for about an hour and a half until it doubles in size.
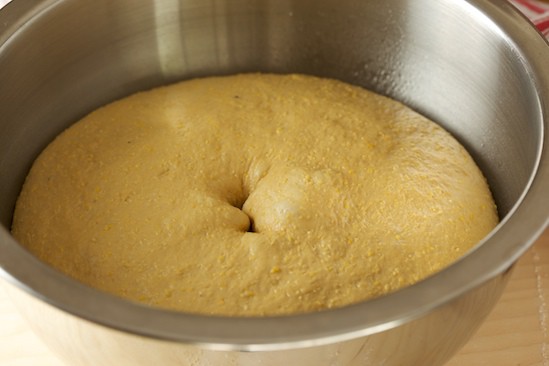
My dough doubled in an hour and 15 minutes. At least it looked double to me! I poked it and the indentations remained, so I moved on to the next step.
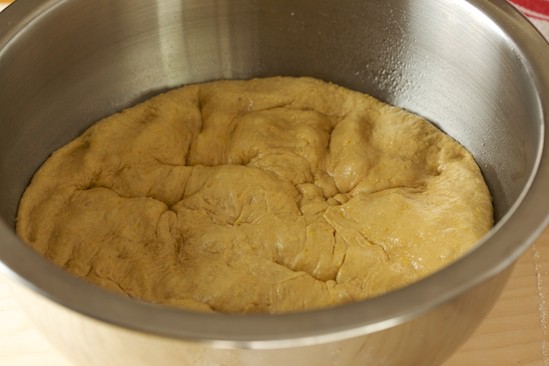
Now this is where I might have made my first mistake with this bread. I think I was a little overzealous when I deflated the dough. I’ve always punched down bread dough at this point so I did it out of habit. But I think I should have just turned it out onto the board and divided it without deflating the dough all the way.
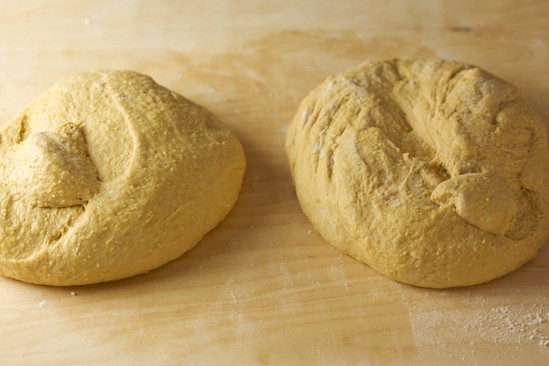
After violently deflating my dough, I dumped it back onto my board and divided it into two pieces. I did use a scale at this point to make sure that the pieces were close to the same weight so that I would end up with two loaves that were roughly the same size.
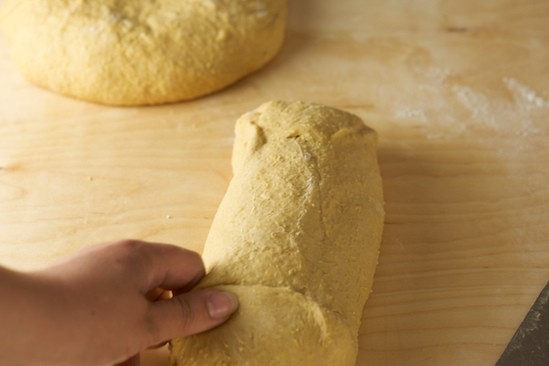
Next, I shaped each piece into a loaf. Each person has their own method for shaping, but here’s a great tutorial if you need a little help!
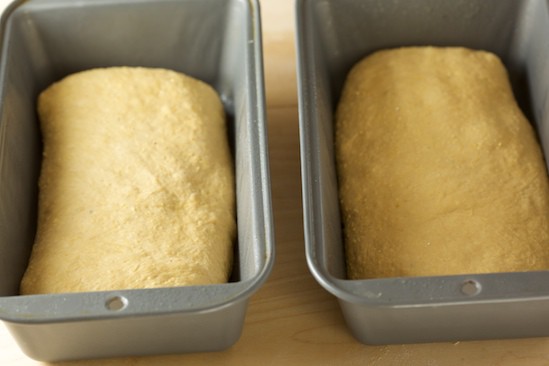
After the loaves were shaped, I put them into my loaf pans. This is where I think I made my second mistake. Perhaps it’s because I deflated the life out of my dough, but the 9×5-inch loaf pans just seemed too big for the amount of dough I was looking at. The weight was right according to the book, but from my experience, it just didn’t look right. I should have gone with my gut instinct and switched out the pans for ones that were slightly smaller. But I wanted to do it by the book this first time.
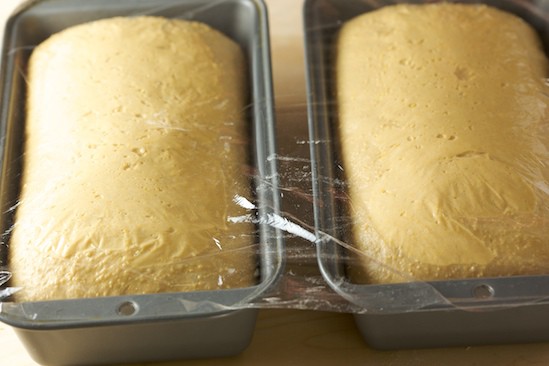
Normally, the second rise (or ‘proof,’ if you want to be fancy) in my slightly warm house would only take about an hour. But after an hour, the dough wasn’t close to cresting the tops of the loaf pans. I should have baked it at that point anyway, but I stubbornly stuck to the instructions in the book and waited 90 minutes for the dough to crest the top of the pans. Unfortunately, doing this caused my dough to over-proof. When I put it in the oven, the dough had no more ooomph left in it and even started to collapse a tiny bit in the middle.
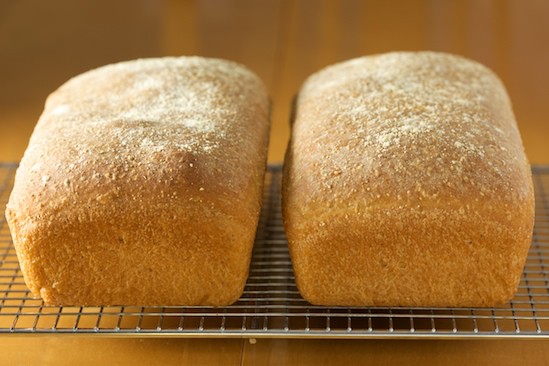
But they were still beautiful! And the house smelled so good while they were baking, I thought I would go crazy. If I had used smaller loaf pans, the shape of loaves would have been a bit taller with a more rounded top. These loaves were wide and a bit flat. But the flavor and texture of the bread was so wonderful that I considered this first bread in the BBA Challenge a complete success!
My favorite way to eat this slightly sweet bread is toasted with lots of butter. But it’s also a great sandwich bread, and was the perfect wrapper for this wonderful Bacon, Tomato and Avocado Sandwich!
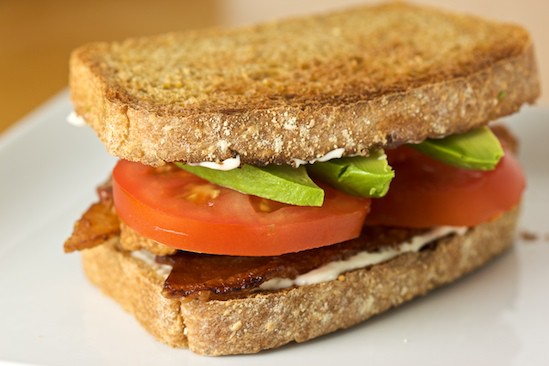
I will definitely be baking Anadma Bread again! I might even try using some whole wheat flour to replace part of the bread flour next time.
Want to read some other Anadama Adventures? Here are some links to other BBA Challenge Members who have written about the first bread:
- Paul, who was one of the first BBA’ers to bake the Anadama Bread
- Devany, who baked her Anadama Bread in Hawaii
- Görel, who baked her Anadama Bread in Sweden
- Arundathi, who baked her Anadama Bread in India
- Susie, who baked both an Anadama Loaf and some Anadama Dinner Rolls
That’s just a small sample of the hundreds of loaves of bread that have been baked this month thanks to The Bread Baker’s Apprentice Challenge! And I hope we inspire you to open the book and start baking!
The Next Challenge
So what’s up next? This week’s challenge is Artos, or Greek Celebration Breads and the formula begins on page 111 in The Bread Baker’s Apprentice. There are a few different variations of the main bread, and the goal is to choose one of them and complete it this week. If you would like to try more variations, that’s great too!
The Greek Celebration Bread begins with a starter. We are given the choice of making a Poolish (directions on page 106) or a Barm (directions on page 230). If you don’t already have a starter on hand (I will be using one of my own sourdough starters as the barm), your best bet for this bread will be a poolish as it only takes one day to create, while a barm will take closer to a week. Whichever method you choose, allow 1 to 2 days to complete the bread itself.
Several members of the group have already baked loaves of Artos and I’ve heard nothing but wonderful things about it! Good luck and happy baking!
Want to Bake Along With Us?
There are several ways for you to join in the fun! First of all, you need a copy of Peter Reinhart’s The Bread Baker’s Apprentice. Read the first section of the book carefully, as this will prepare you for the bread recipes in the second section of the book. Then just jump in and bake some Anadama Bread! Please visit The BBA Challenge Page for more details on how to participate in the group!
Happy baking!
Michelle says
Allen says
Nancy (n.o.e.) says
Irene says
Michelle says
Oggi says
Janice says
Kelly says
Flour Girl says
sara says
Dianne says
Tammy says
Jodi says
Cindy says
Caitlin says
Haley J. says
Hélène says
Cindy says
Danielle says
Phyl says